Users and Access
How user records work in the OpenTRMS Workbench — the access workbook, pre-provisioning a user, and where group membership is granted.
Transcript2m 08s
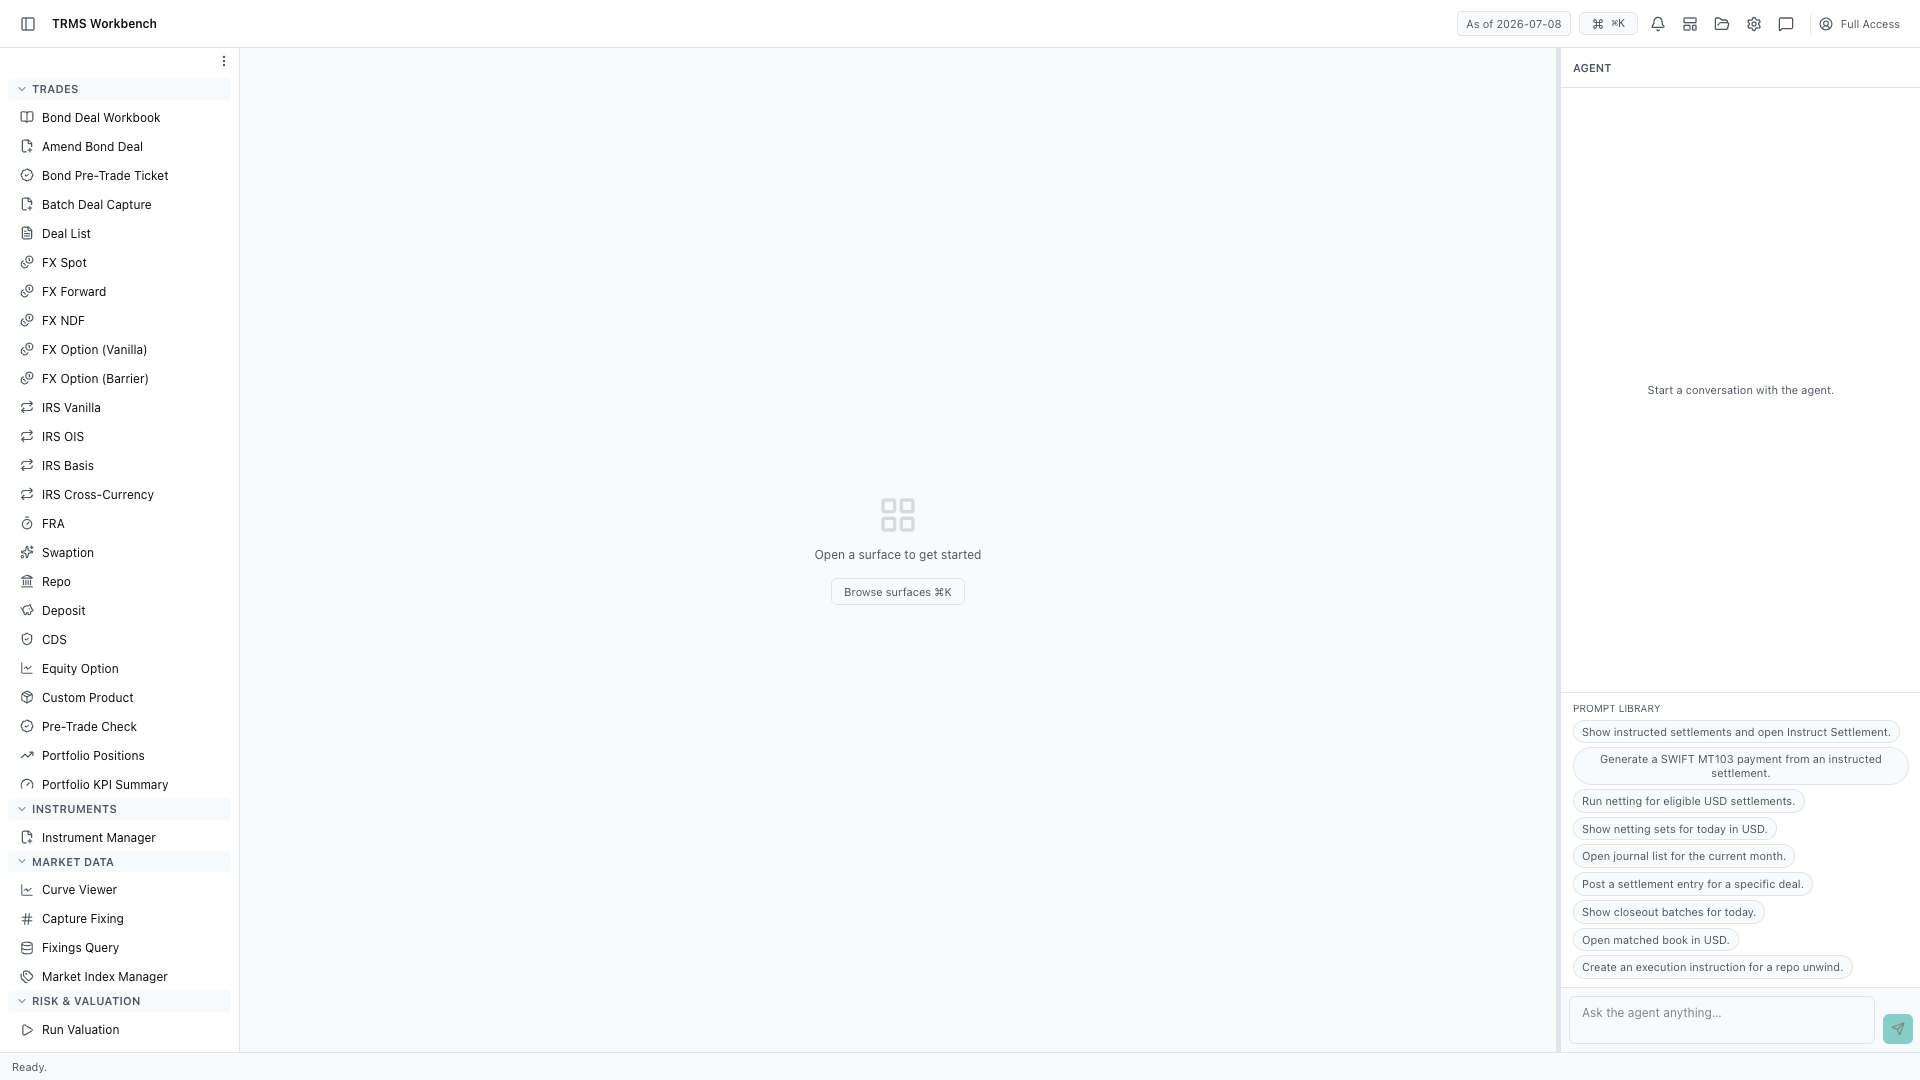
In this walkthrough we'll set up a user record and see where their access comes from, in the OpenTRMS Workbench.
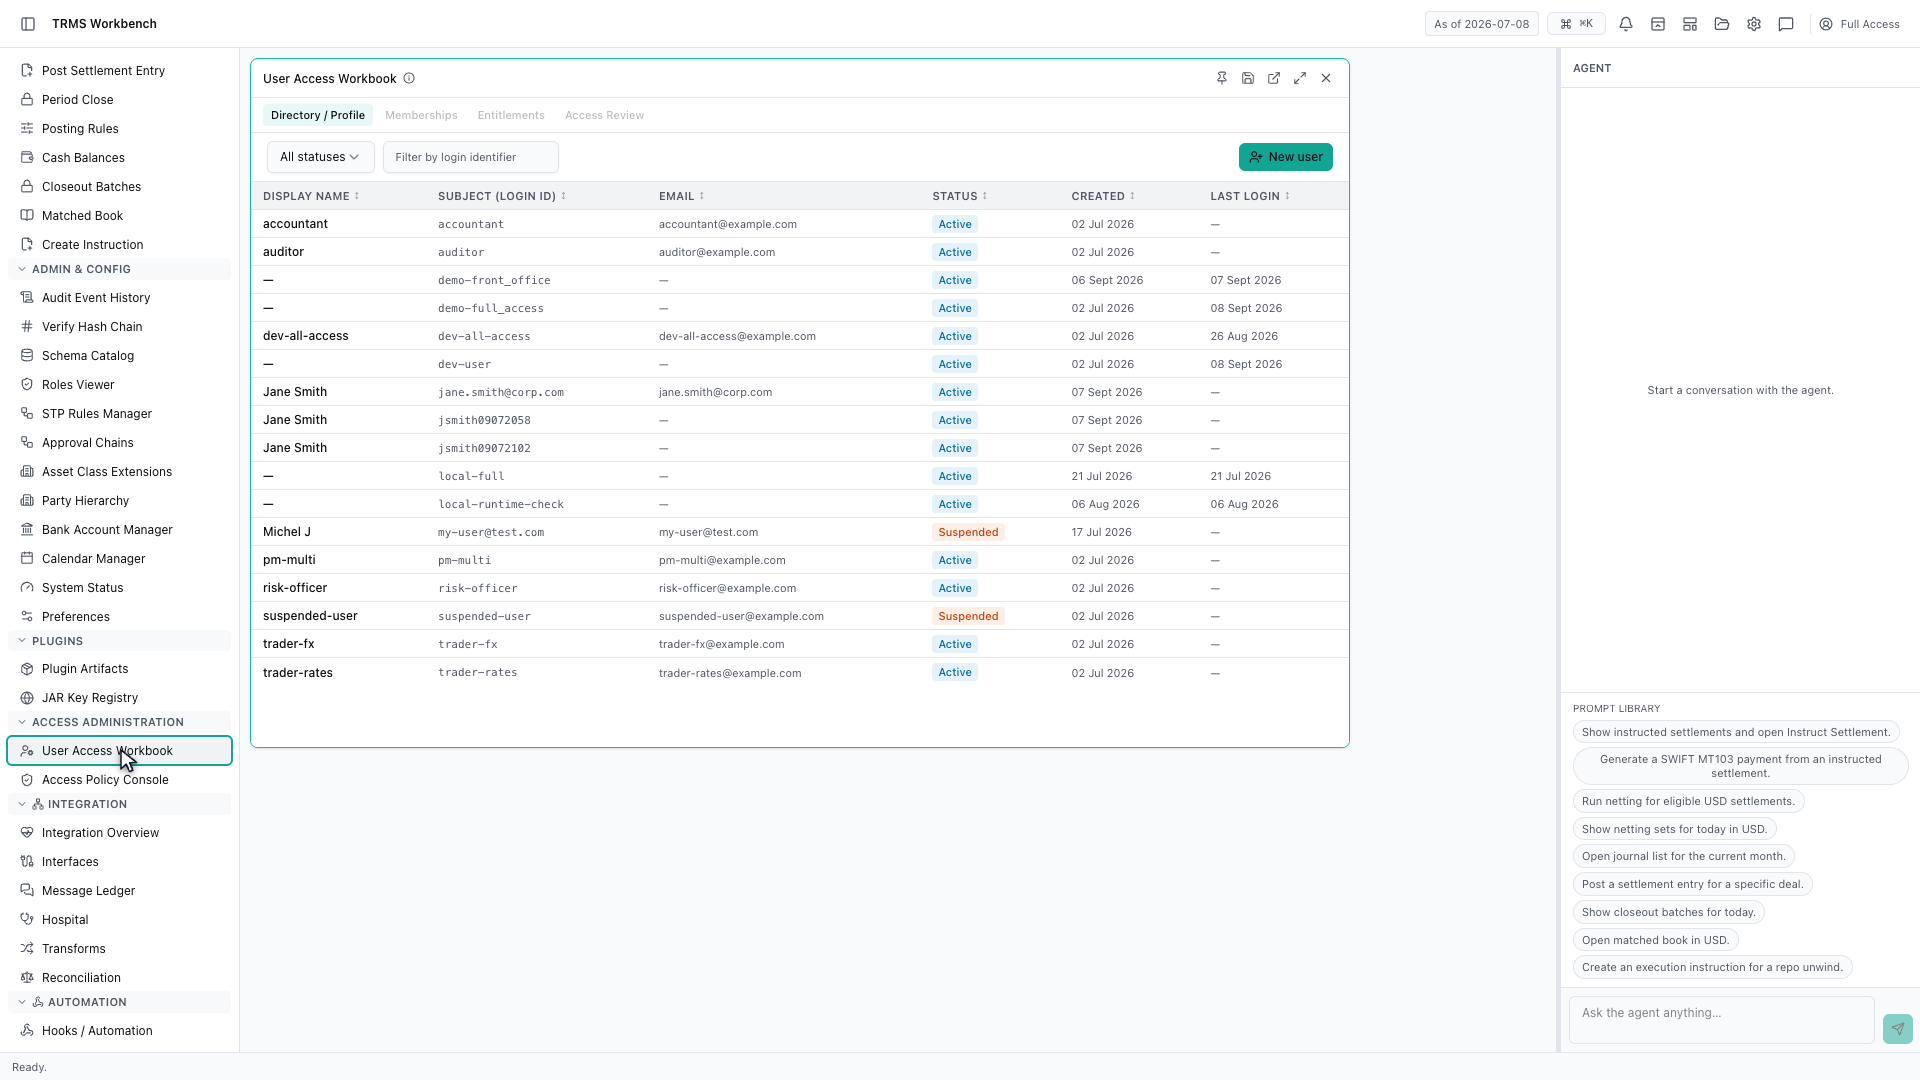
The User Access Workbook is the administrator's view of who can use the system. It opens on the directory — every user, with their login identifier, status and last sign-in.
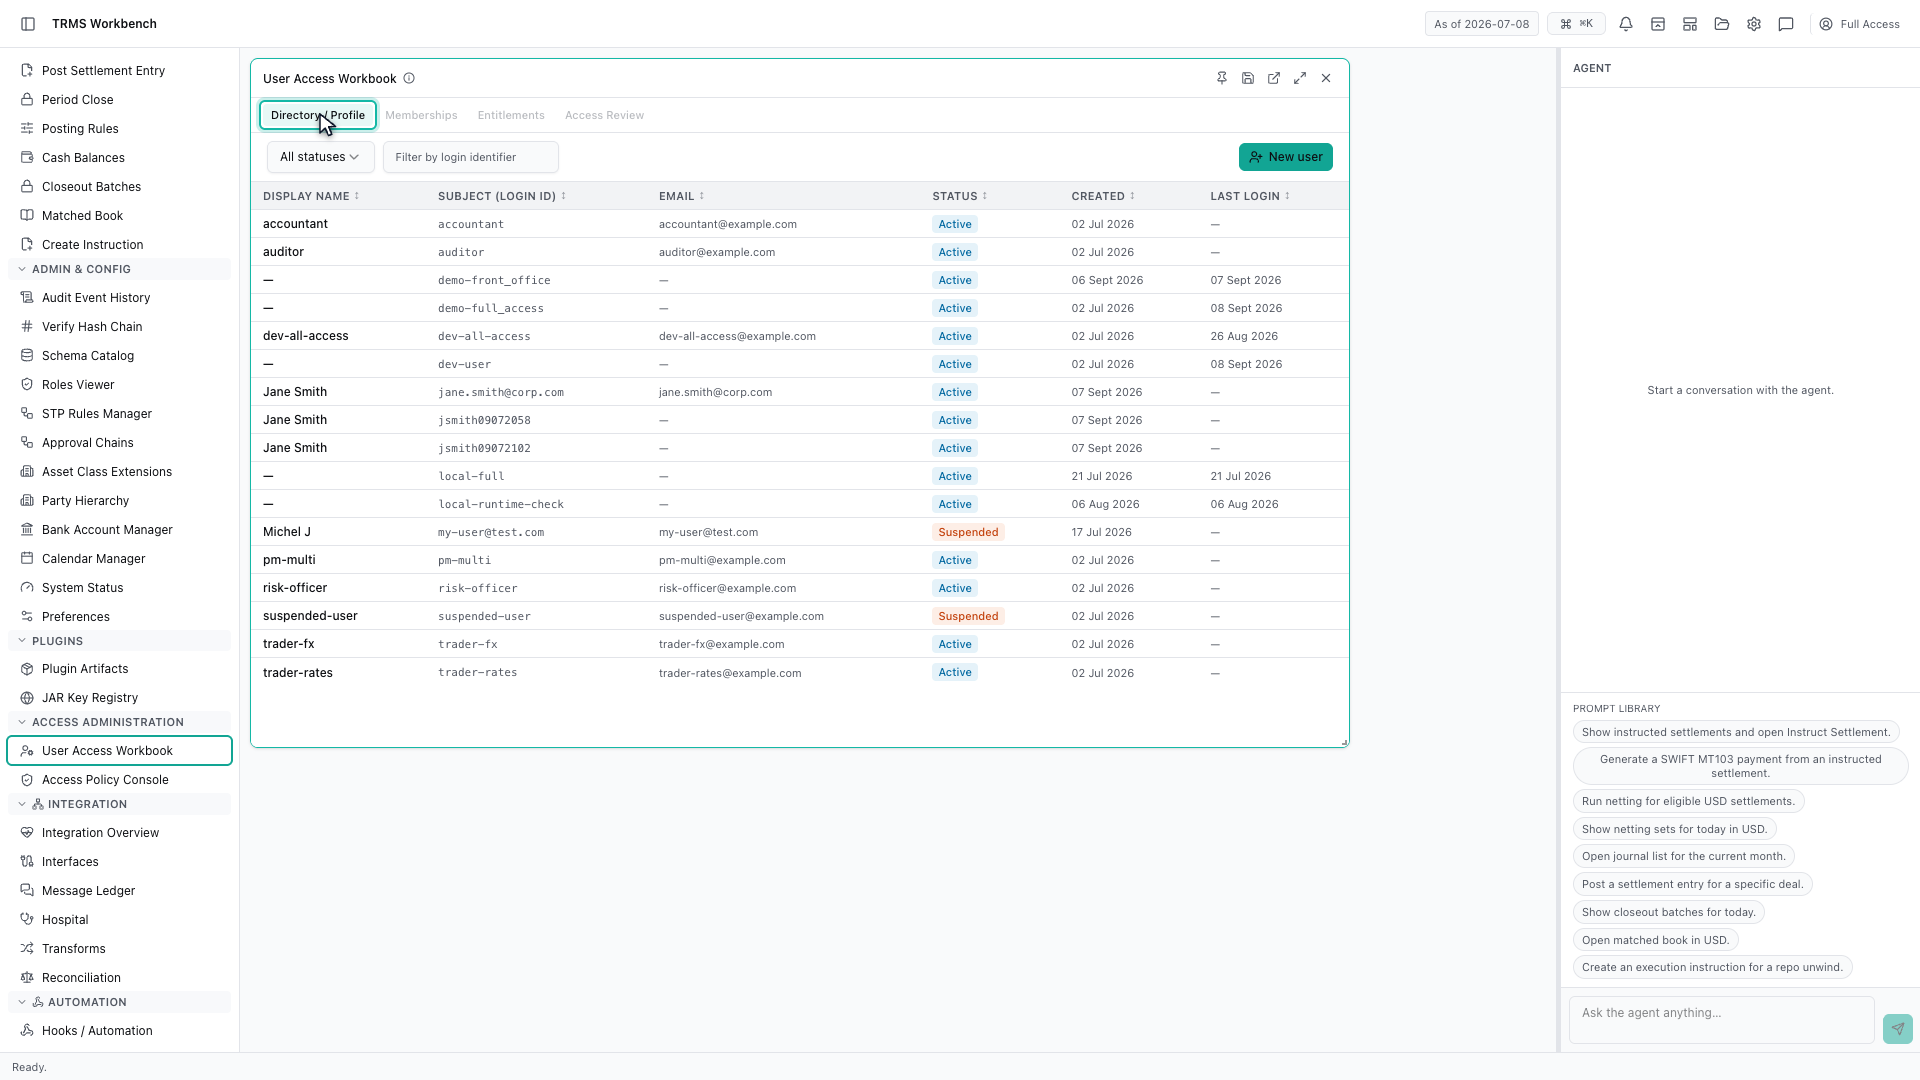
Four tabs sit above it. Everything you do here applies to whichever user is selected, so you pick a person once and then work across profile, memberships, entitlements and review without losing them.
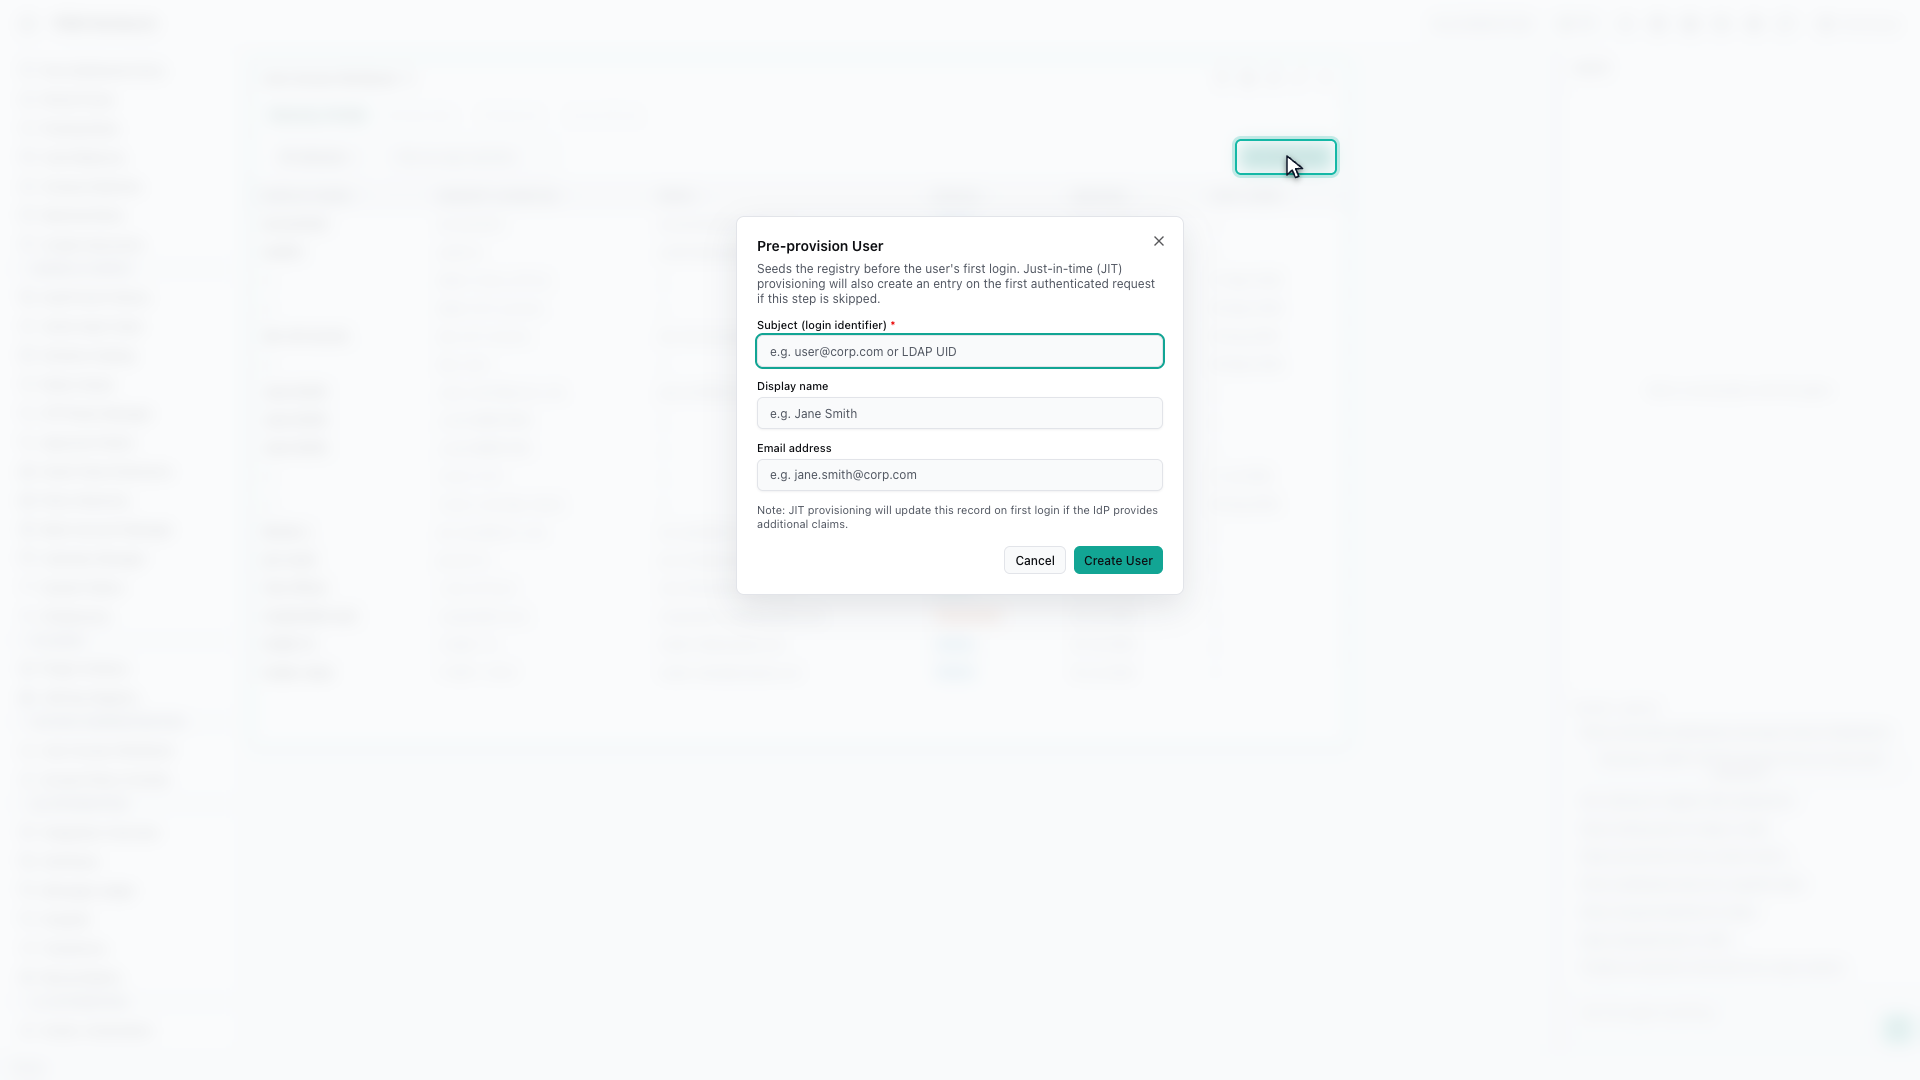
New user pre-provisions a record. It is worth knowing that this step is optional — if someone signs in and no record exists, one is created for them automatically on that first request.
The subject is the login identifier, and it has to match whatever the identity provider will send — a corporate email address, or a directory user ID like this one.
The display name is what colleagues will see against approvals and audit entries, so it should read as a person rather than an account.
Create the user, and the record appears in the directory straight away. It is active immediately, but on its own it grants nothing.
Selecting the new user loads them into the tabs above, and everything from here applies to them.
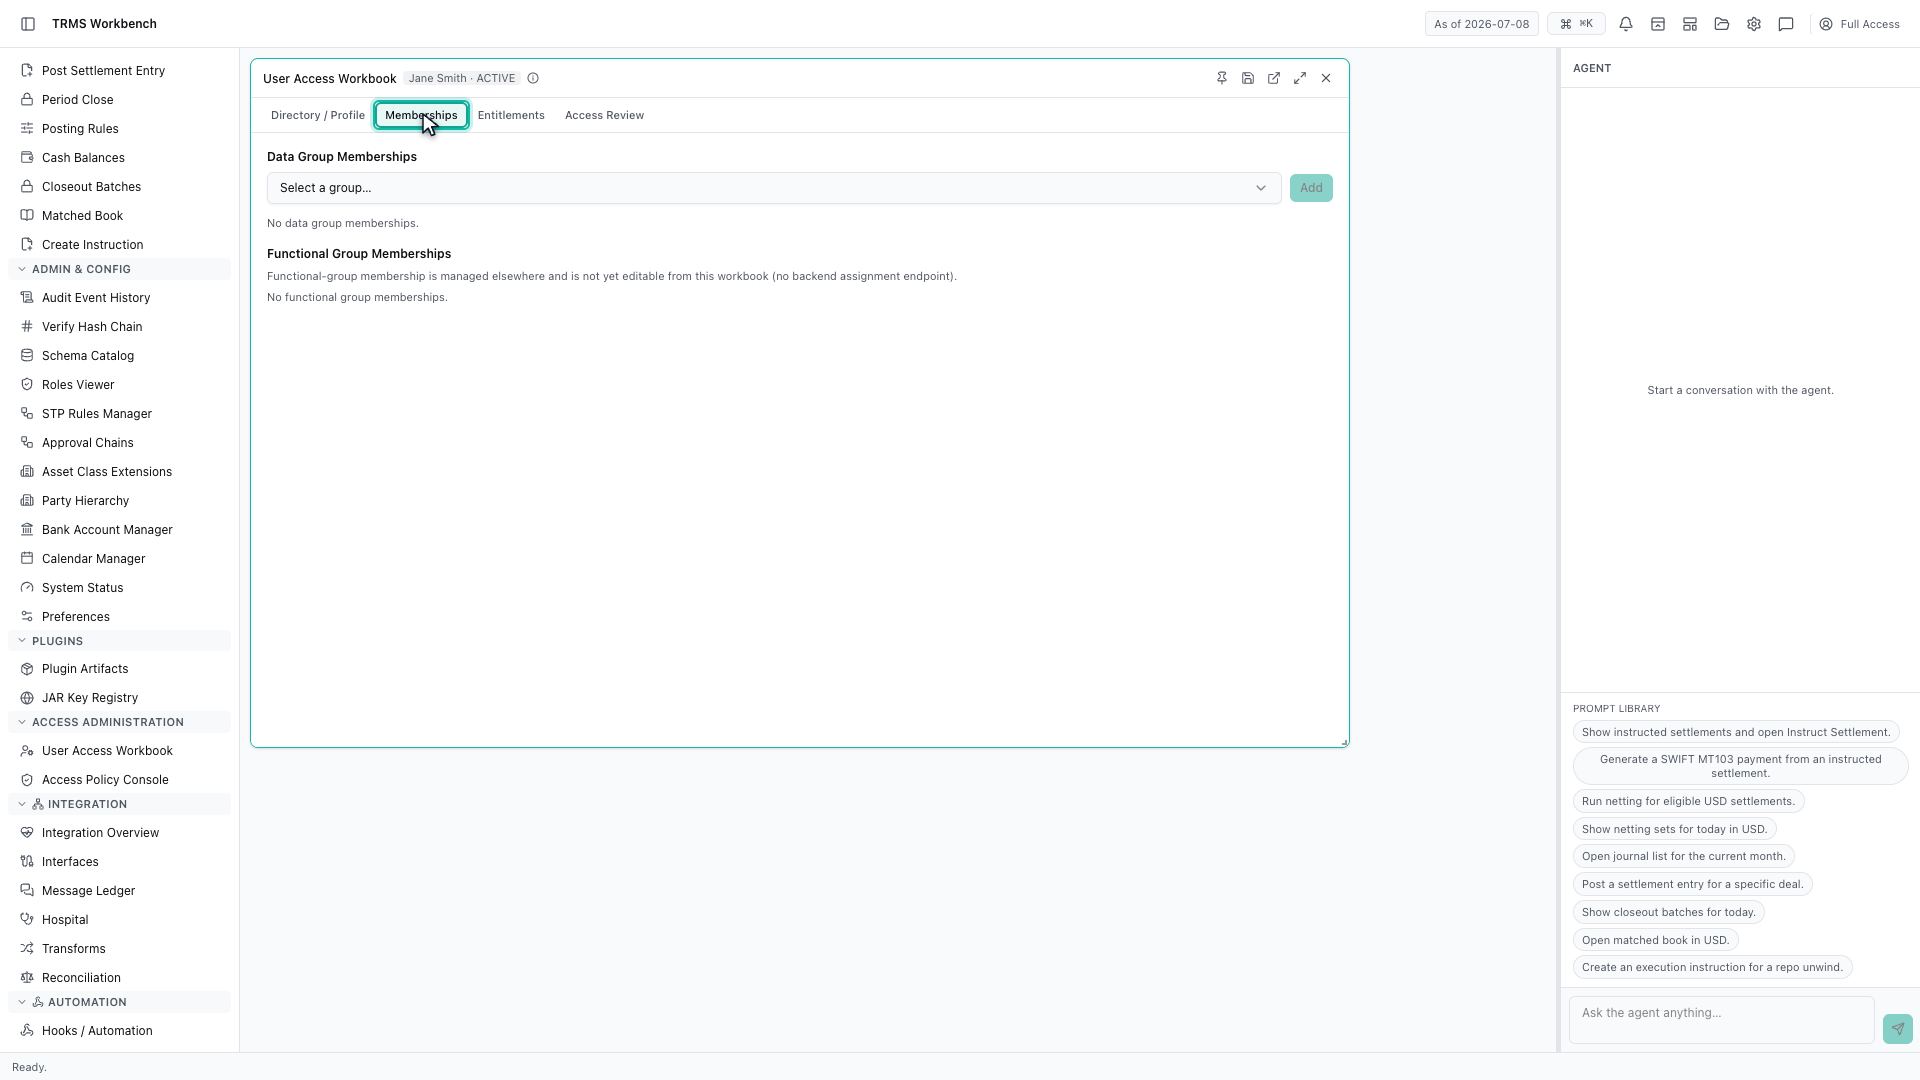
Memberships is where data groups are granted — these decide which books, portfolios and counterparties the person can see, and the table records who added each one and when.
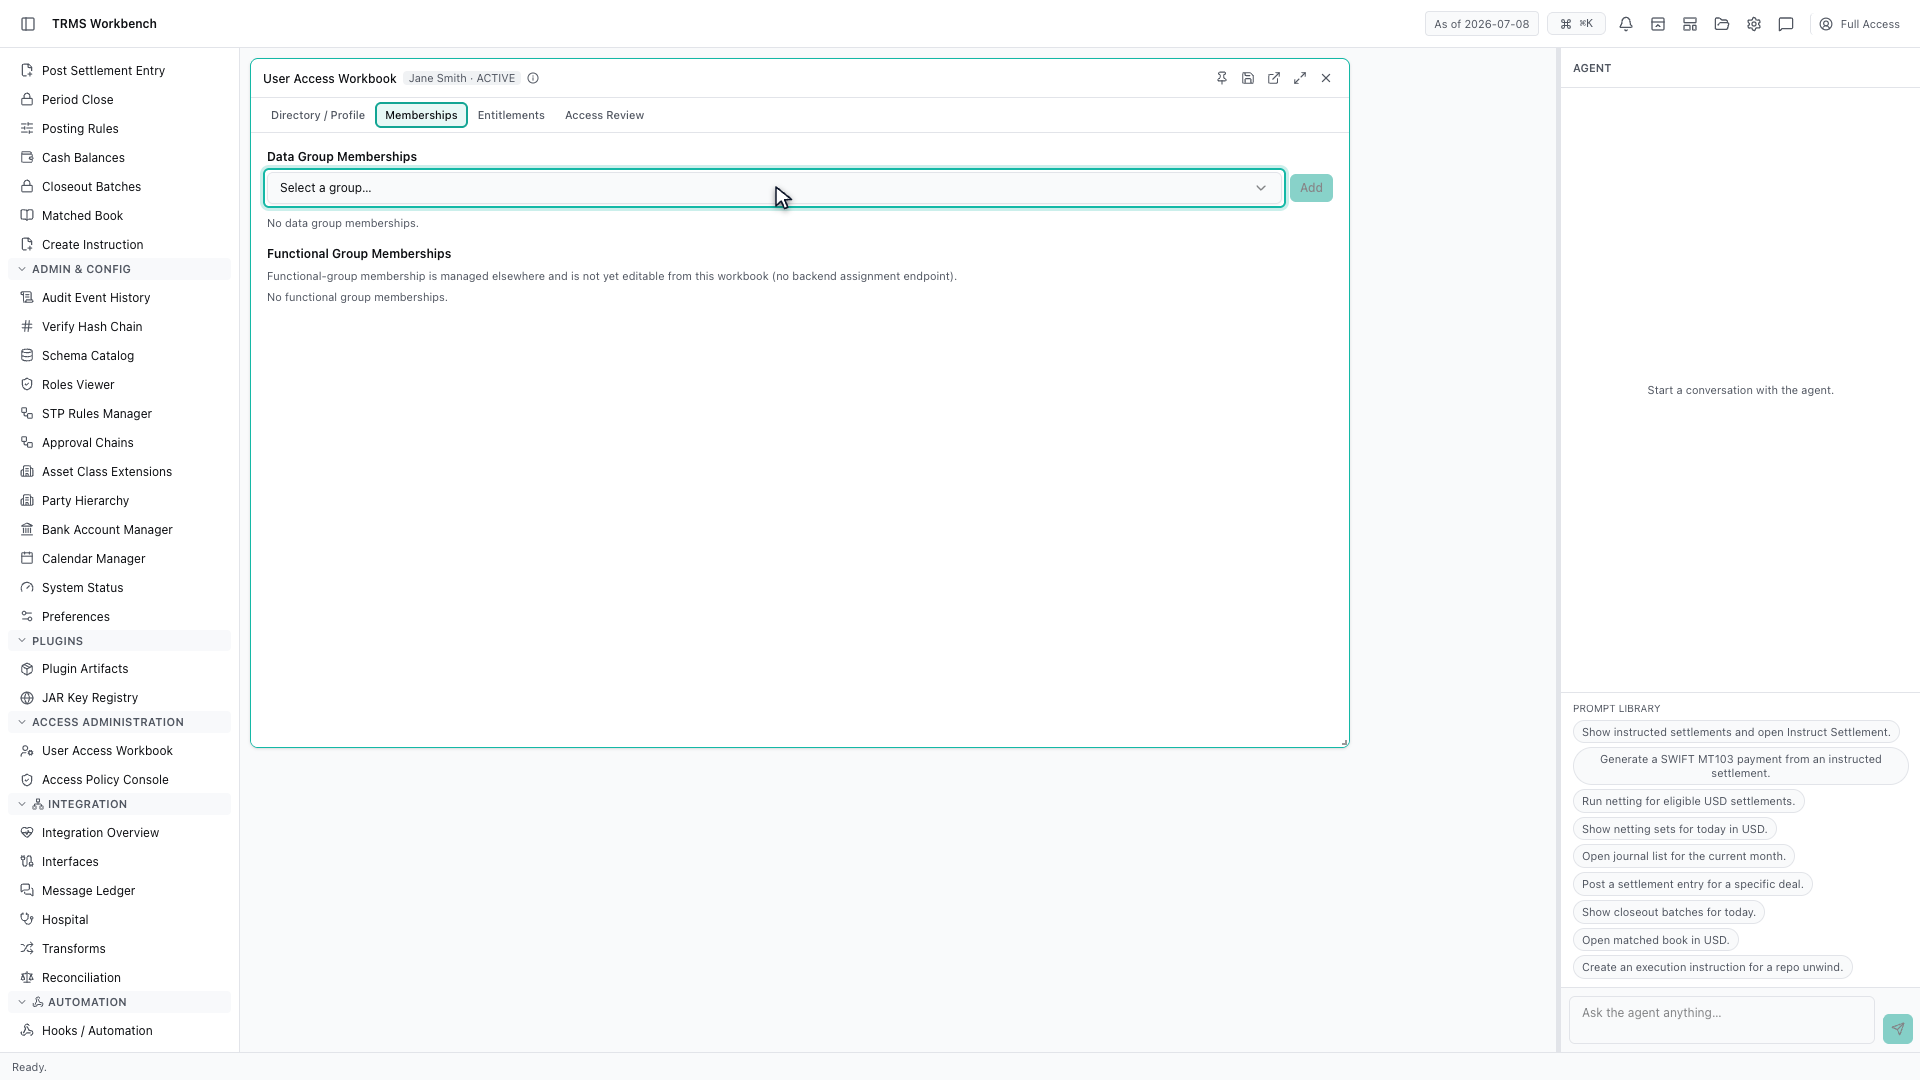
A group is chosen here and added, and what it grants is data access — which books and counterparties the person can see. Functional groups, which carry what a person is allowed to do, are listed separately below.
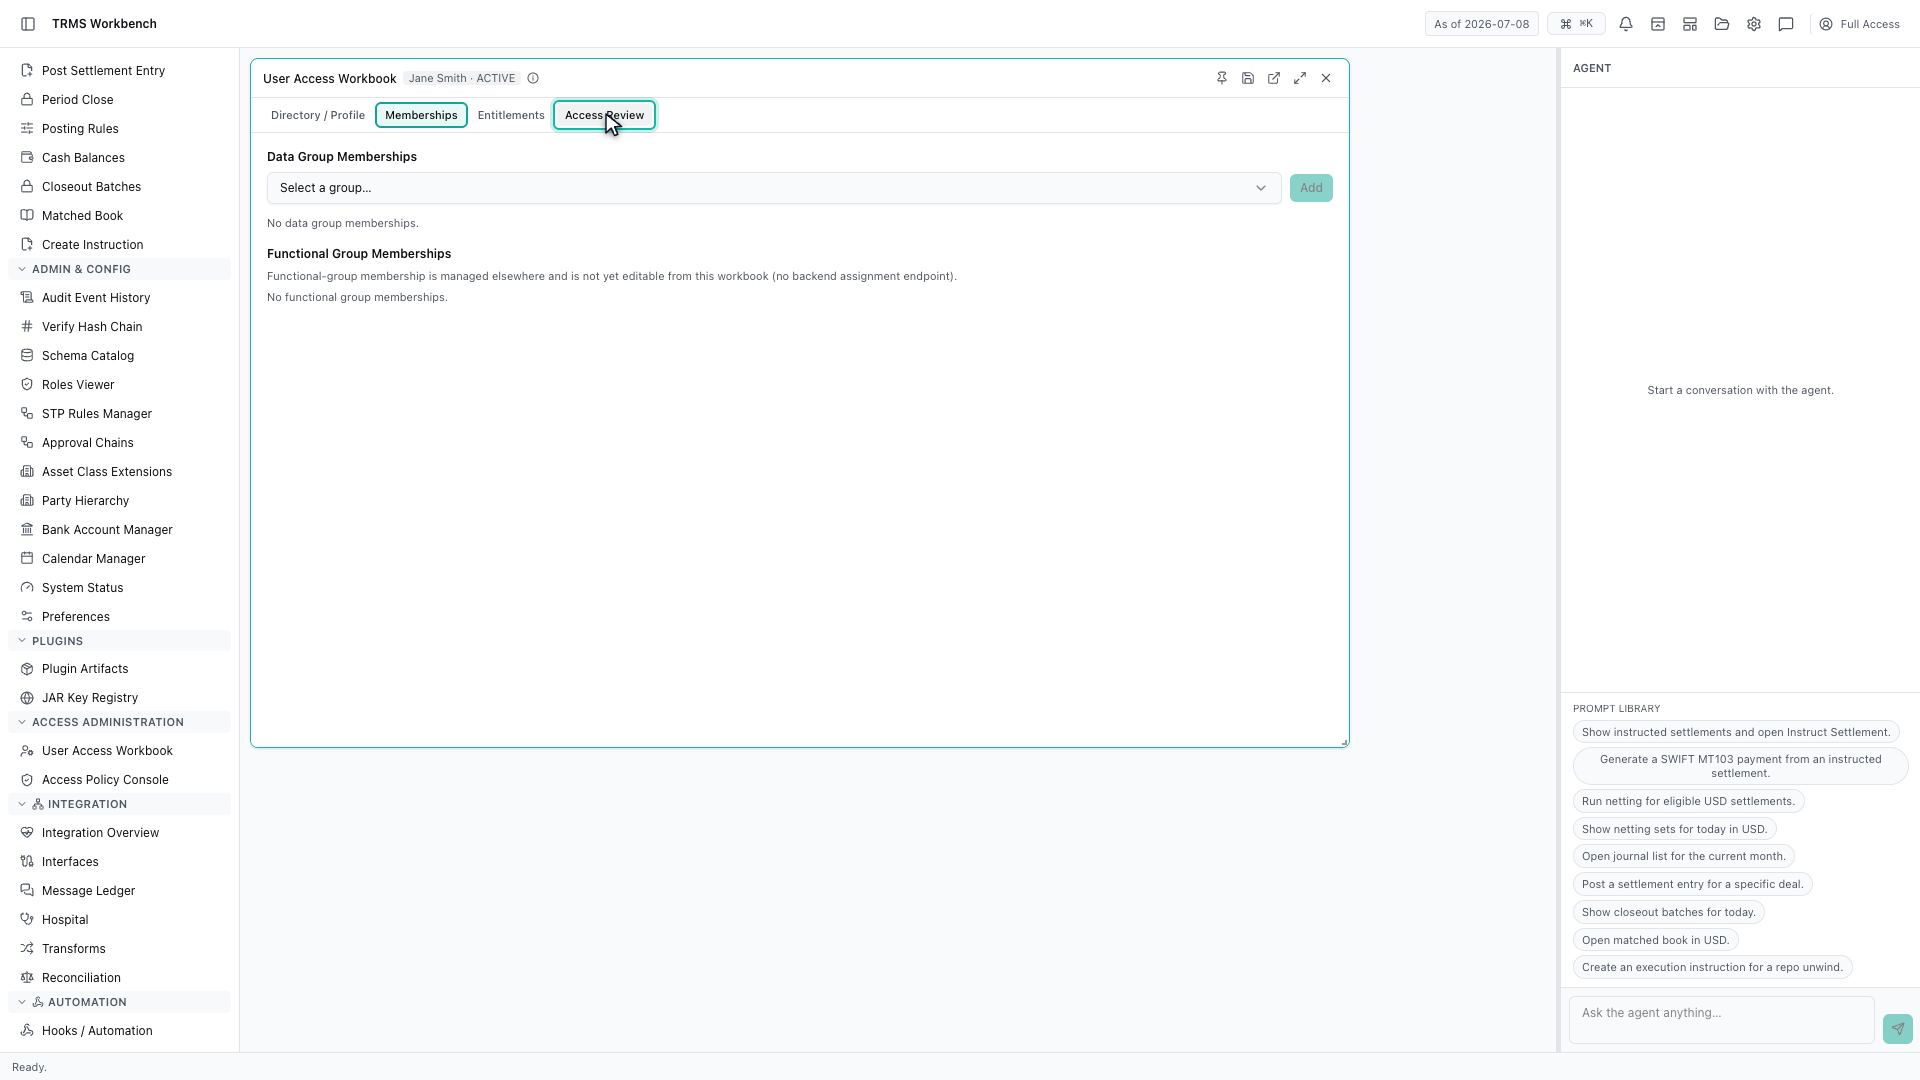
The last two tabs complete the picture. Entitlements shows what the person can actually do once their groups are applied, and Access Review is where that access is signed off periodically.
That completes Users and Access. Every surface shown here can also be opened from the agent panel on the right, by asking for it in plain English.
1. Open the Workbench
In this walkthrough we'll set up a user record and see where their access comes from, in the OpenTRMS Workbench.
2. Open the User Access Workbook
The User Access Workbook is the administrator's view of who can use the system. It opens on the directory — every user, with their login identifier, status and last sign-in.
3. One user, four tabs
Four tabs sit above it. Everything you do here applies to whichever user is selected, so you pick a person once and then work across profile, memberships, entitlements and review without losing them.
4. Pre-provision a new user
New user pre-provisions a record. It is worth knowing that this step is optional — if someone signs in and no record exists, one is created for them automatically on that first request.
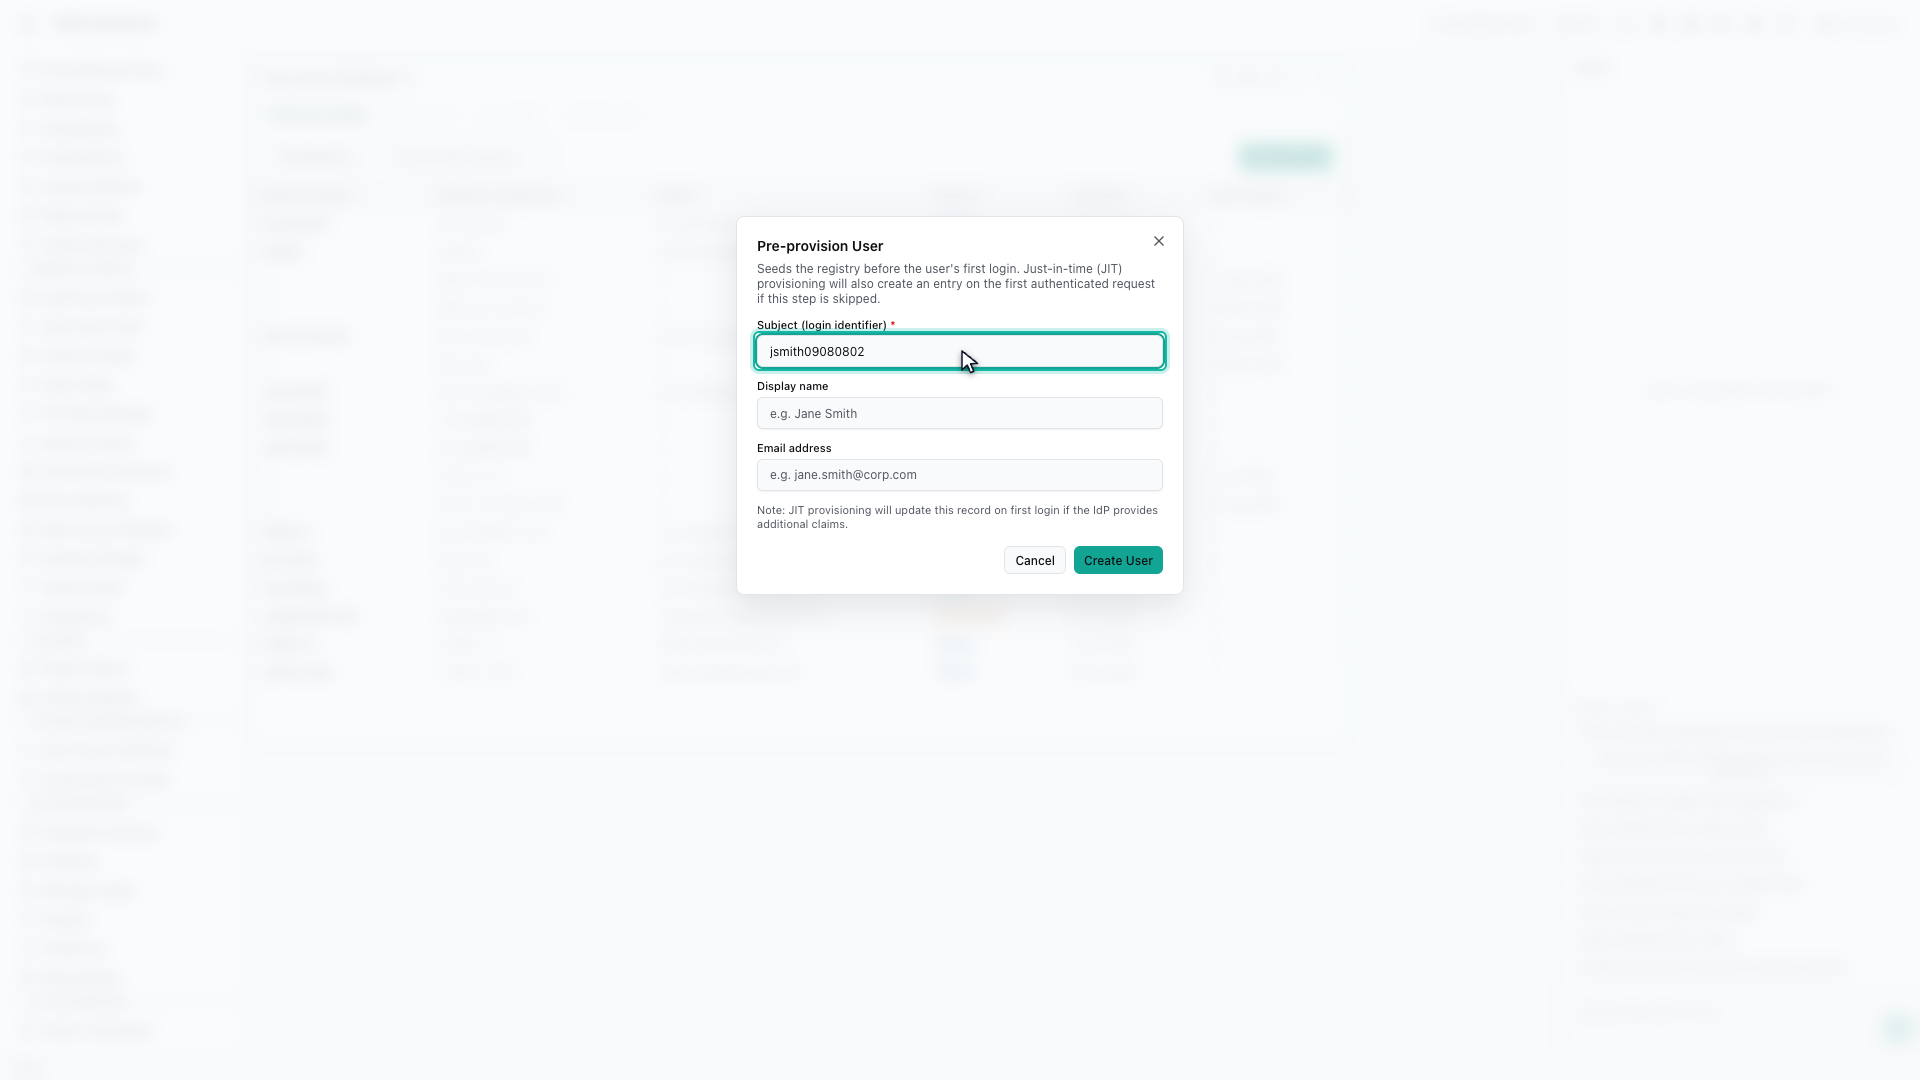
5. Enter the login identifier
The subject is the login identifier, and it has to match whatever the identity provider will send — a corporate email address, or a directory user ID like this one.
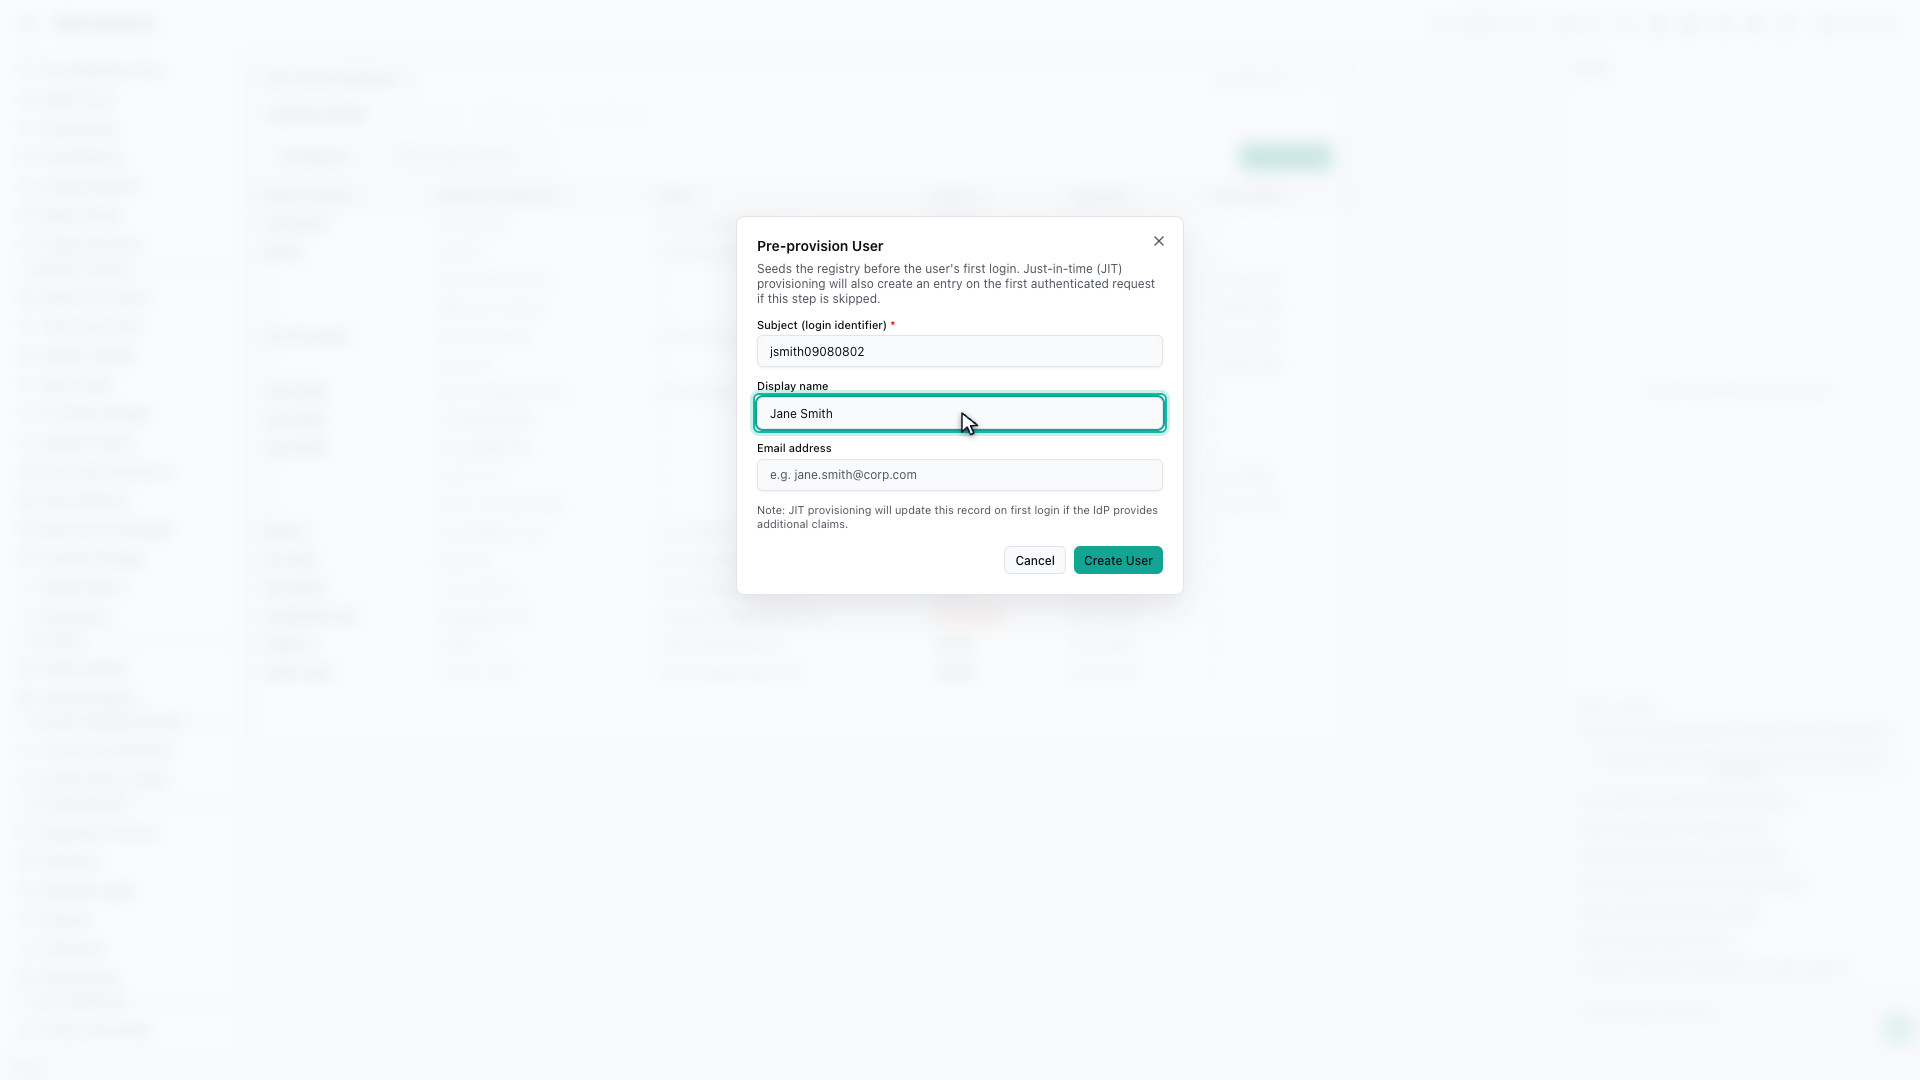
6. Enter the display name
The display name is what colleagues will see against approvals and audit entries, so it should read as a person rather than an account.
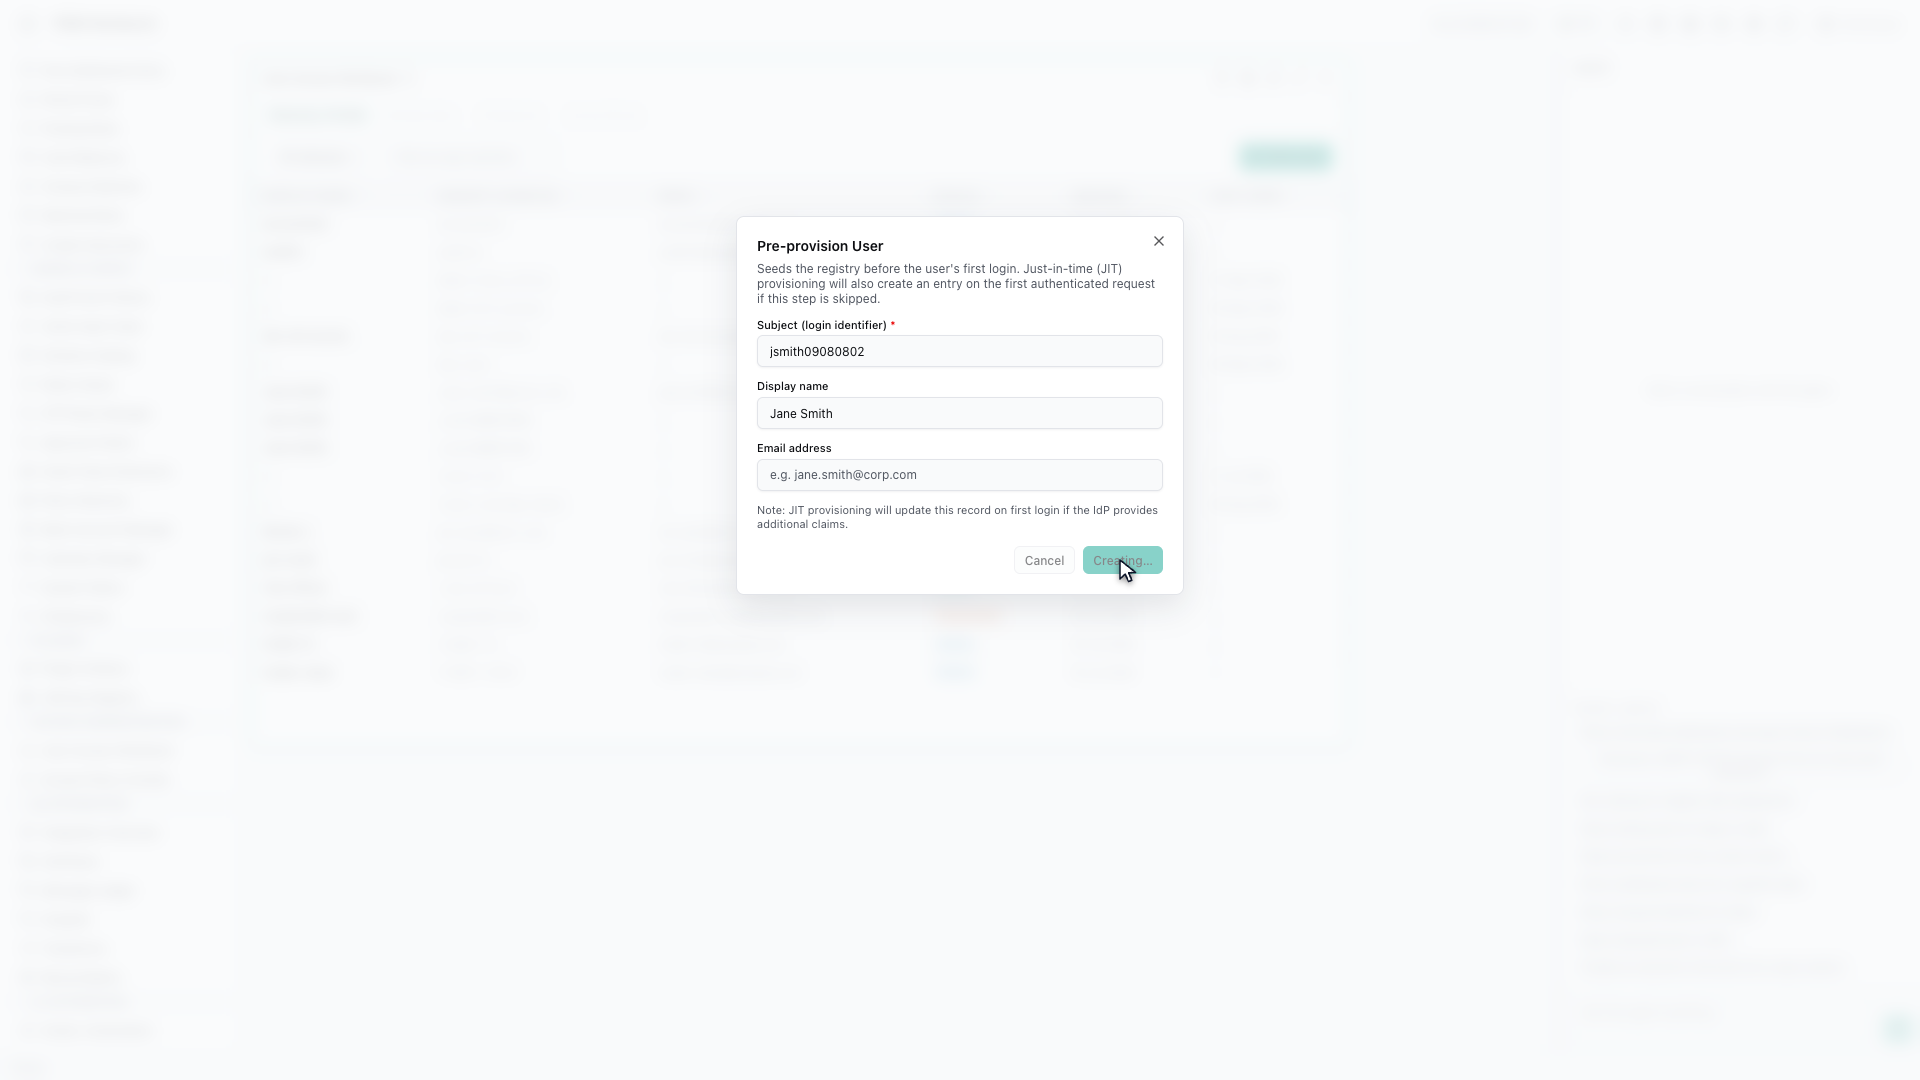
7. Create the user
Create the user, and the record appears in the directory straight away. It is active immediately, but on its own it grants nothing.
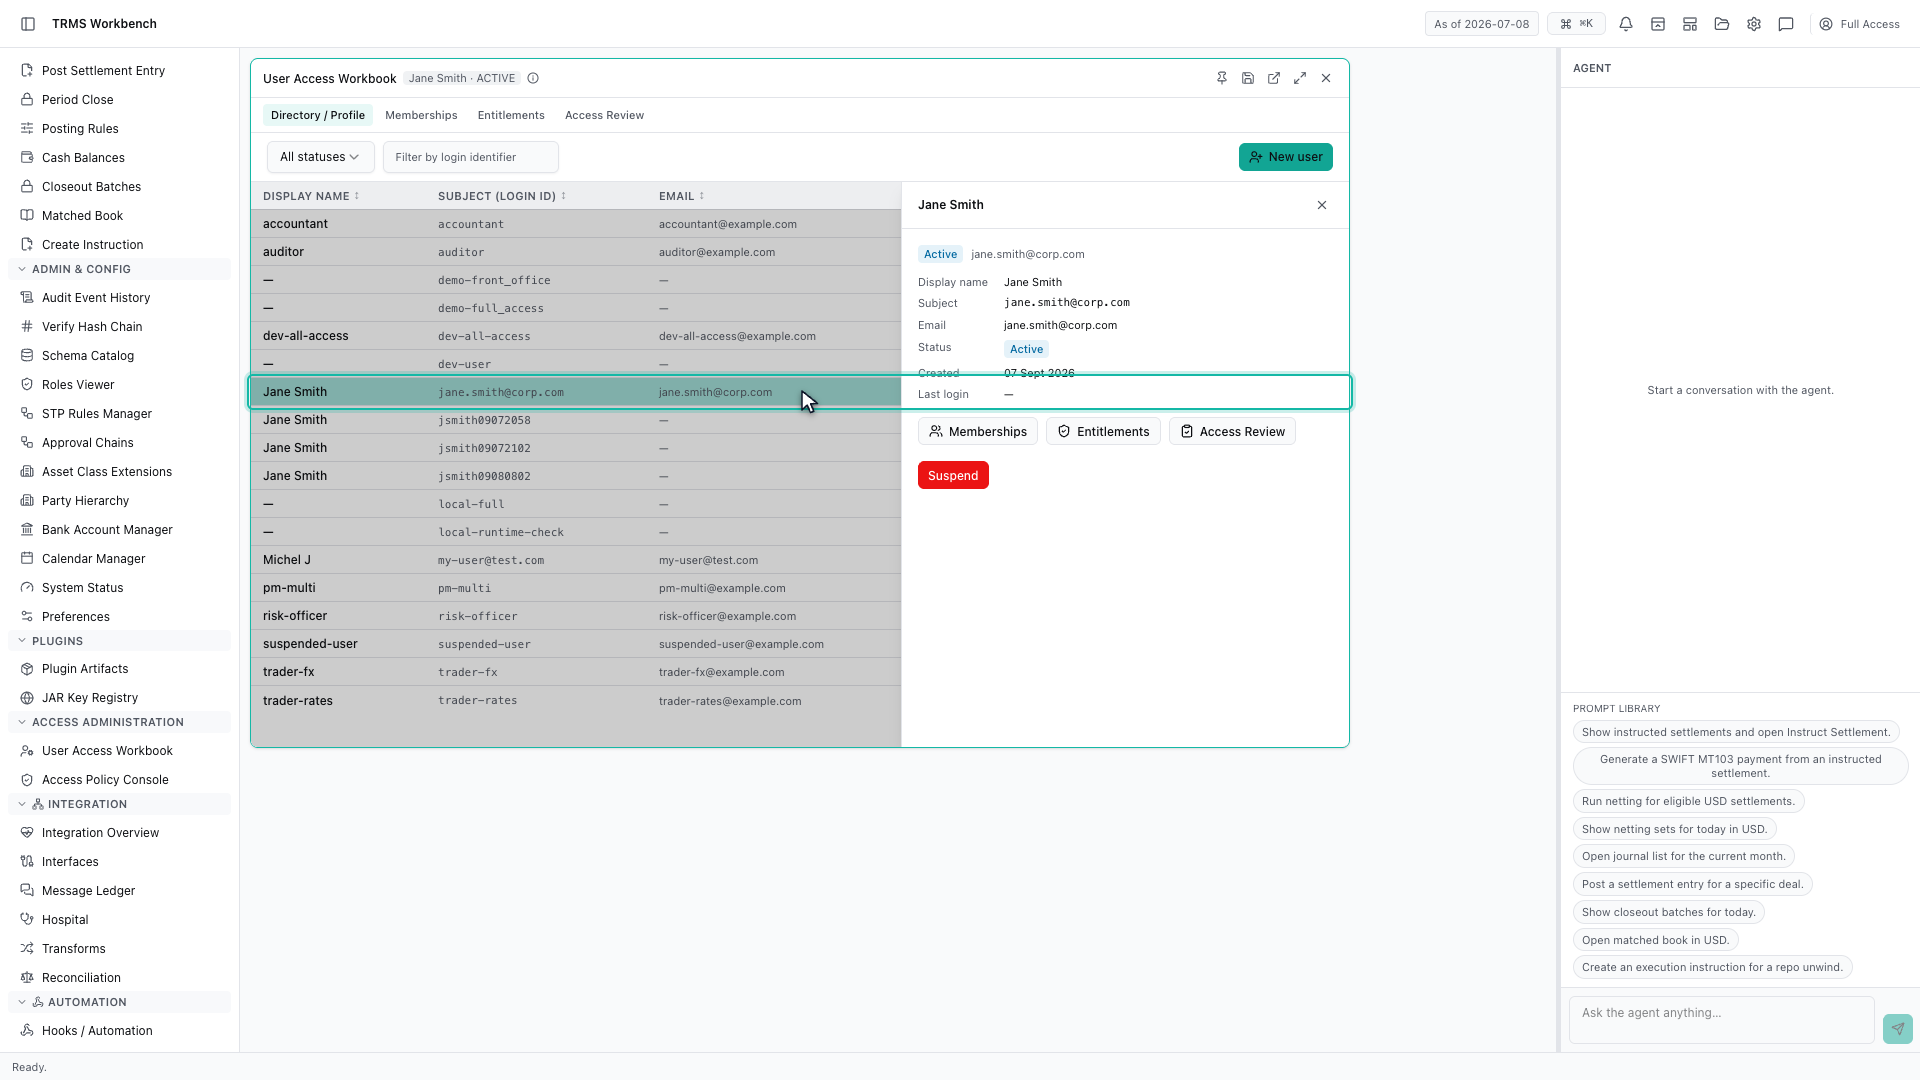
8. Select the new user
Selecting the new user loads them into the tabs above, and everything from here applies to them.
9. Grant a data group
Memberships is where data groups are granted — these decide which books, portfolios and counterparties the person can see, and the table records who added each one and when.
10. Data groups, not roles
A group is chosen here and added, and what it grants is data access — which books and counterparties the person can see. Functional groups, which carry what a person is allowed to do, are listed separately below.
11. Entitlements and access review
The last two tabs complete the picture. Entitlements shows what the person can actually do once their groups are applied, and Access Review is where that access is signed off periodically.
12. Next steps
That completes Users and Access. Every surface shown here can also be opened from the agent panel on the right, by asking for it in plain English.