Getting Started in the Workbench
A first tour of the OpenTRMS Workbench — how the workspace is laid out, how to open, arrange and close screens, and how to find anything from one keyboard shortcut.
Transcript2m 47s
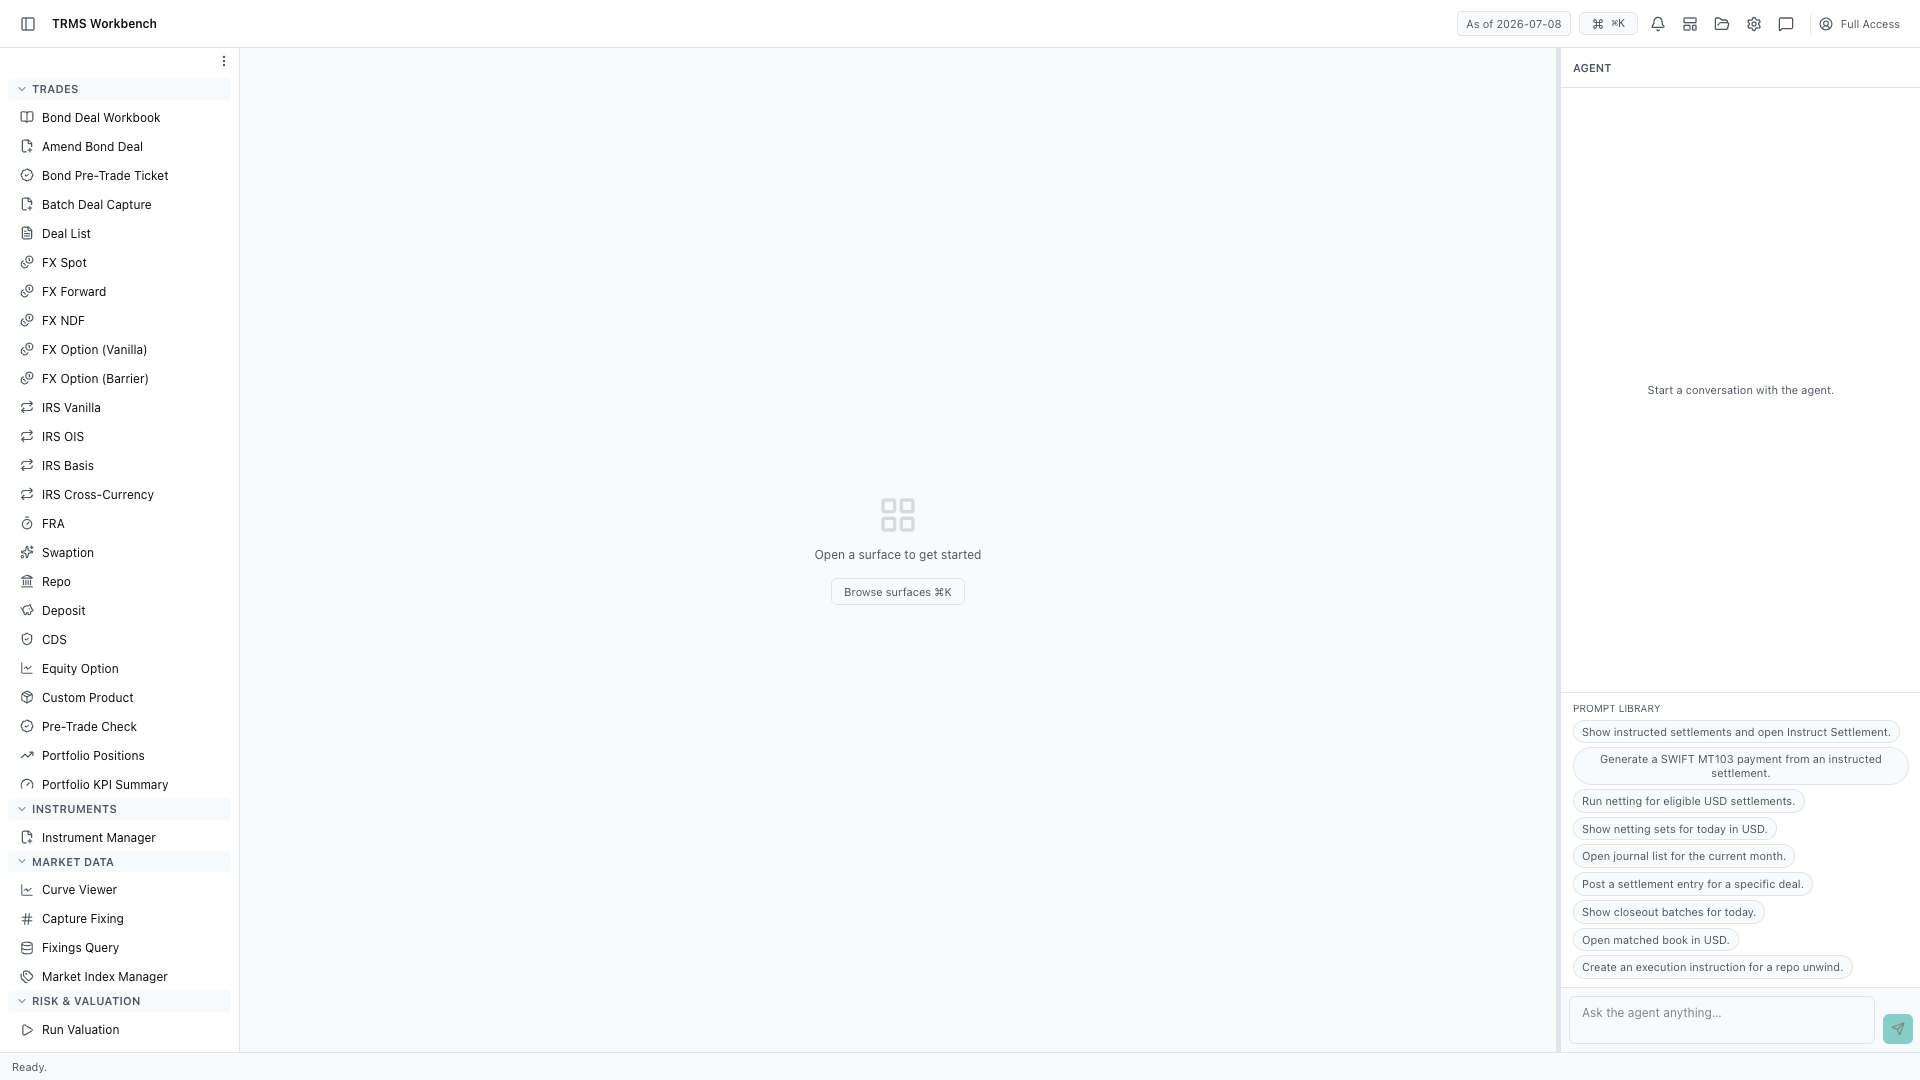
In this walkthrough we'll take a first tour of the workspace and learn how to find anything. The screen has four parts — the top bar, the navigation on the left, your workspace in the middle, and the agent on the right.
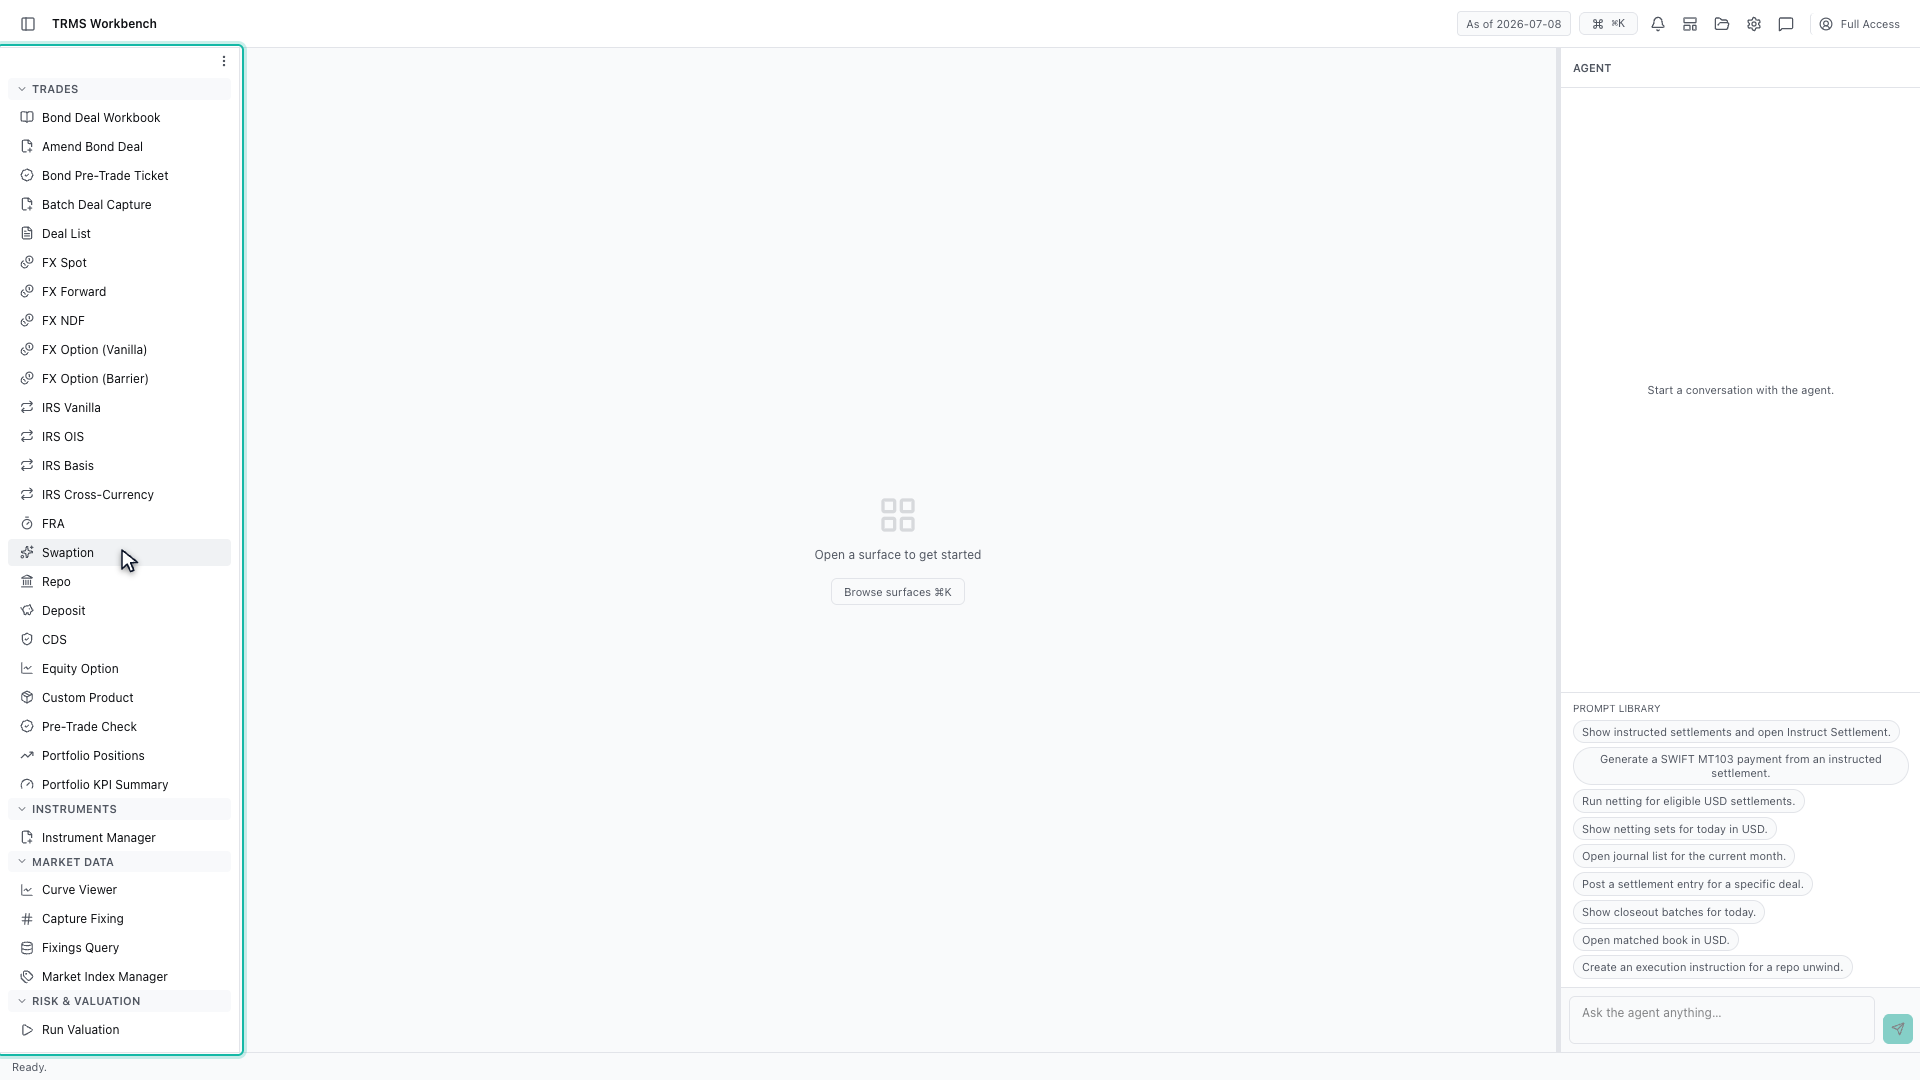
Start on the left. The navigation lists every screen, grouped by what it is for — trades, instruments, market data, risk, and post-trade operations.
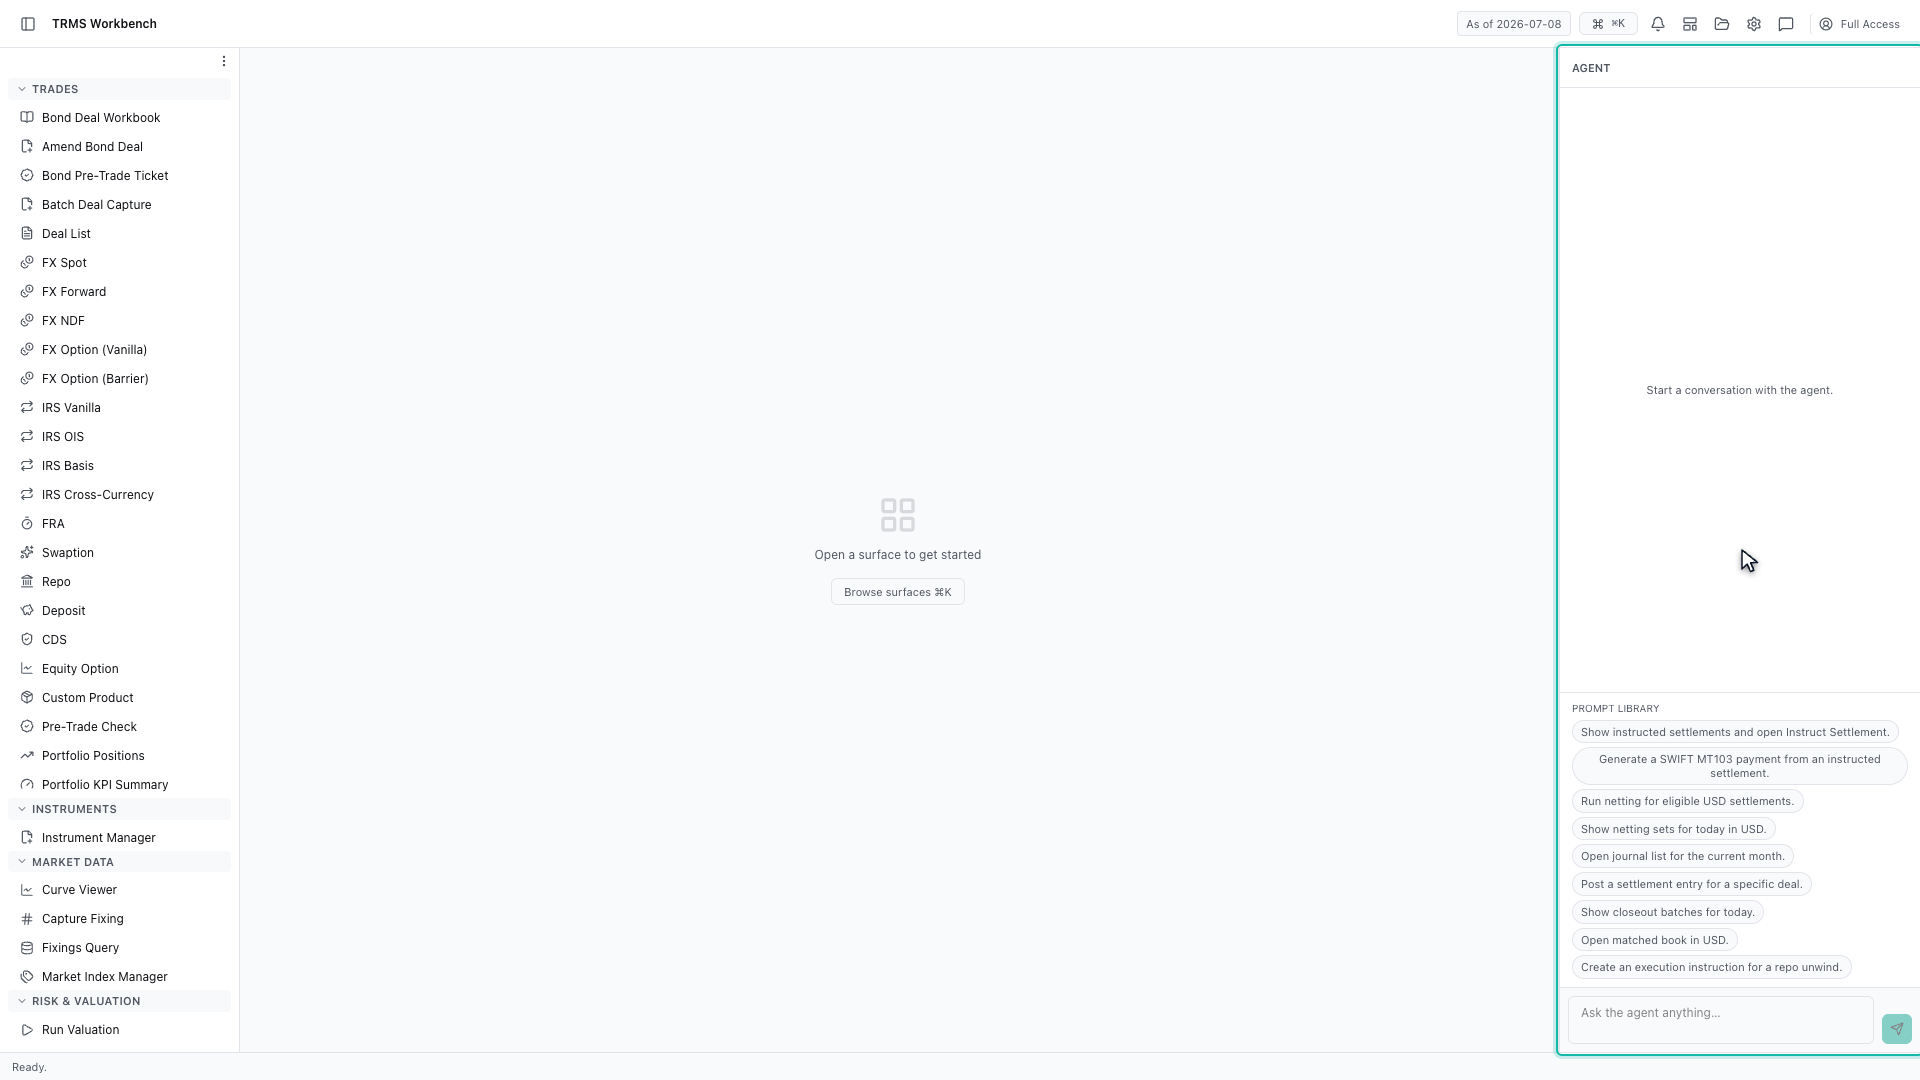
On the right is the agent — a second way into the same screens. Describe what you need in plain English and it opens them, and the prompt library below has examples.
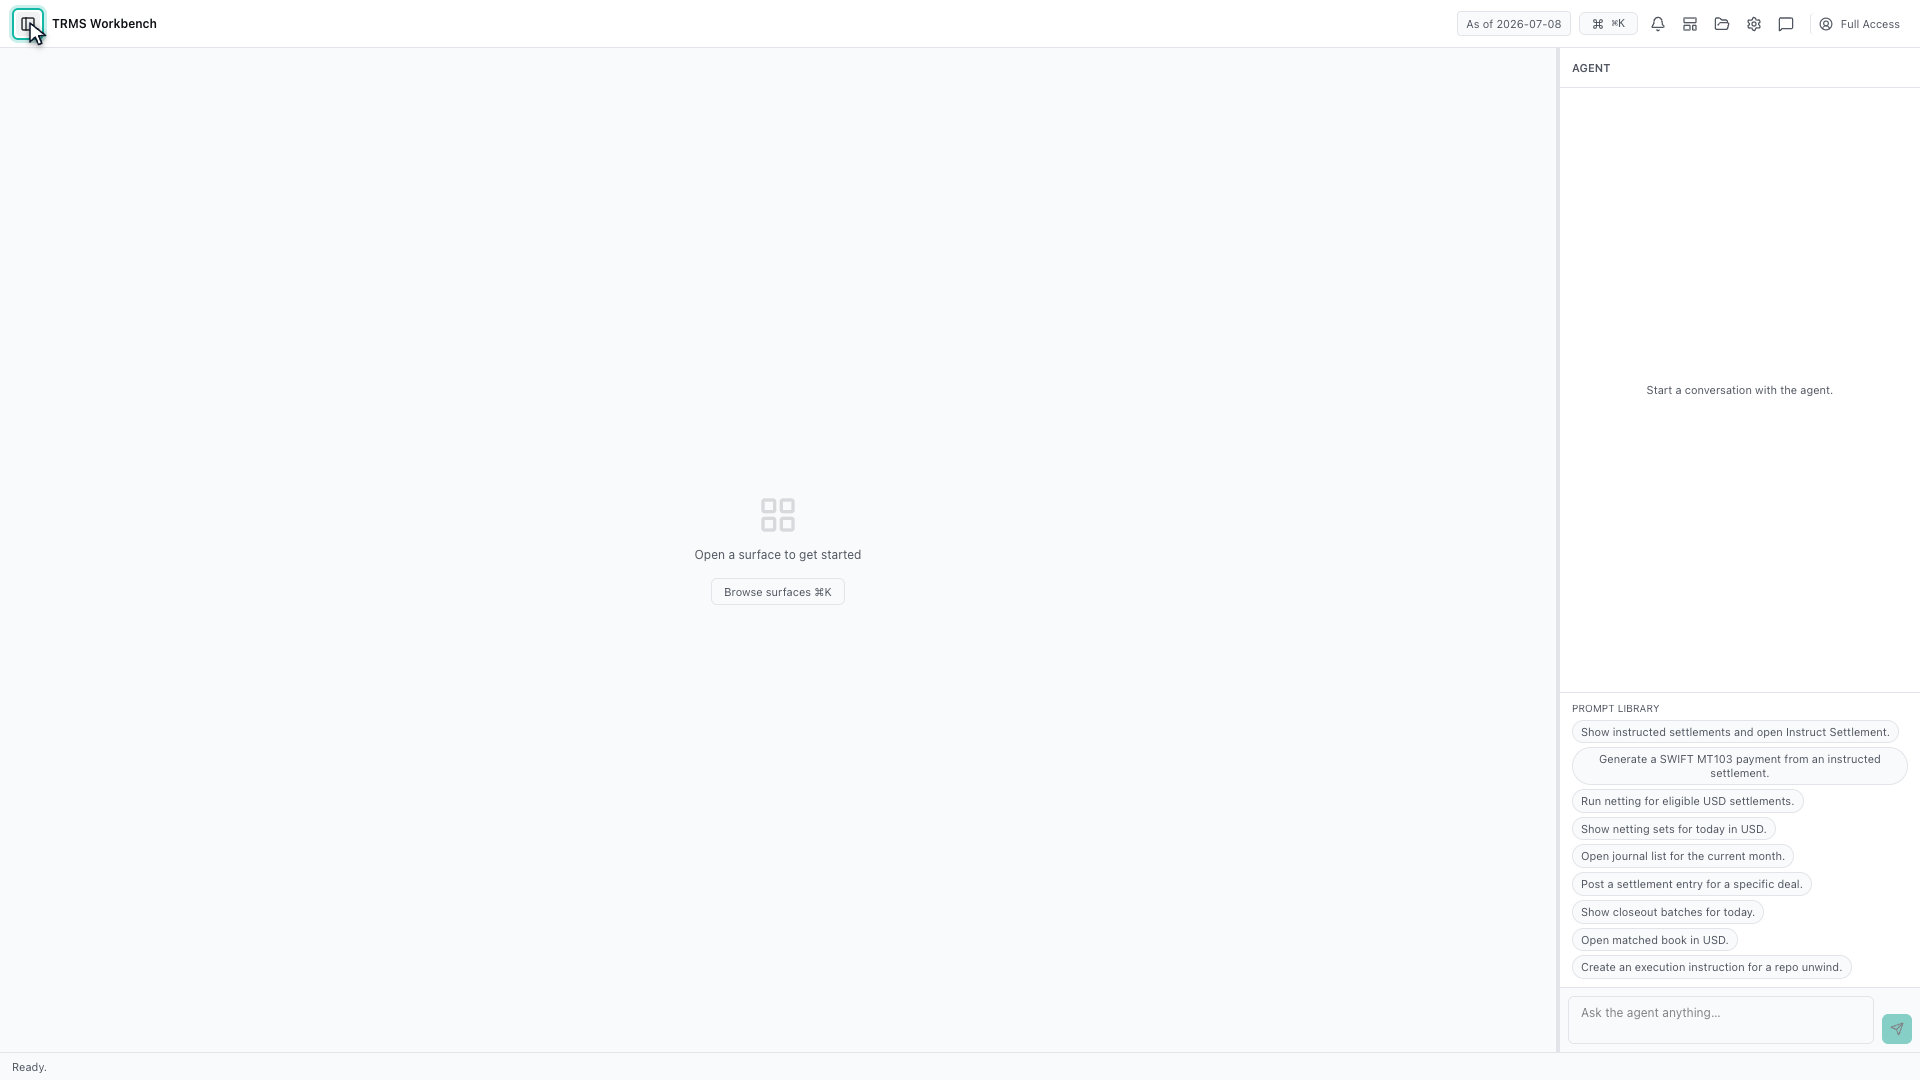
Both sides fold away when you want the room. The navigation collapses from the button beside the Workbench name.
The agent hides the same way, which gives your workspace the full width of the screen.
The same two buttons bring them back.
Nothing is lost while they are hidden.
Now the middle. Open a screen and it appears as a panel in your workspace. Panels are tiles rather than pop-up windows.
Open a second and the two tile together, one below the other. Neither hides the navigation or the agent, so you keep your place while you work.
Each panel has its own controls — maximise it, detach it into a separate window, or close it.
That leaves the top bar. Everything is shown as of a business date, not today's date — the first thing to check when a number looks wrong.
Beside it is the role you are signed in as. It decides what appears in the navigation, so if a colleague has an item you do not, that is entitlements rather than a fault.
An arrangement you like can be kept. Templates hold saved layouts and presets for common operations, so a morning setup is one click.
Escape closes any menu or dialog, and always backs you out safely.
And when you have finished, close every panel at once from here.
One last thing, and the most useful. Command K, or Control K, opens universal search from anywhere.
Type what you are after and matching screens come first. No need to remember which menu group it lives under.
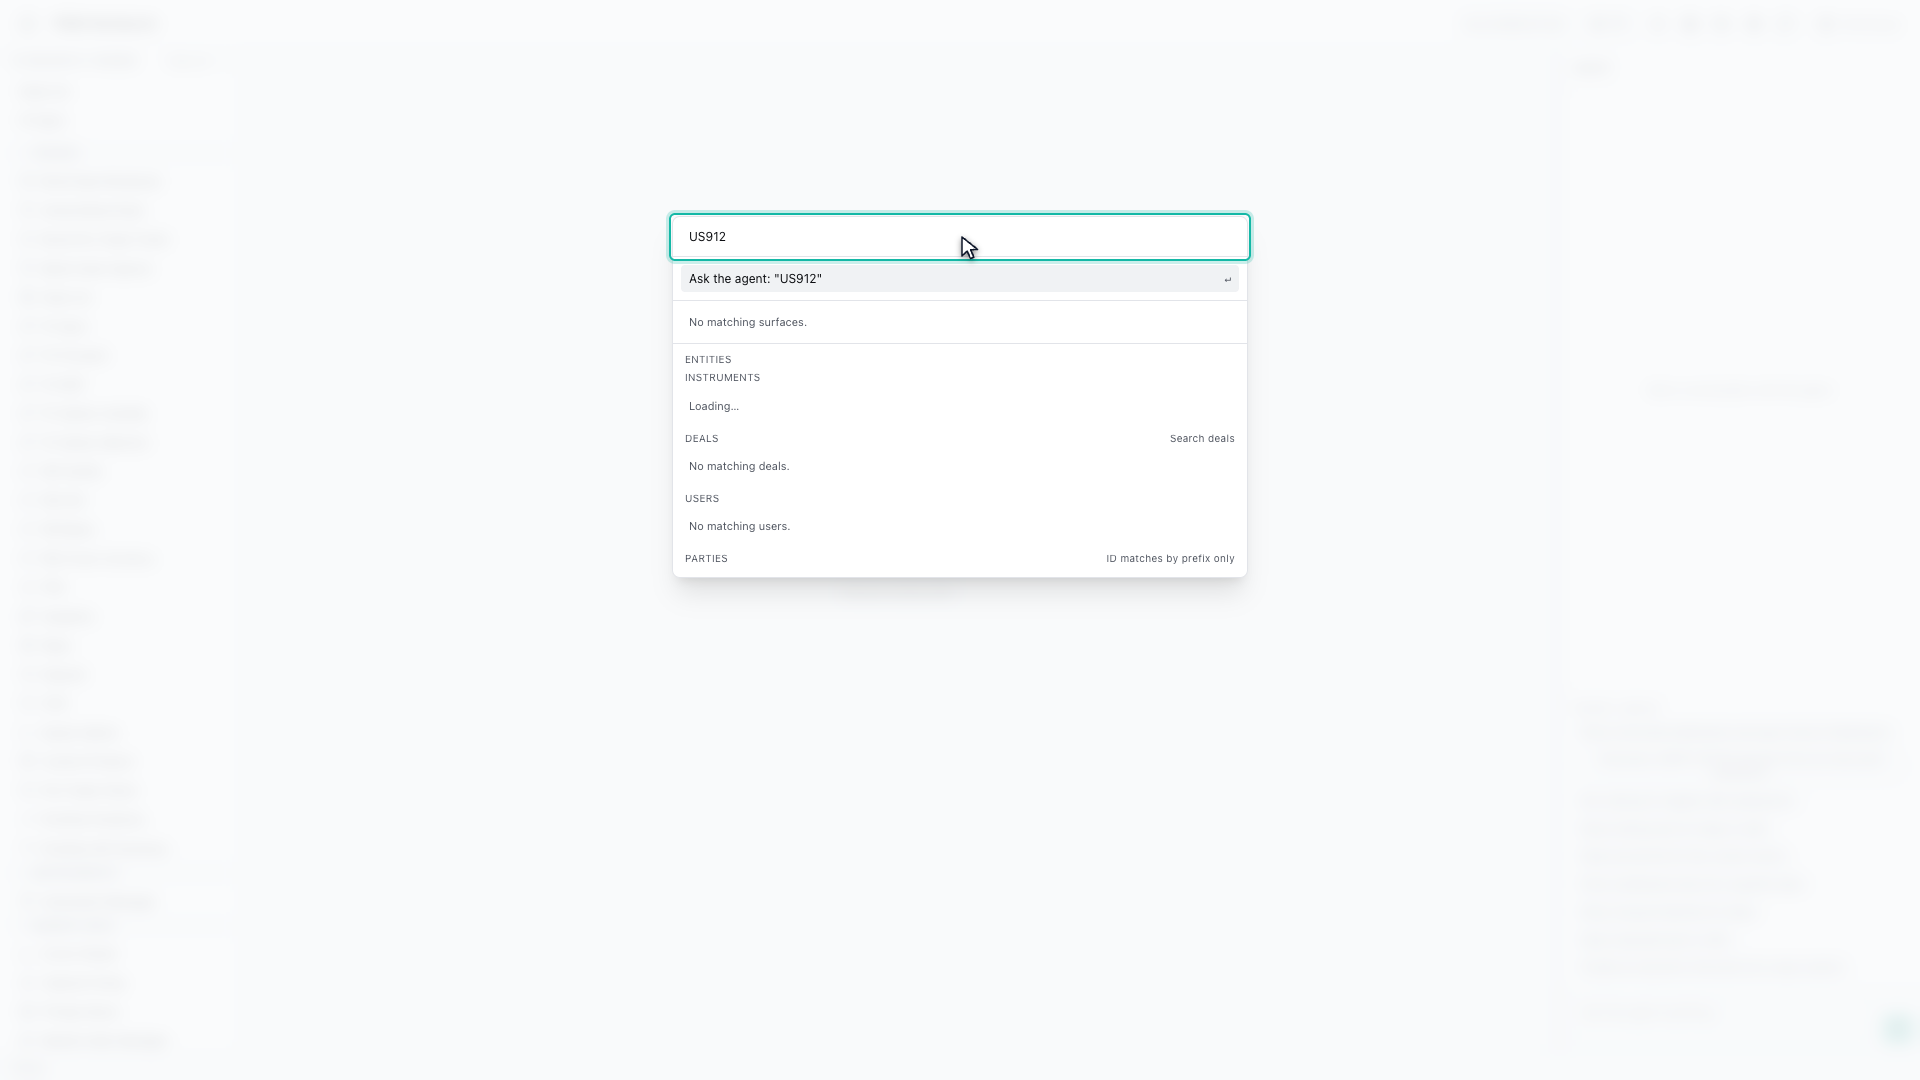
It searches your data as well. An ISIN finds the instrument itself.
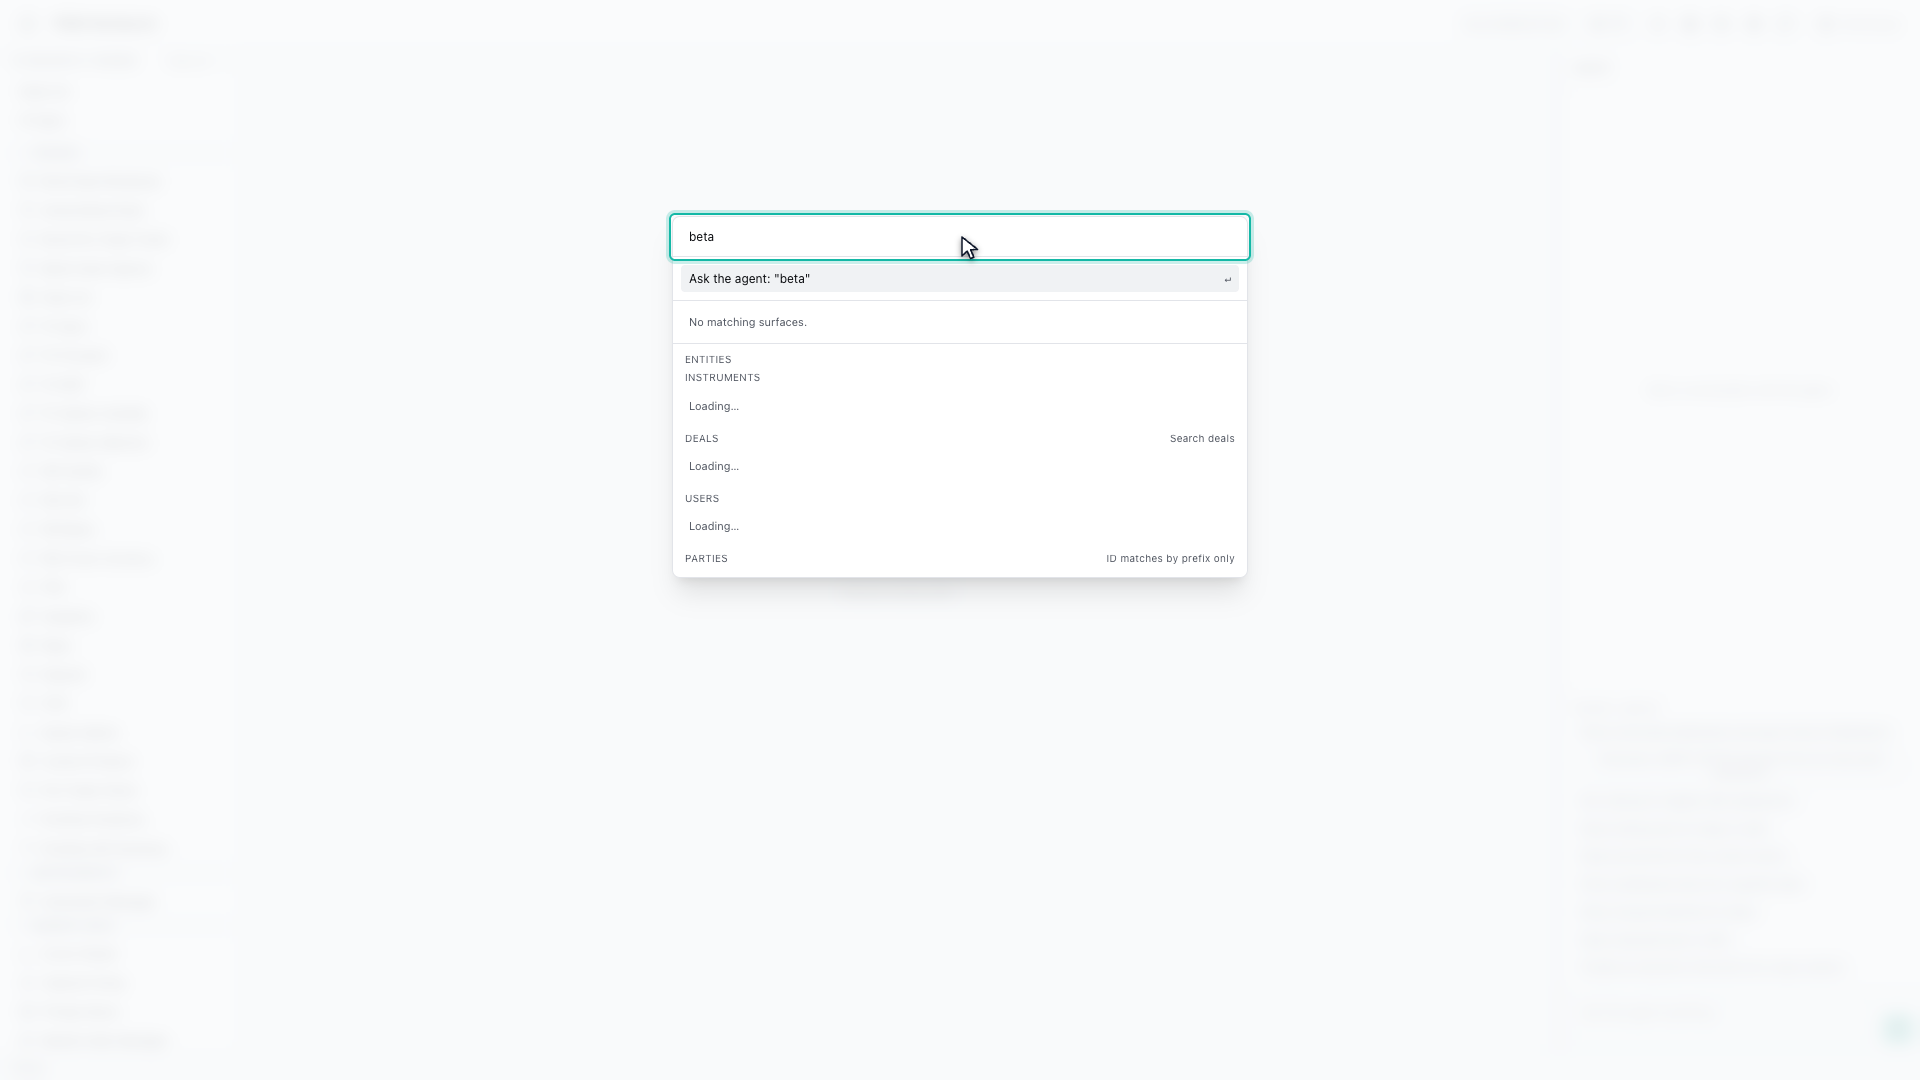
A counterparty name finds deals booked against it. The same search covers users, parties and market indexes, and a result opens straight away.
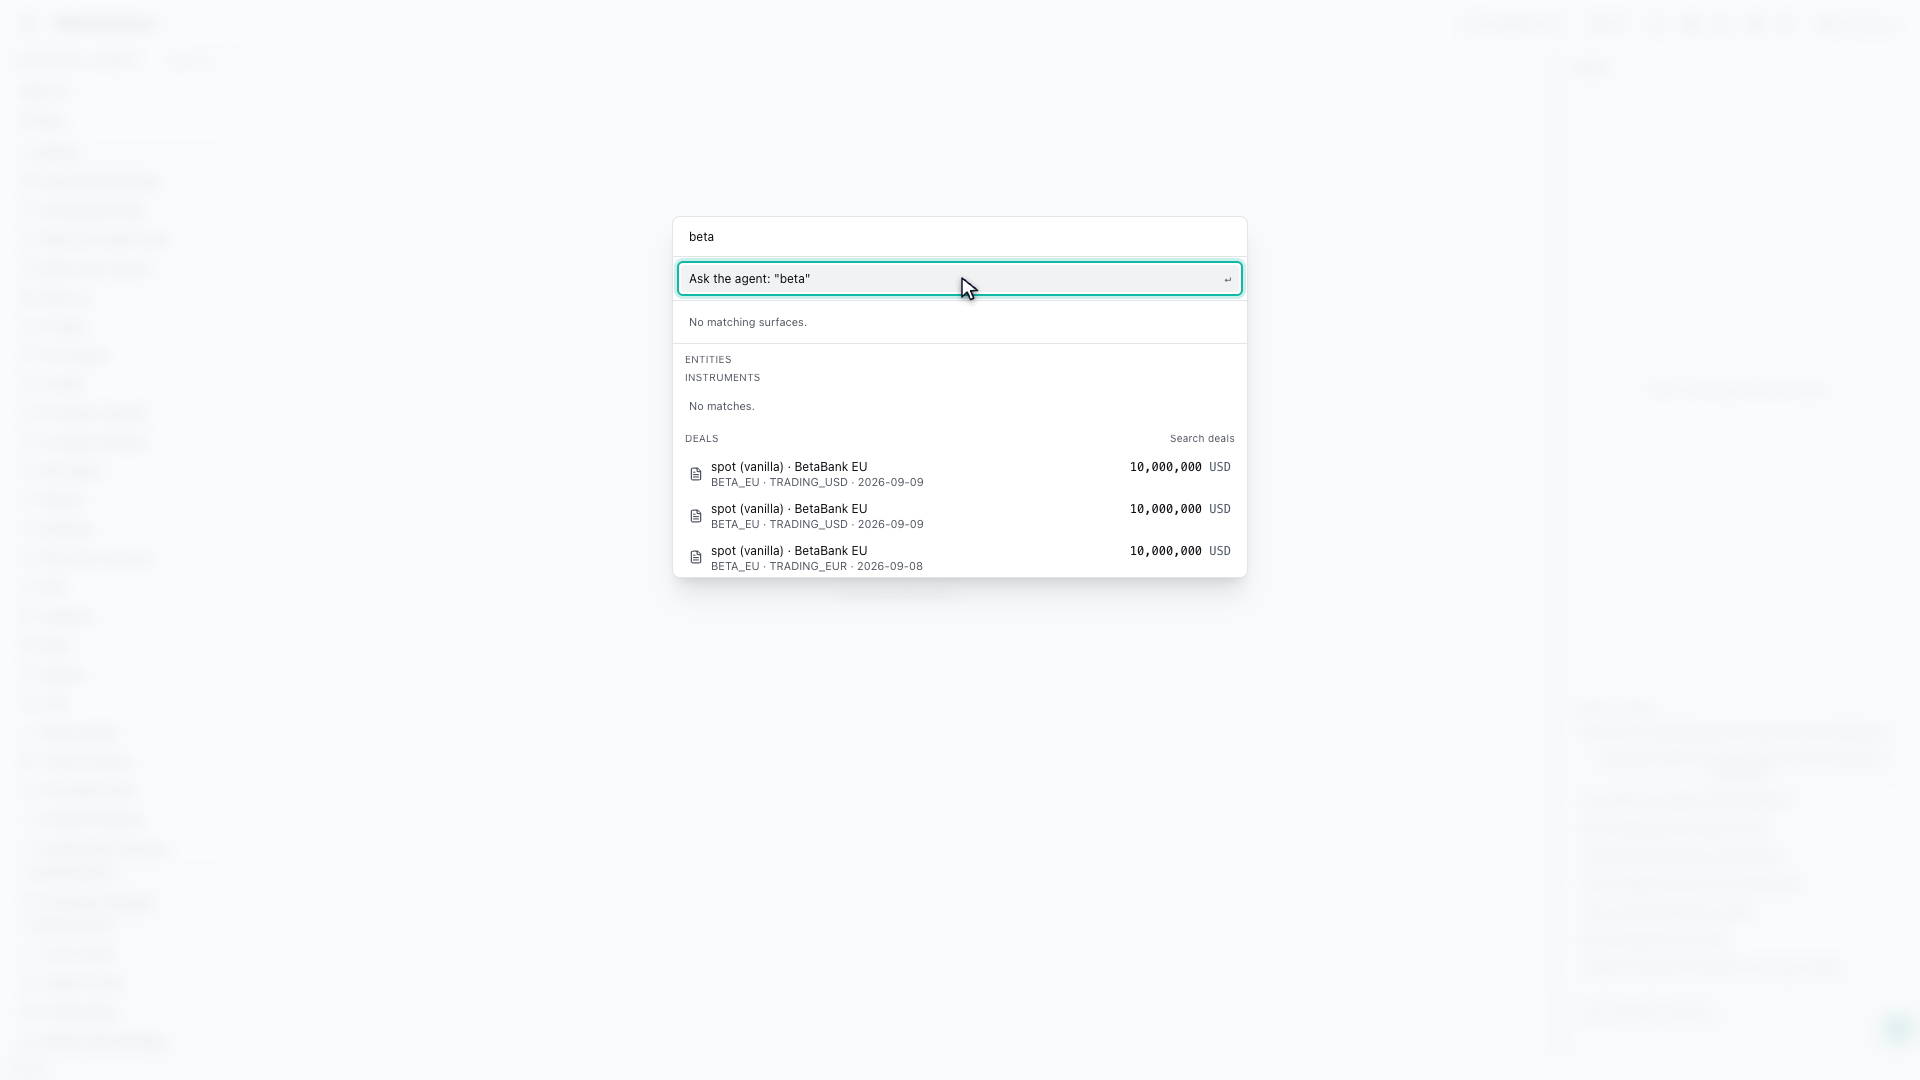
And the top row hands what you typed to the agent, so the same box is both a search and a question.
That completes Getting Started in the Workbench. Every surface shown here can also be opened from the agent panel on the right, by asking for it in plain English.
1. The four parts of the screen
In this walkthrough we'll take a first tour of the workspace and learn how to find anything. The screen has four parts — the top bar, the navigation on the left, your workspace in the middle, and the agent on the right.
2. The navigation on the left
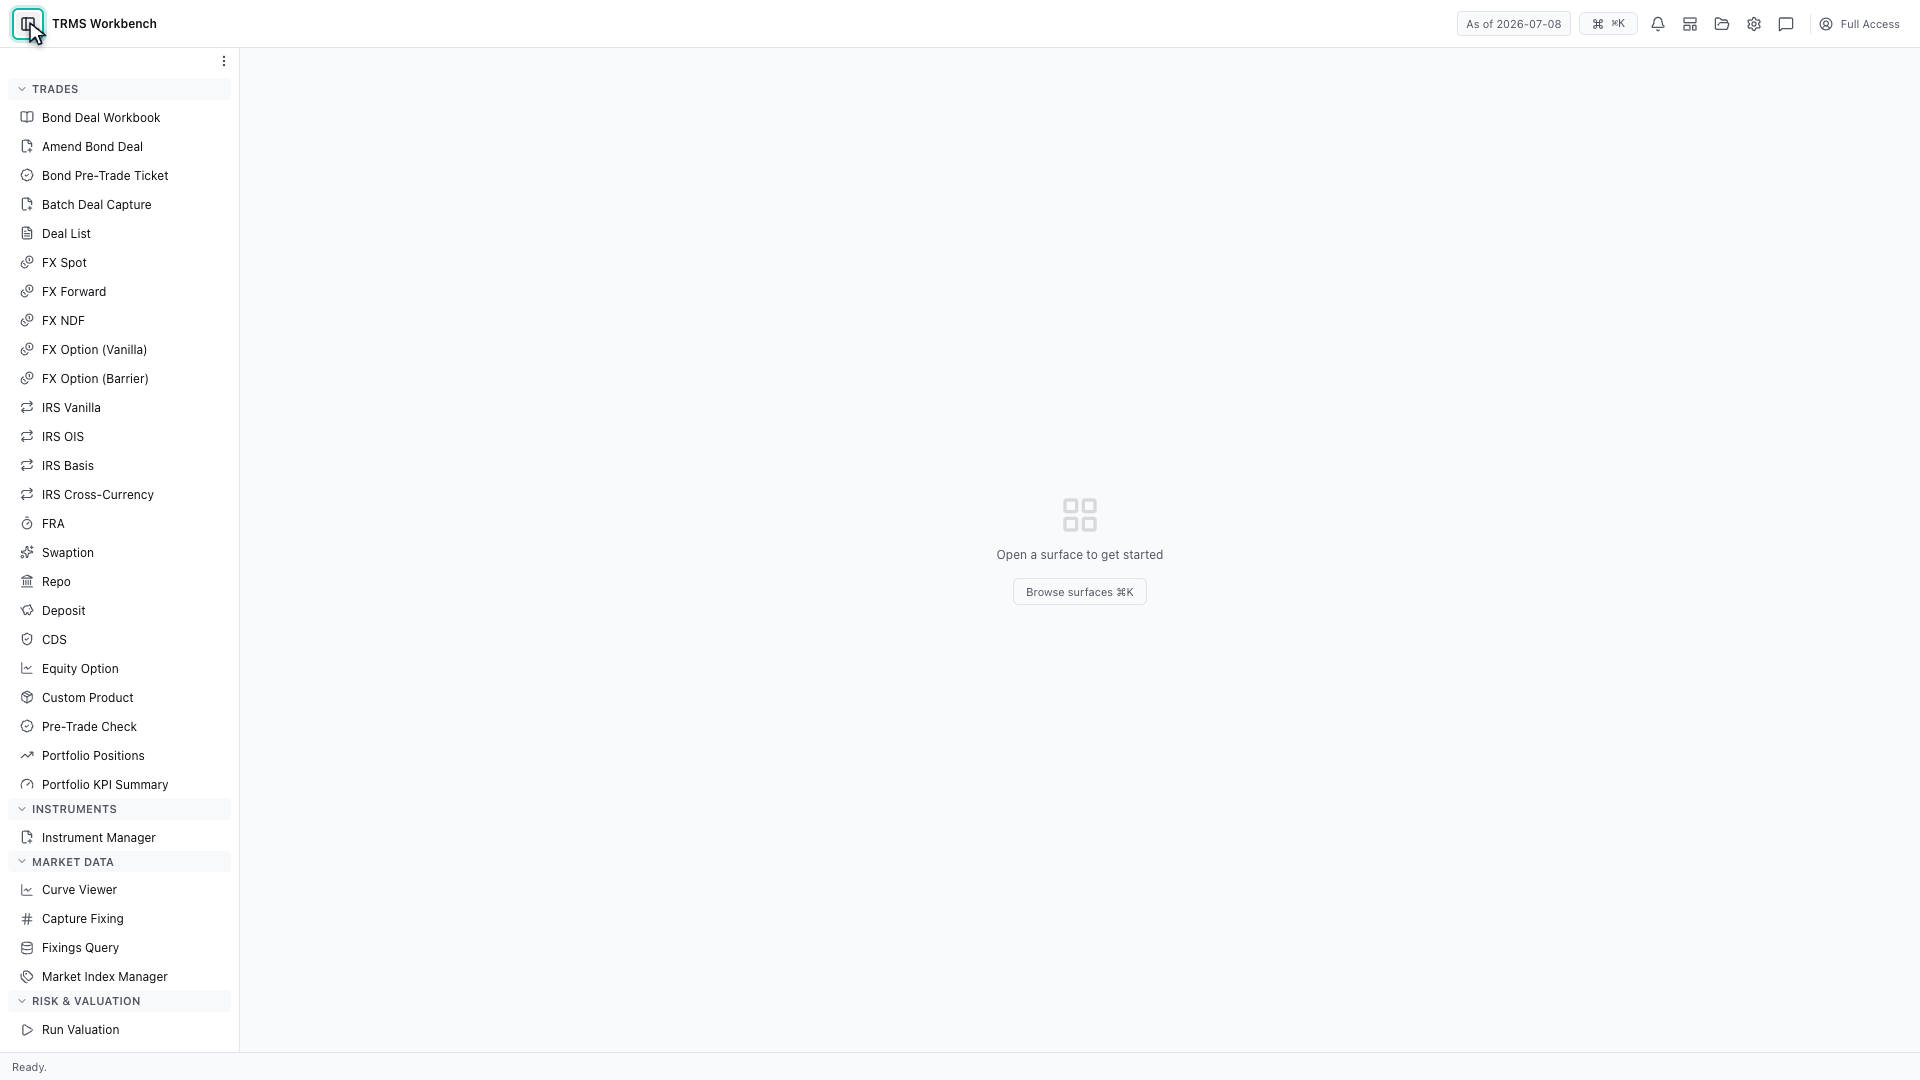
Start on the left. The navigation lists every screen, grouped by what it is for — trades, instruments, market data, risk, and post-trade operations.
3. The agent on the right
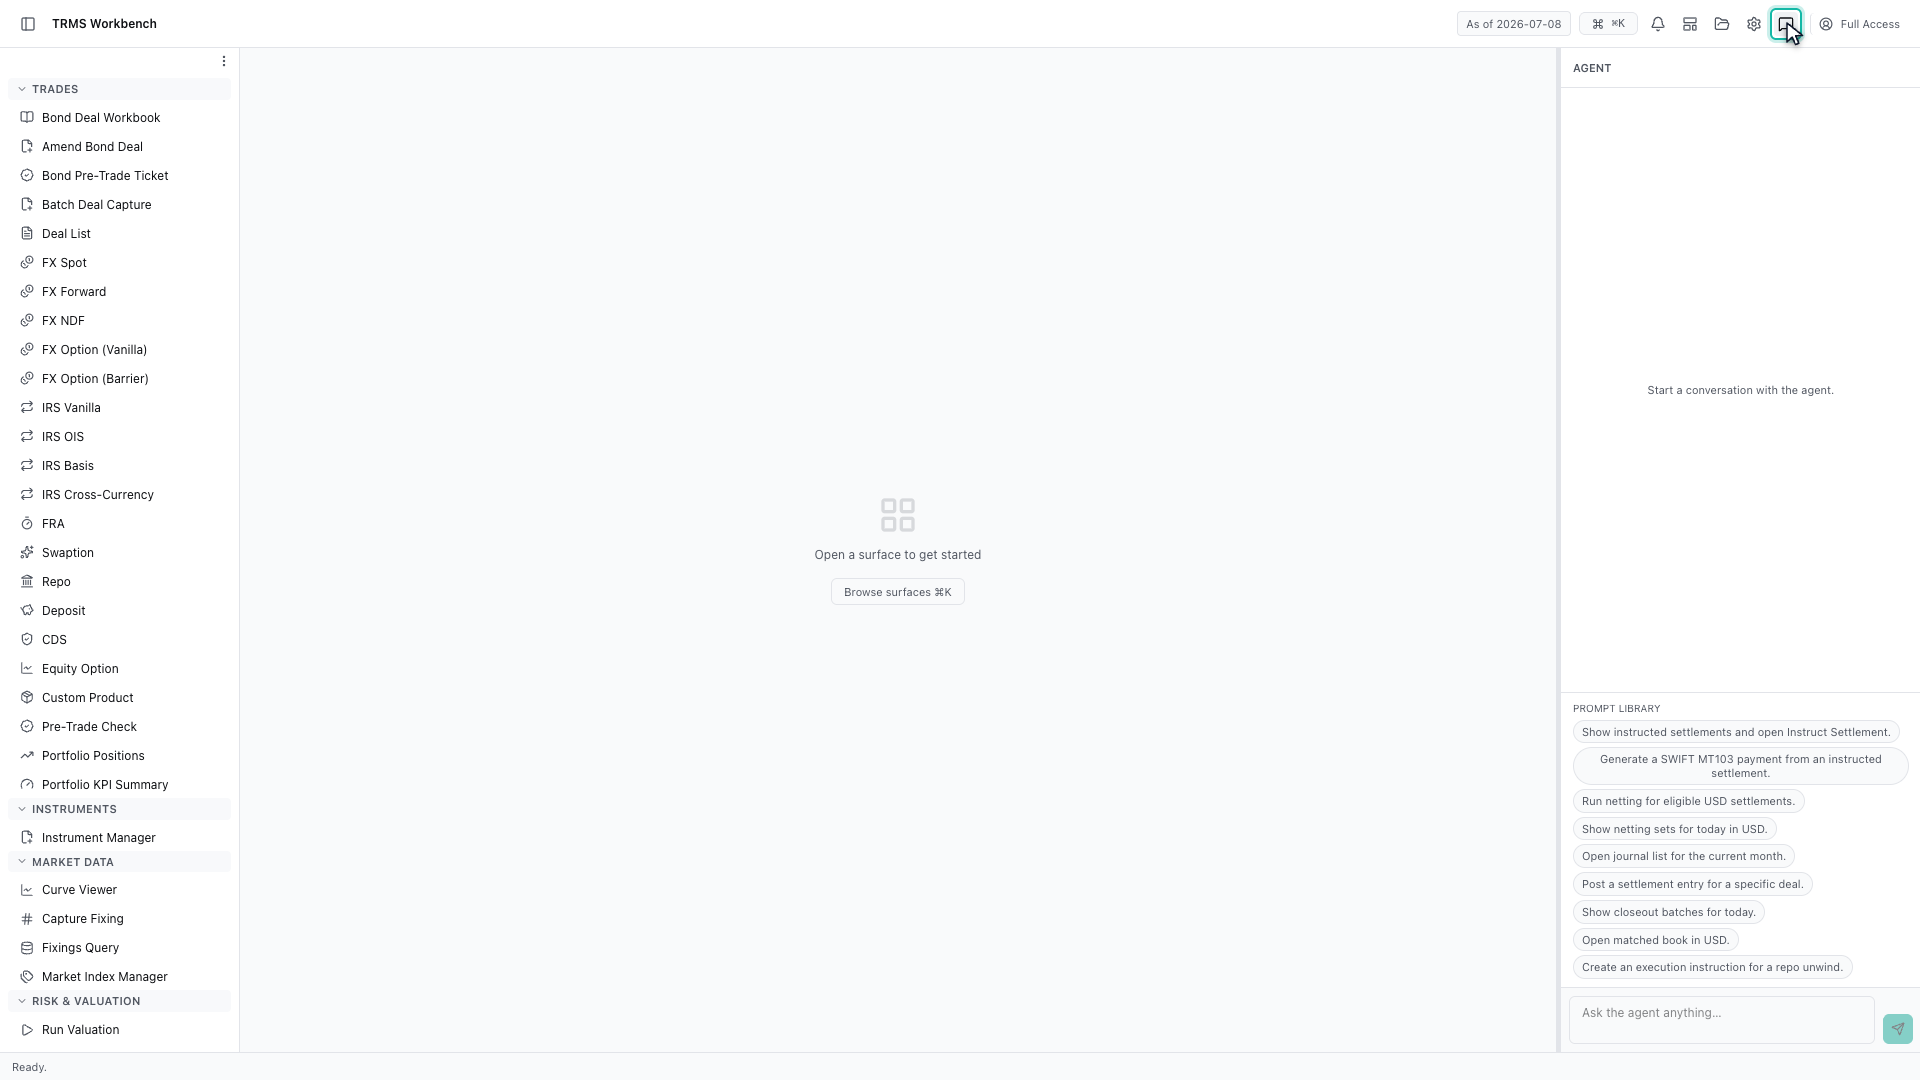
On the right is the agent — a second way into the same screens. Describe what you need in plain English and it opens them, and the prompt library below has examples.
4. Collapse the navigation
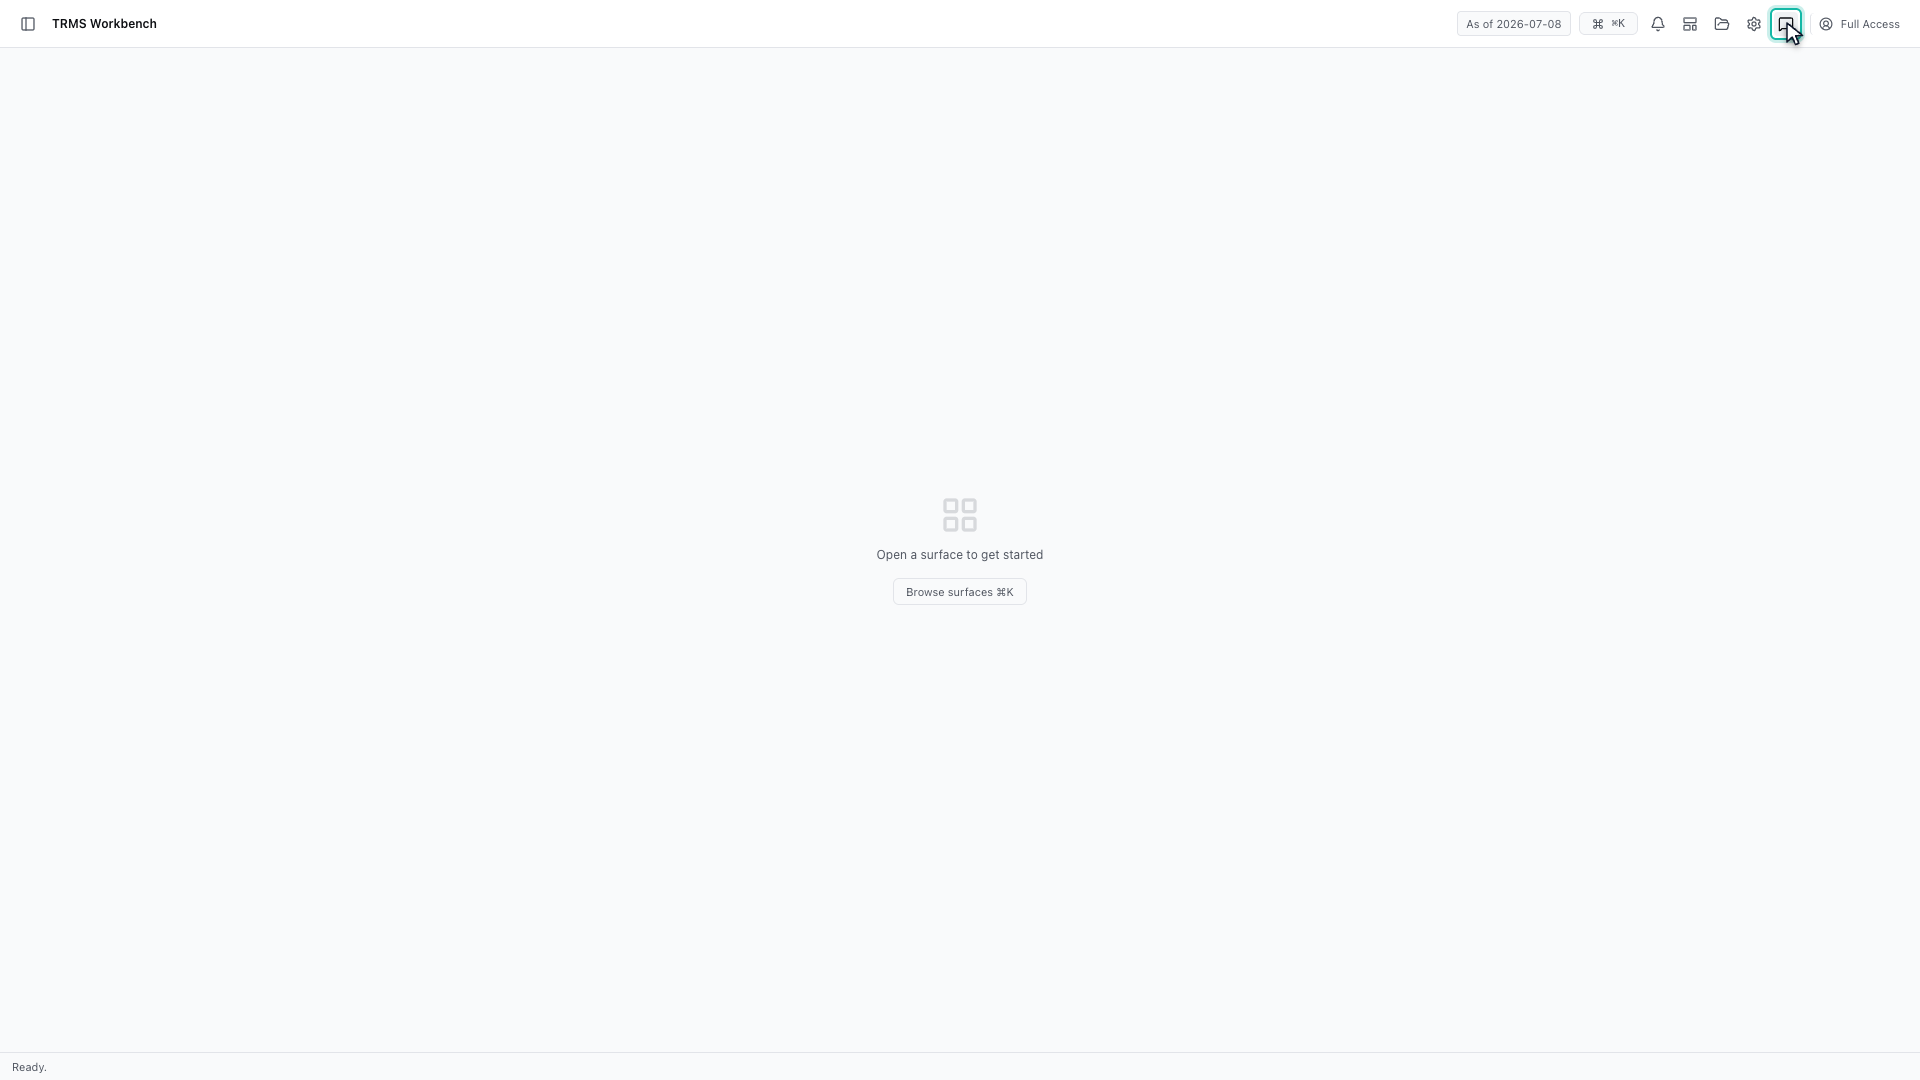
Both sides fold away when you want the room. The navigation collapses from the button beside the Workbench name.
5. Hide the agent
The agent hides the same way, which gives your workspace the full width of the screen.
6. Bring the navigation back
The same two buttons bring them back.
7. Bring the agent back
Nothing is lost while they are hidden.
8. Open your first screen
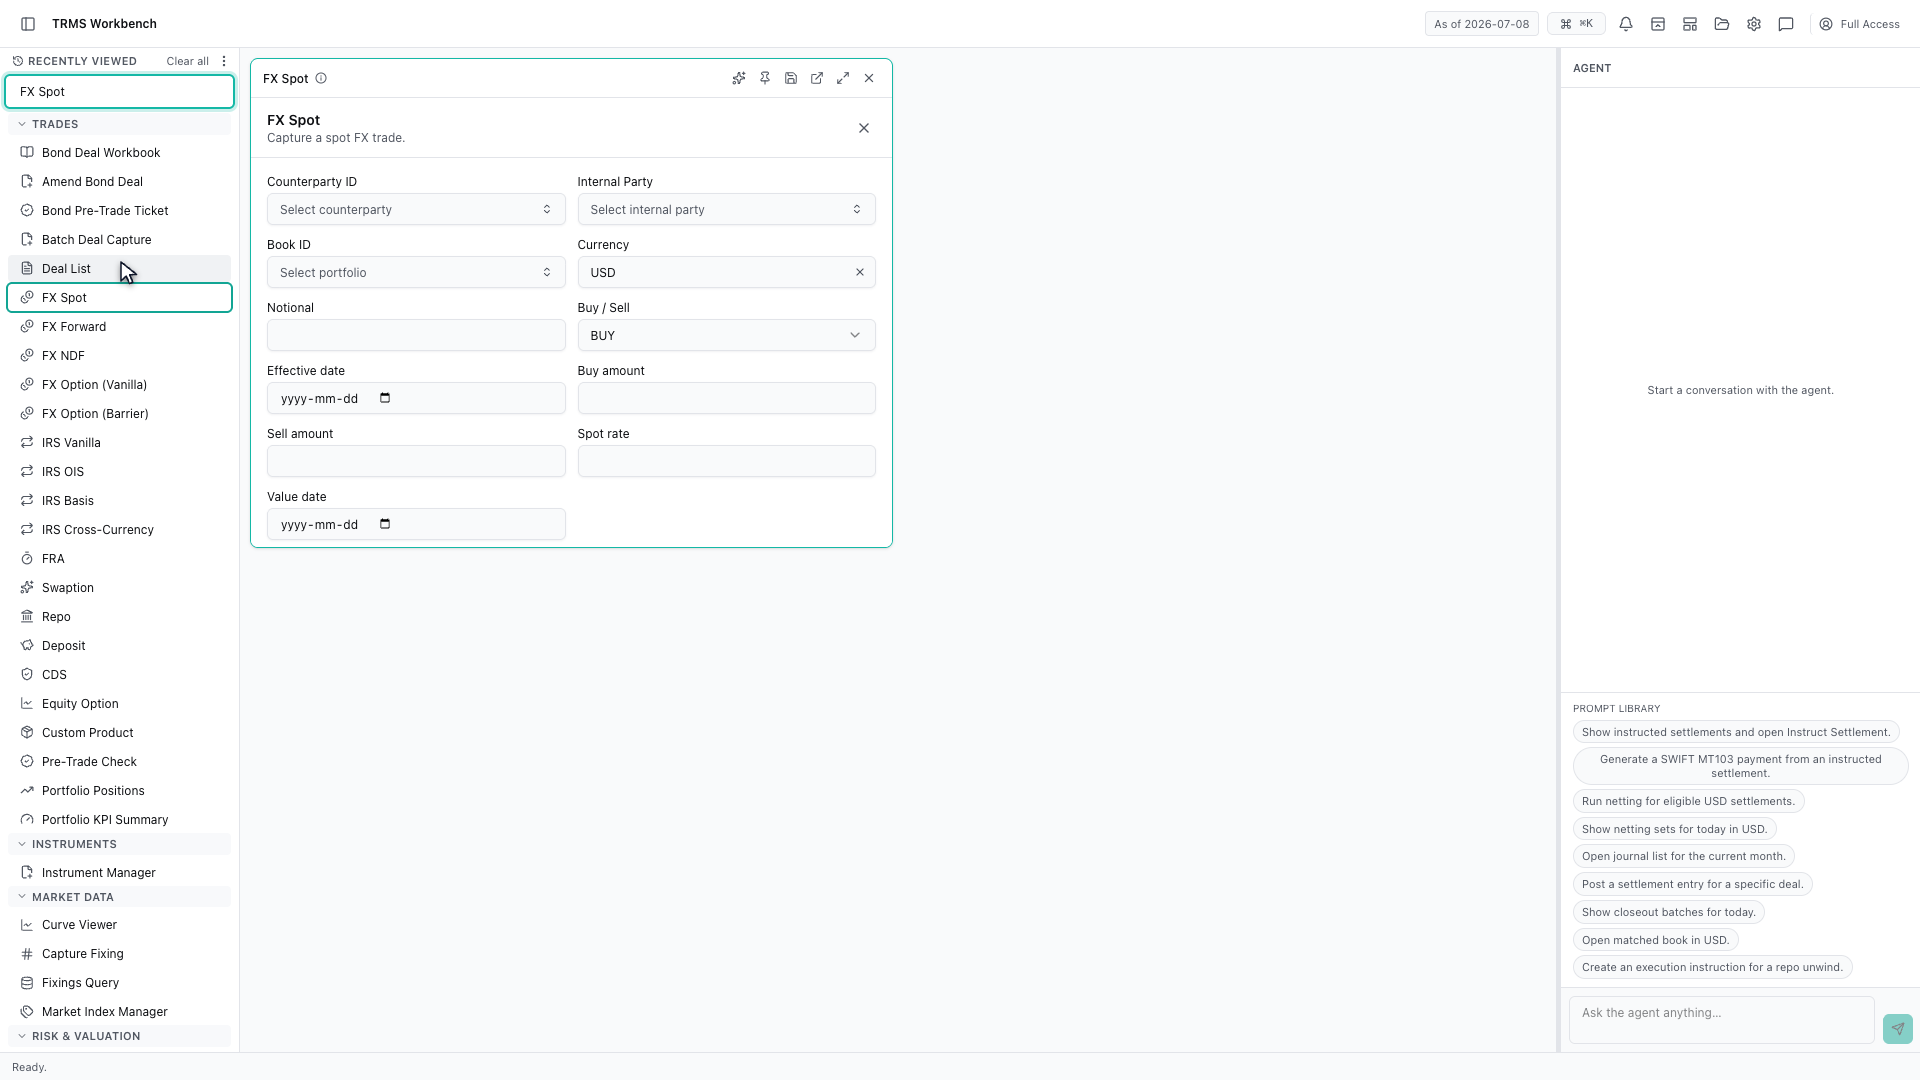
Now the middle. Open a screen and it appears as a panel in your workspace. Panels are tiles rather than pop-up windows.
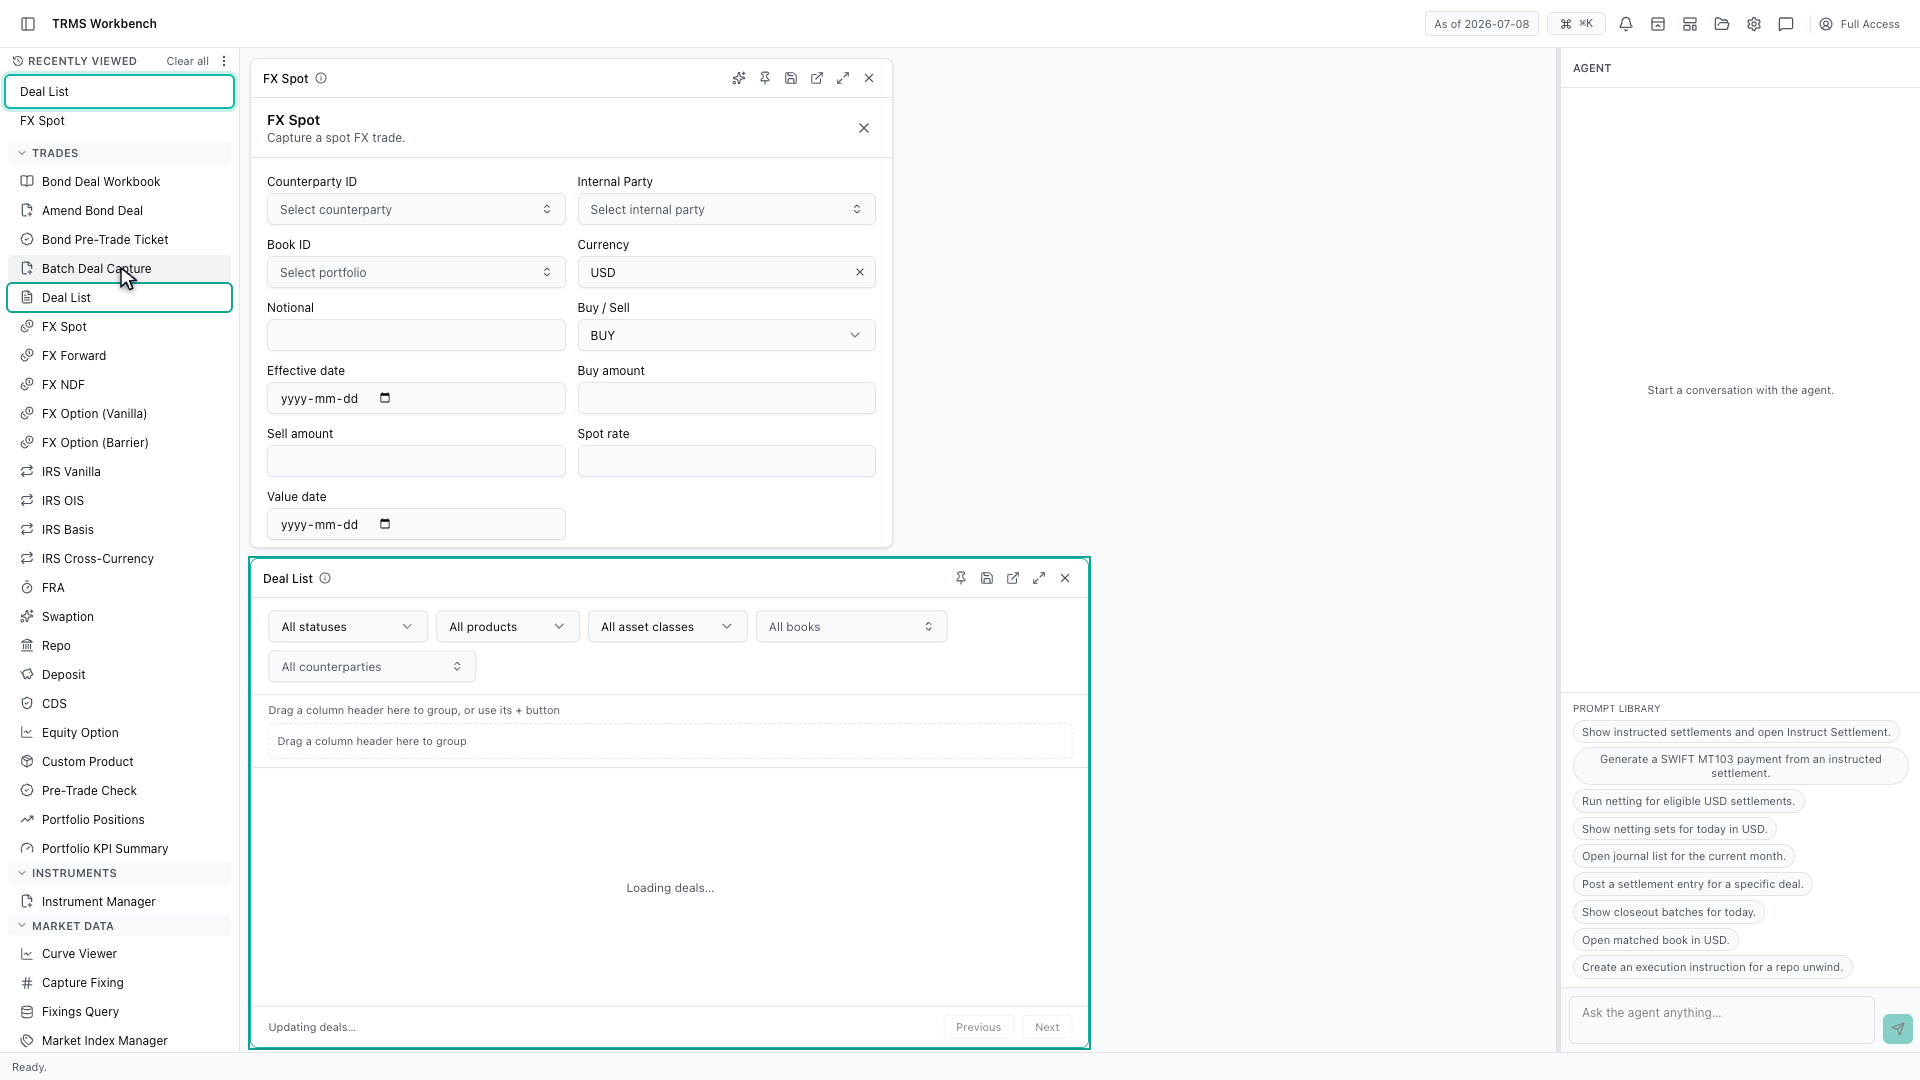
9. Work with more than one screen
Open a second and the two tile together, one below the other. Neither hides the navigation or the agent, so you keep your place while you work.
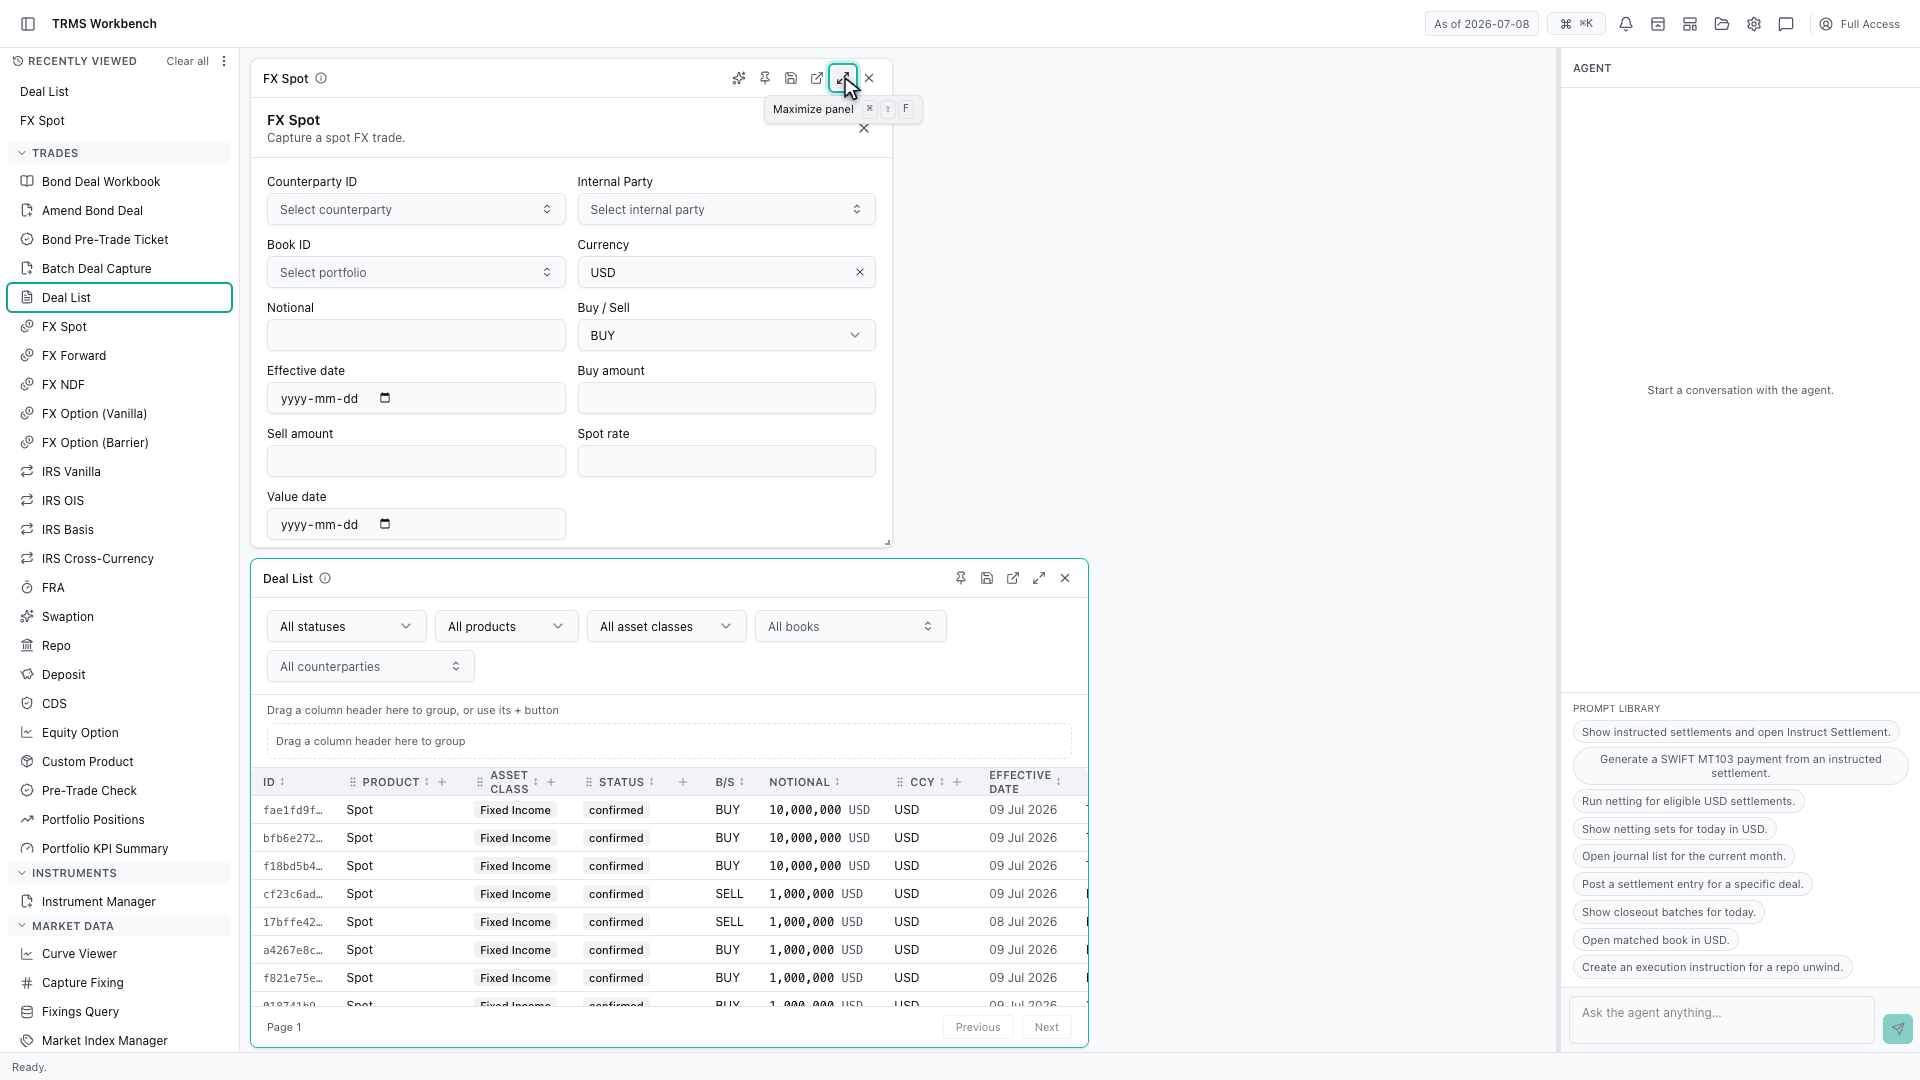
10. Control an individual panel
Each panel has its own controls — maximise it, detach it into a separate window, or close it.
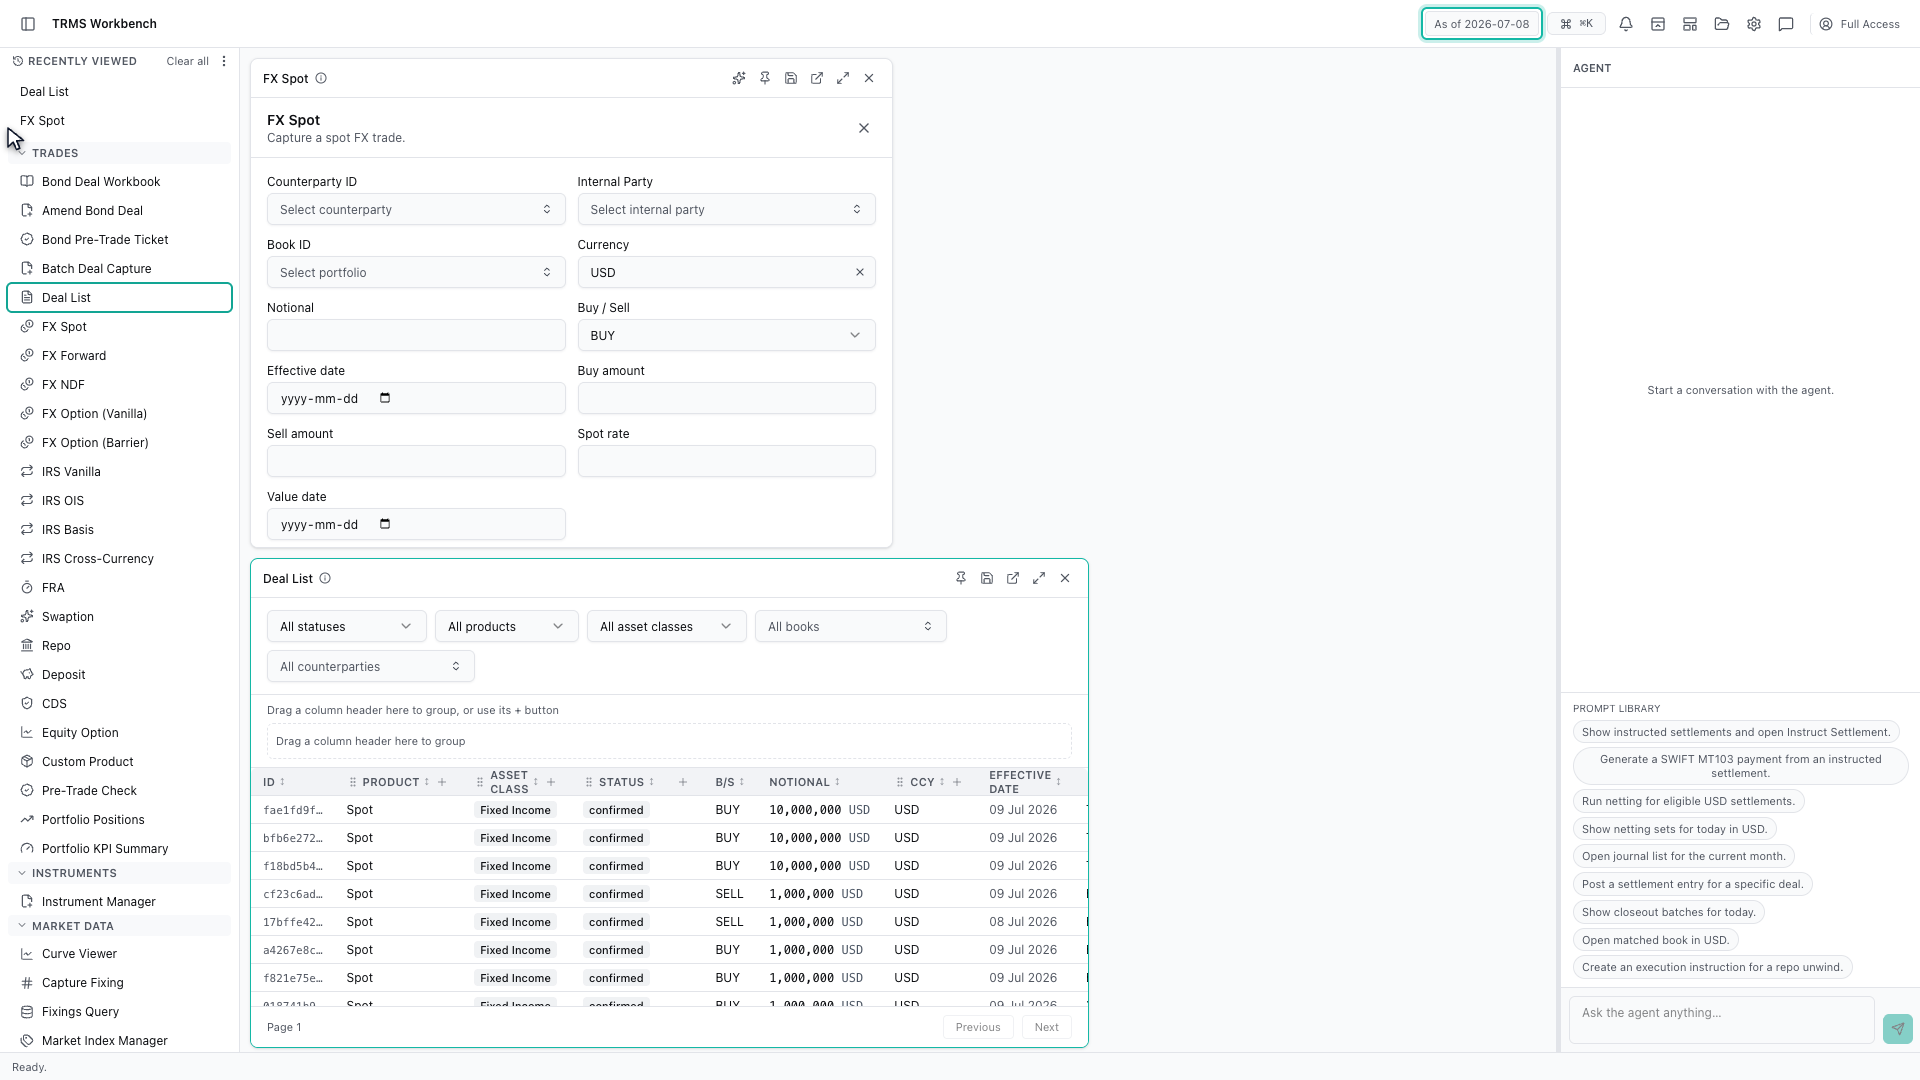
11. Check the business date
That leaves the top bar. Everything is shown as of a business date, not today's date — the first thing to check when a number looks wrong.
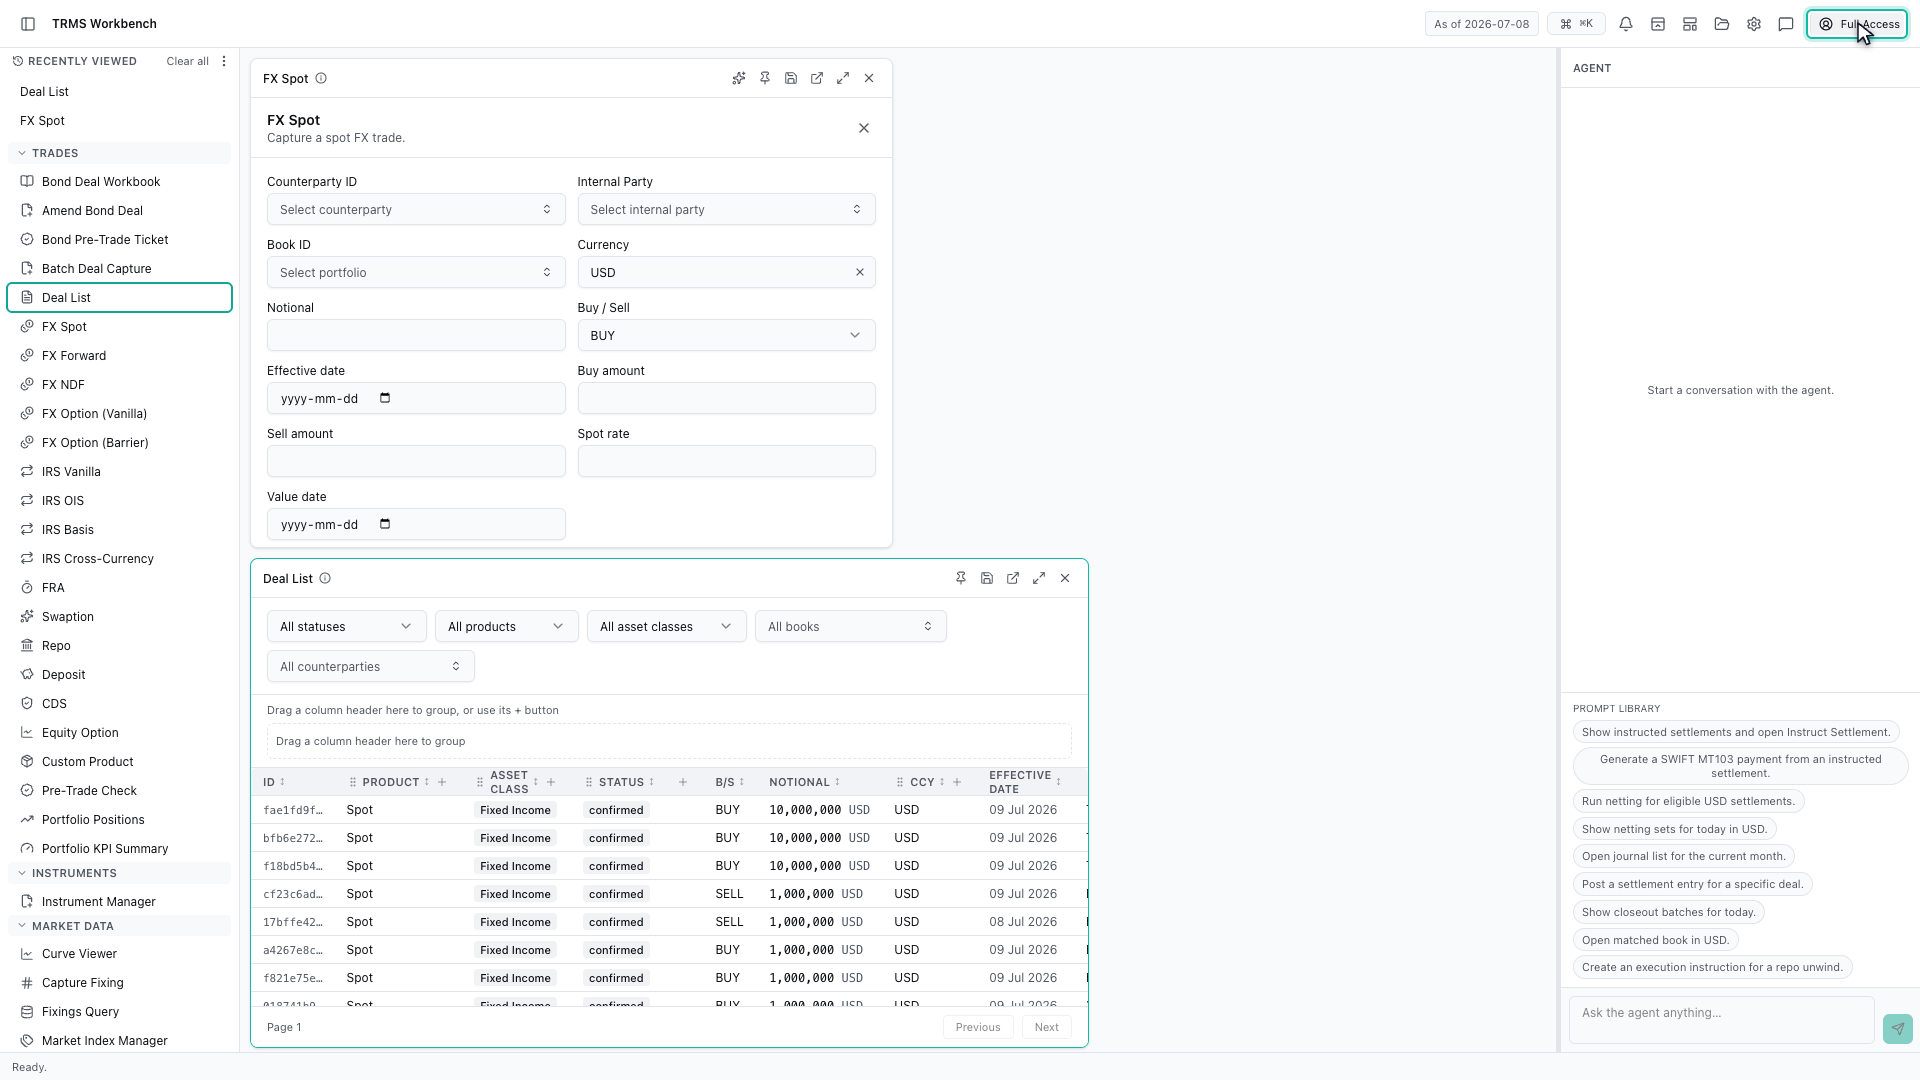
12. Understand what you can see
Beside it is the role you are signed in as. It decides what appears in the navigation, so if a colleague has an item you do not, that is entitlements rather than a fault.
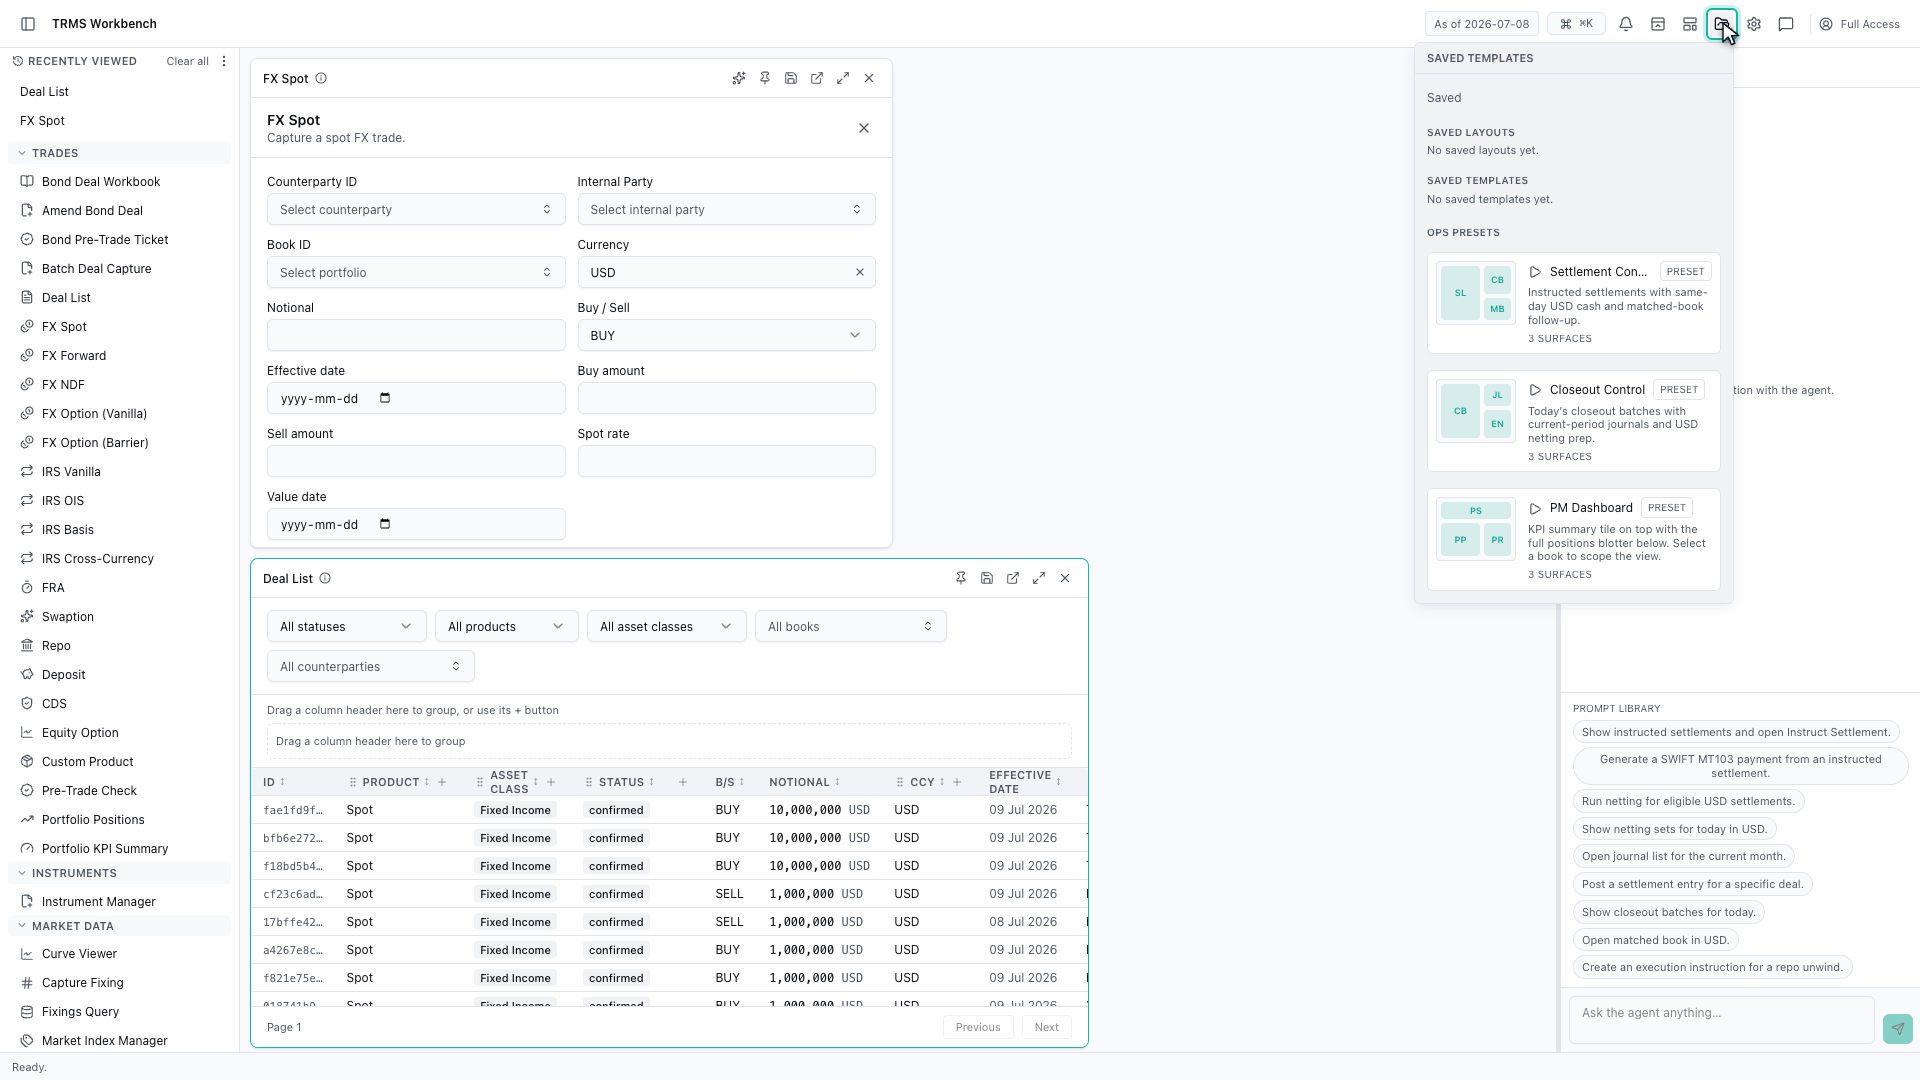
13. Save a workspace for next time
An arrangement you like can be kept. Templates hold saved layouts and presets for common operations, so a morning setup is one click.
14. Back out with Escape
Escape closes any menu or dialog, and always backs you out safely.
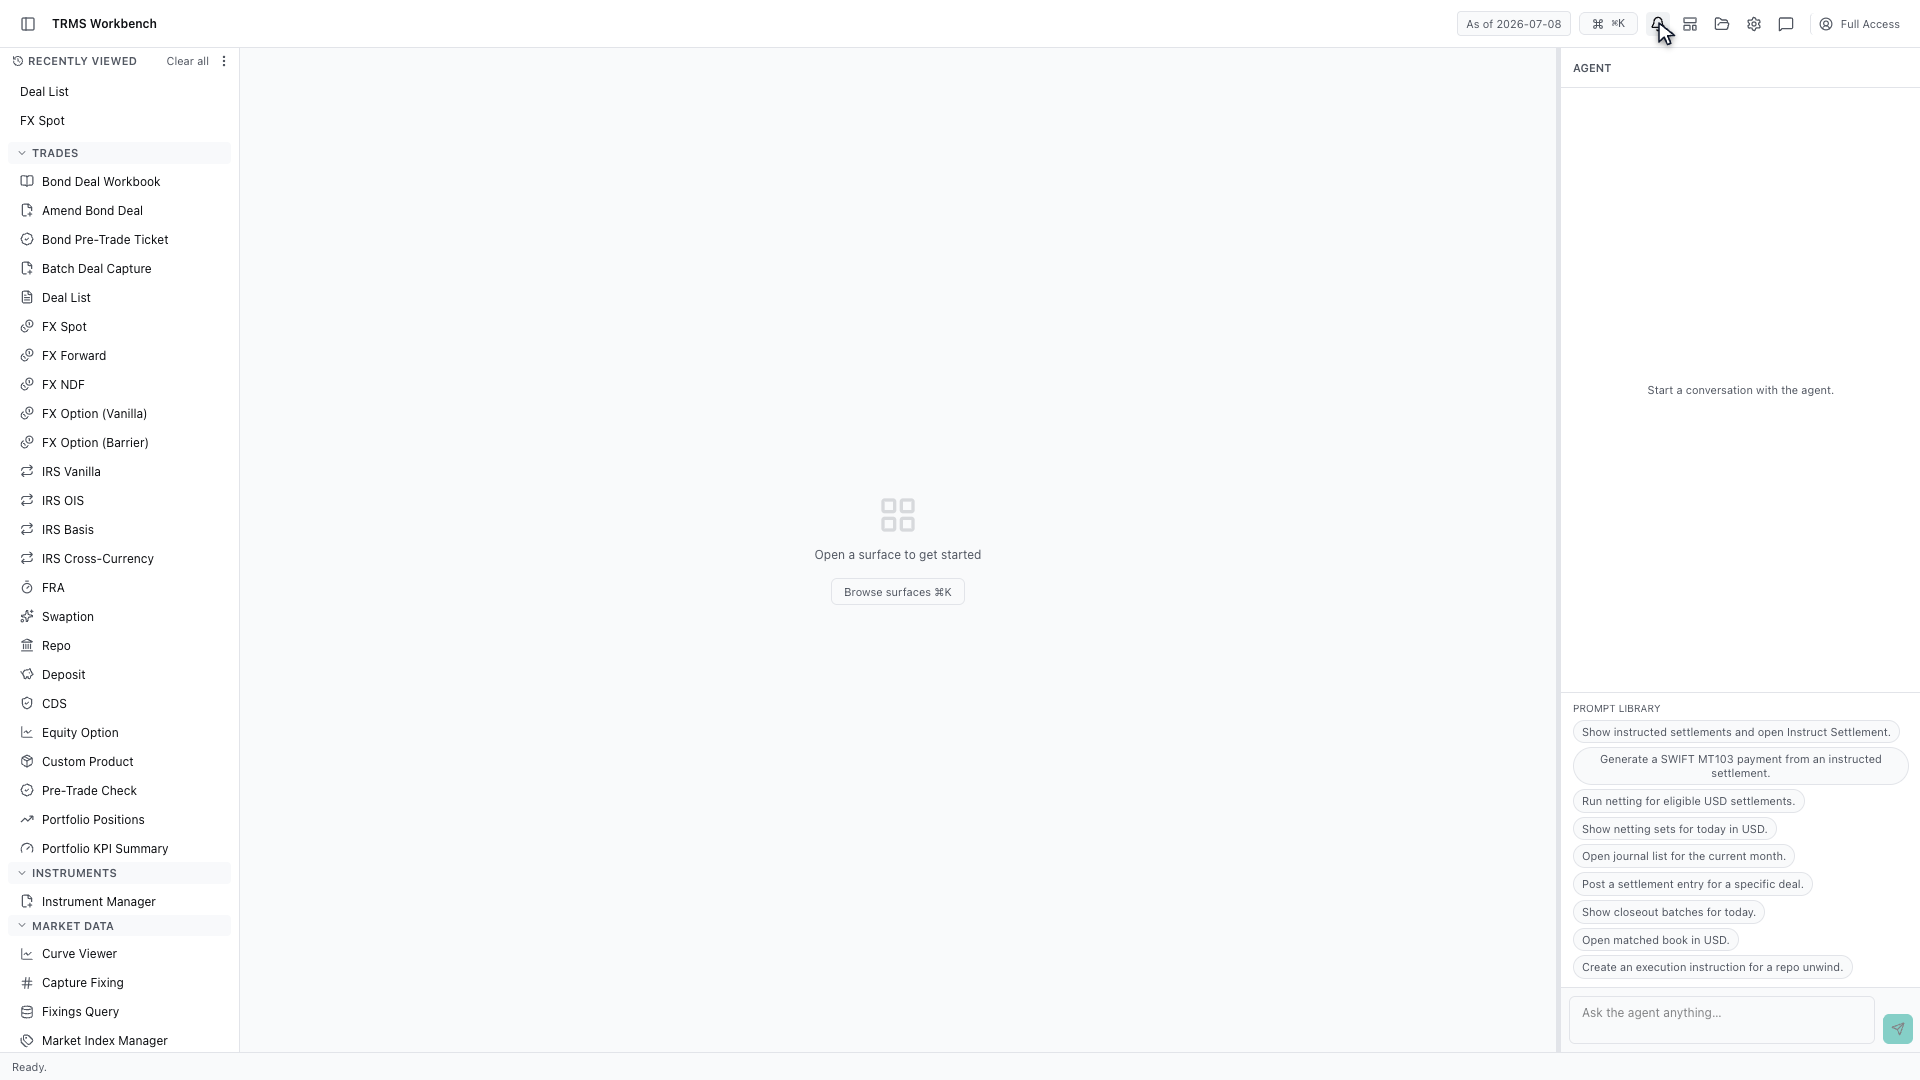
15. Close everything at once
And when you have finished, close every panel at once from here.
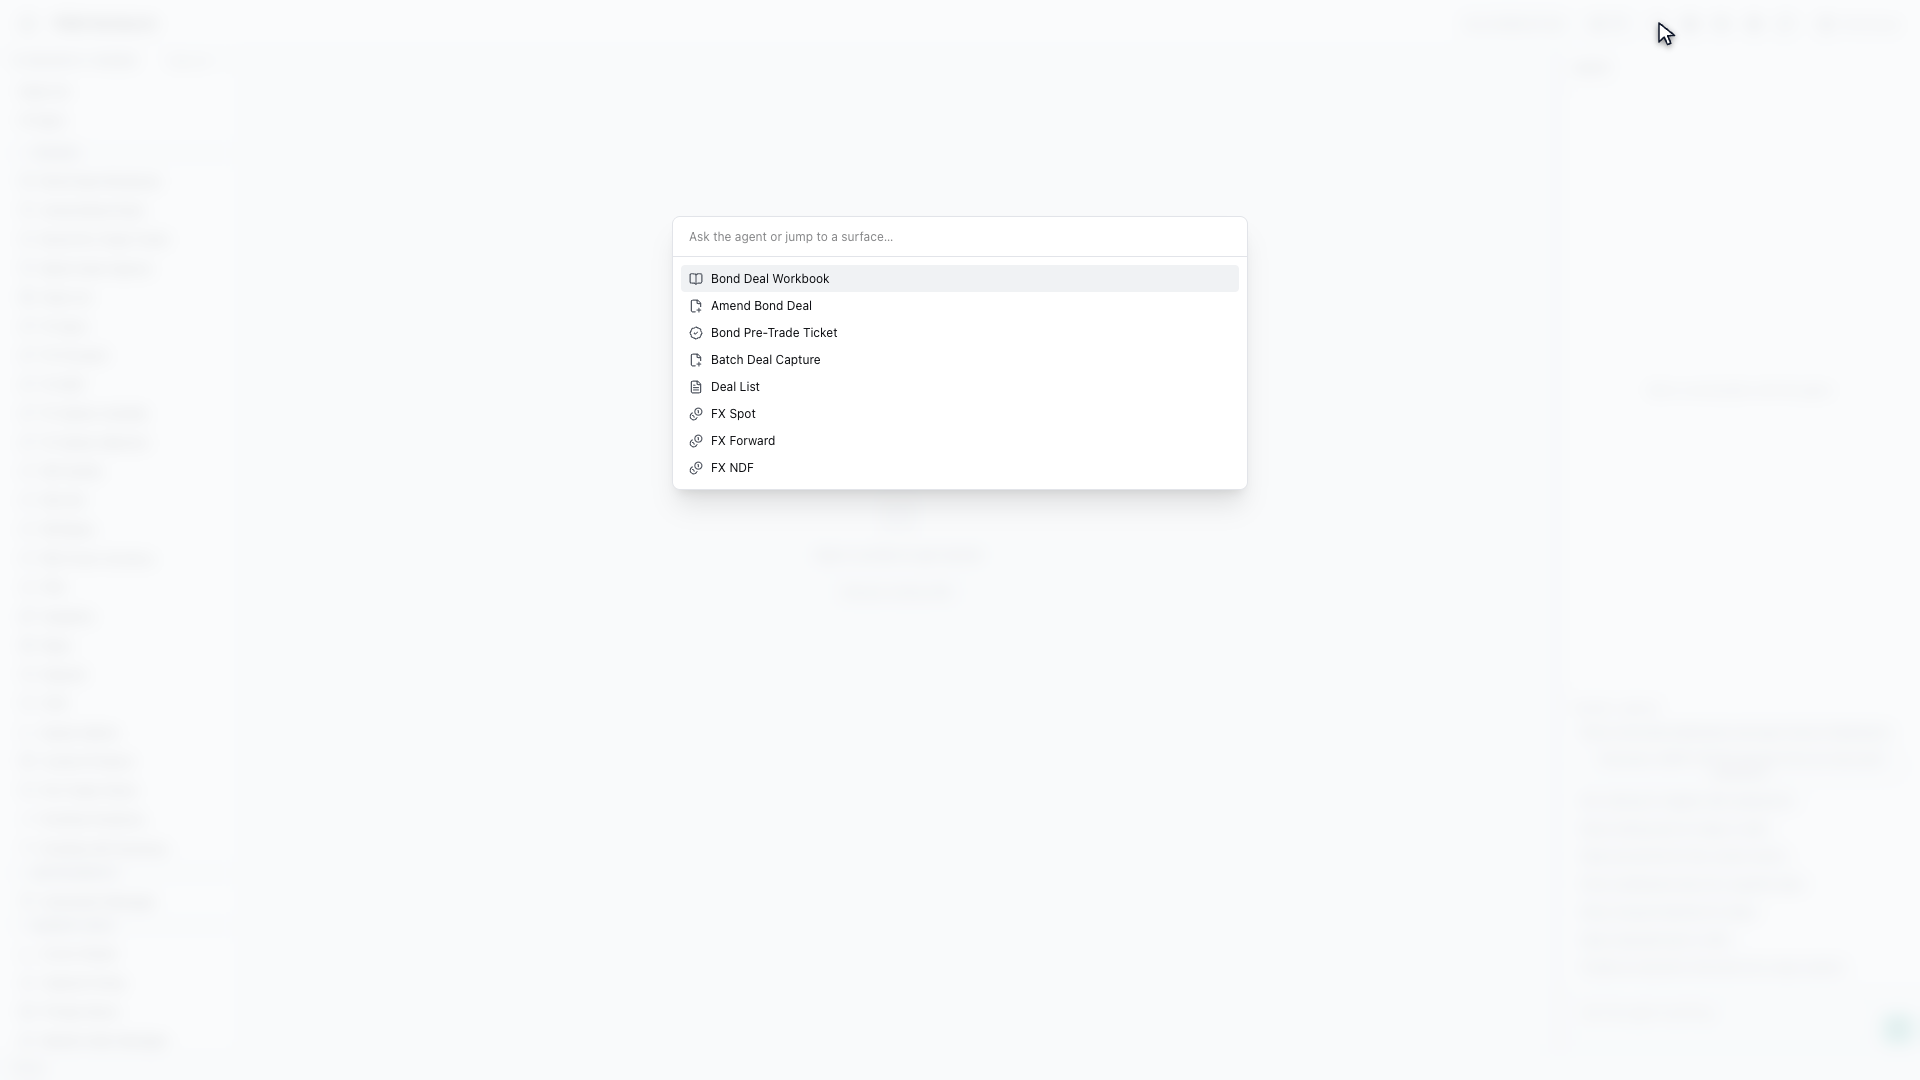
16. Open universal search with Command K
One last thing, and the most useful. Command K, or Control K, opens universal search from anywhere.
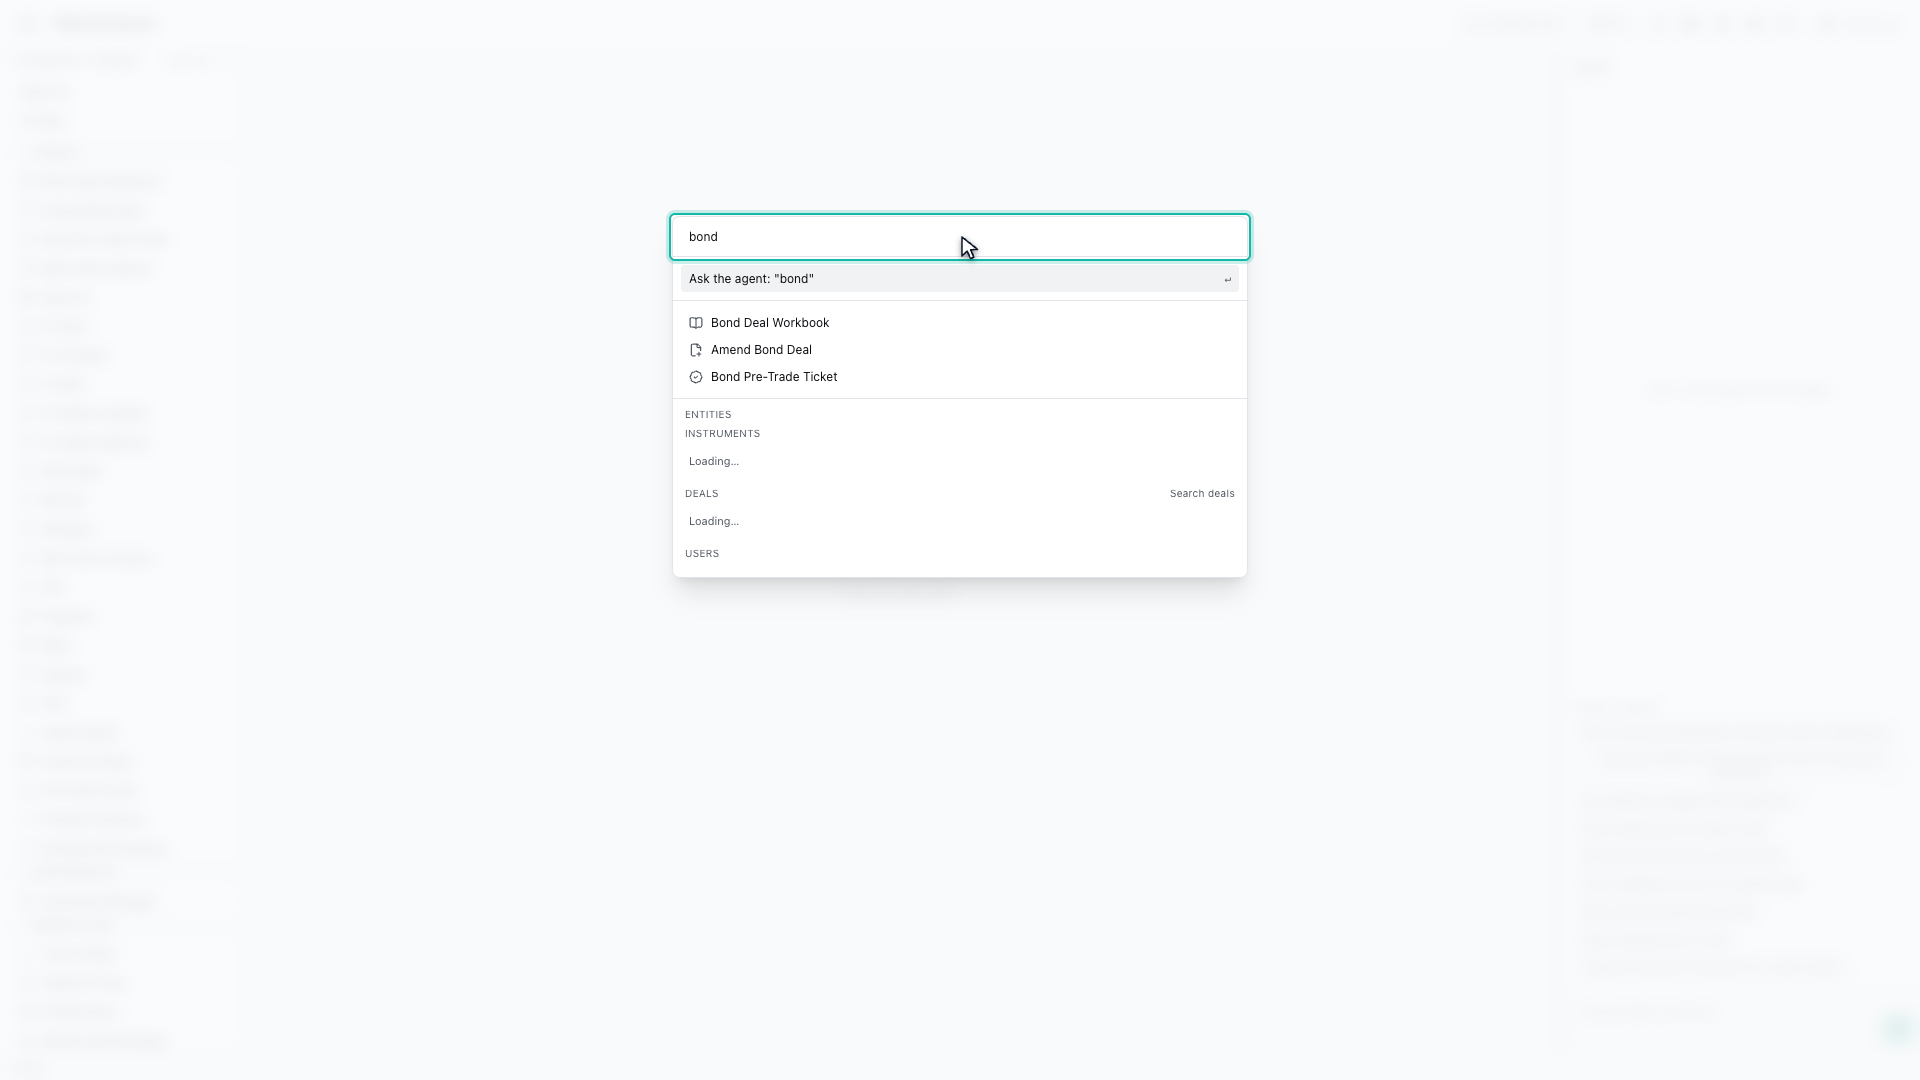
17. Search for a screen
Type what you are after and matching screens come first. No need to remember which menu group it lives under.
18. Search for an instrument
It searches your data as well. An ISIN finds the instrument itself.
19. Search for a deal
A counterparty name finds deals booked against it. The same search covers users, parties and market indexes, and a result opens straight away.
20. Ask the agent from the same box
And the top row hands what you typed to the agent, so the same box is both a search and a question.
21. Next steps
That completes Getting Started in the Workbench. Every surface shown here can also be opened from the agent panel on the right, by asking for it in plain English.