Finding Deals
How to find a deal in the OpenTRMS Workbench — filtering the blotter, grouping it by any column, and opening a single deal for a closer look.
Transcript1m 31s
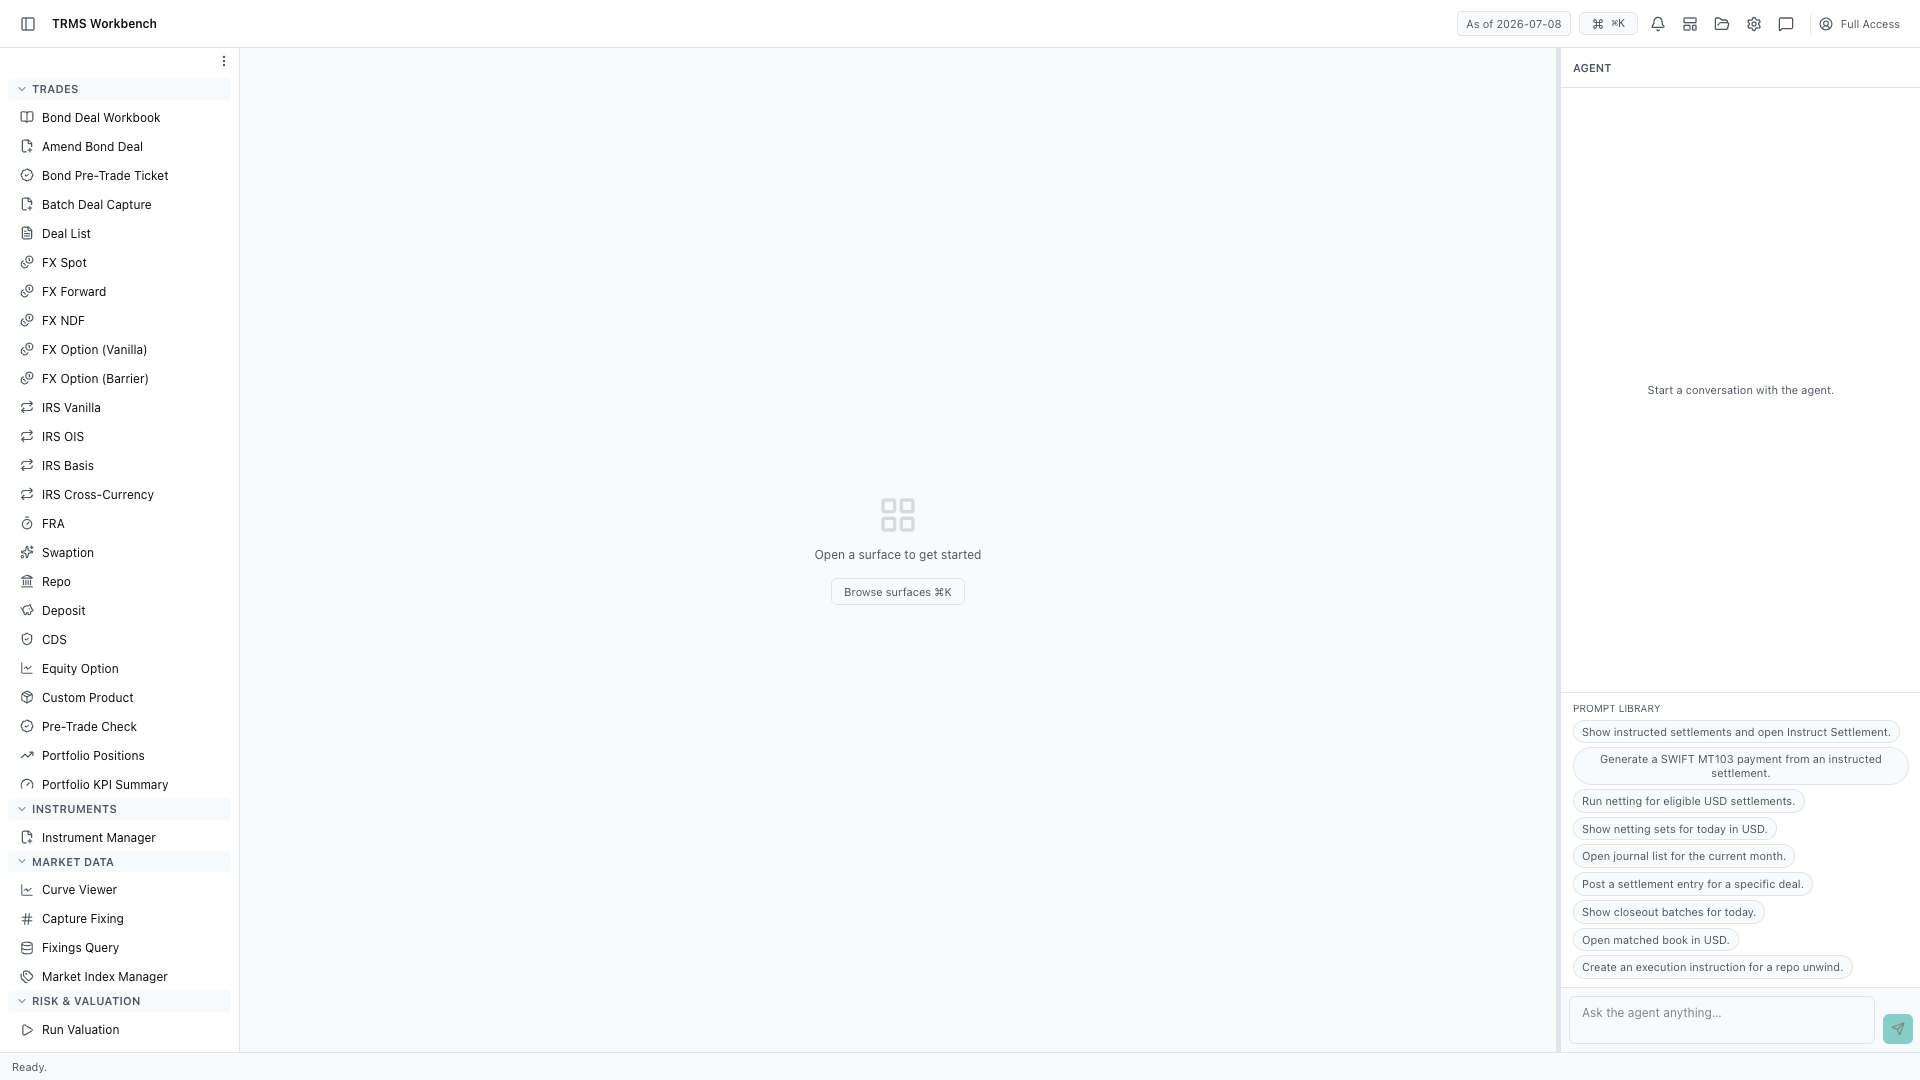
In this walkthrough we'll find a deal in the blotter, and open it for a closer look, in the OpenTRMS Workbench.
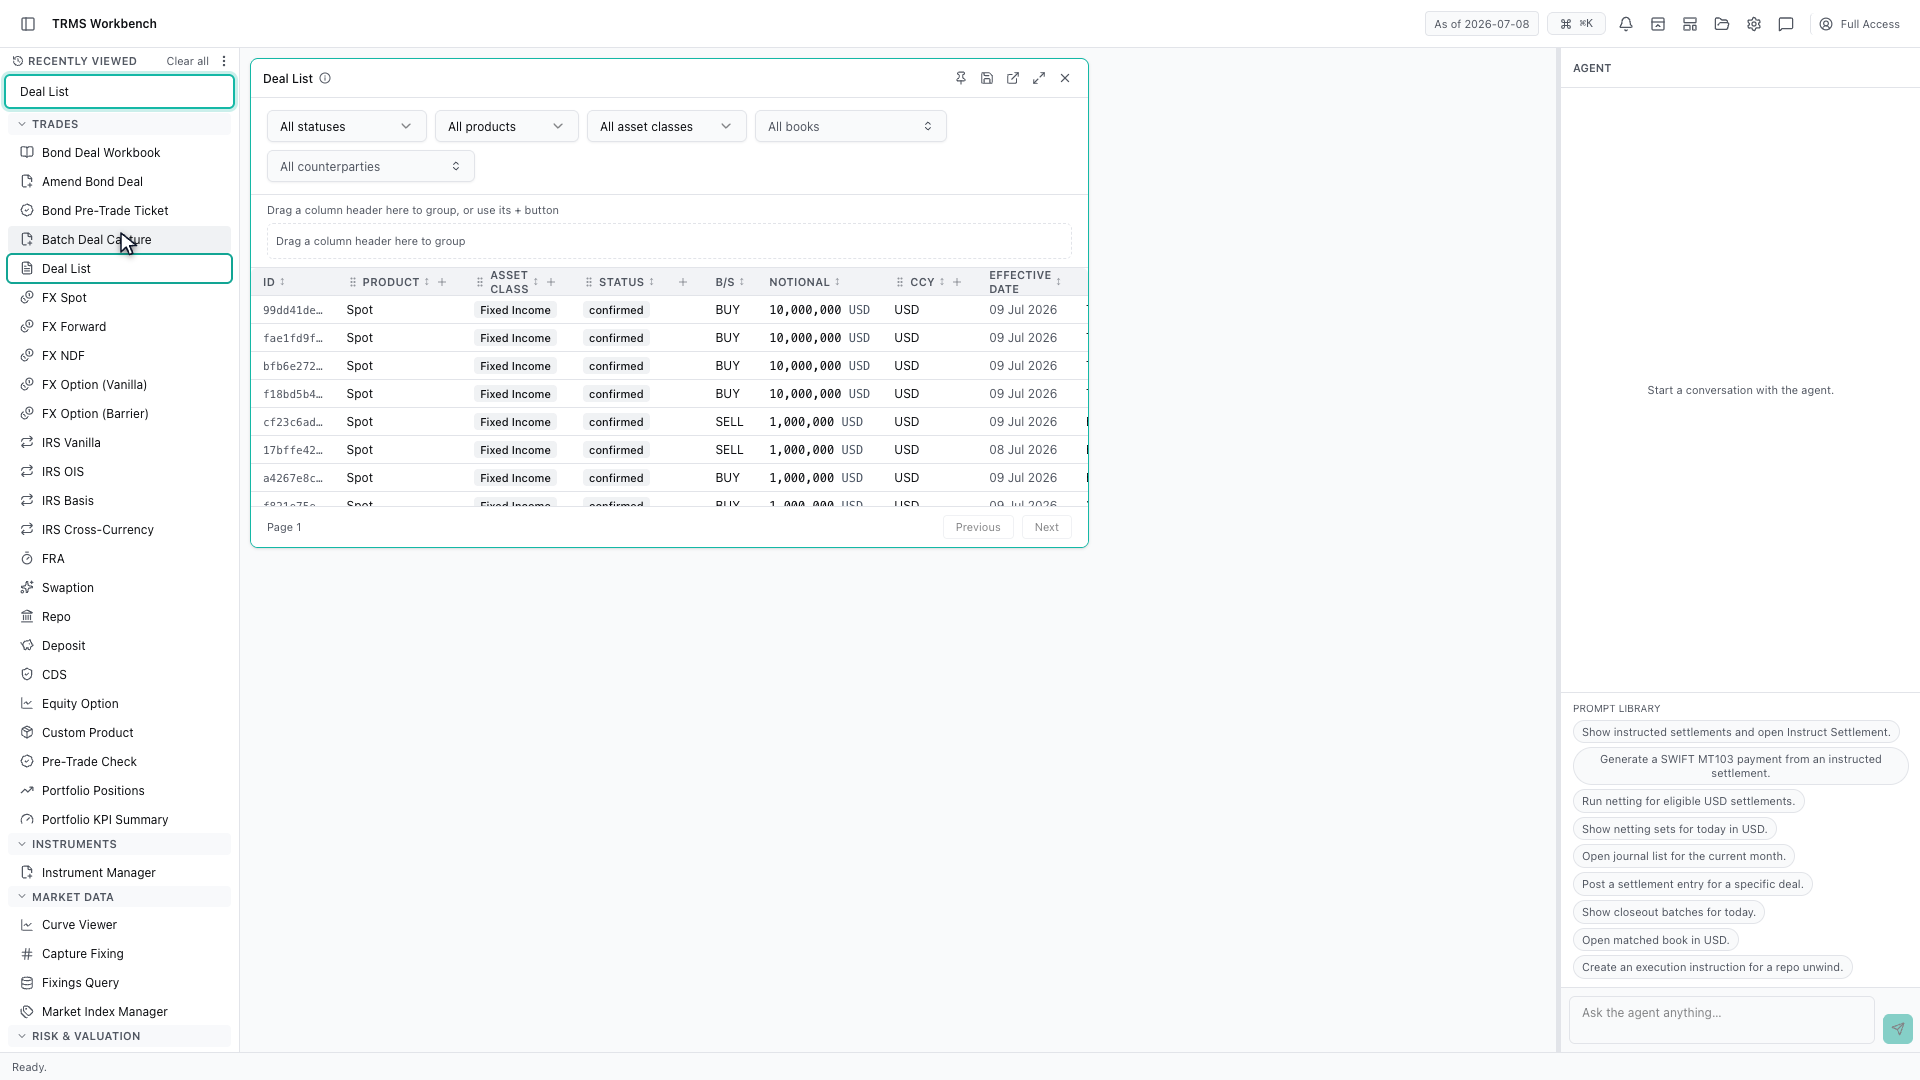
The Deal List is the blotter — every trade the system holds, whatever the product. It opens showing all of them.
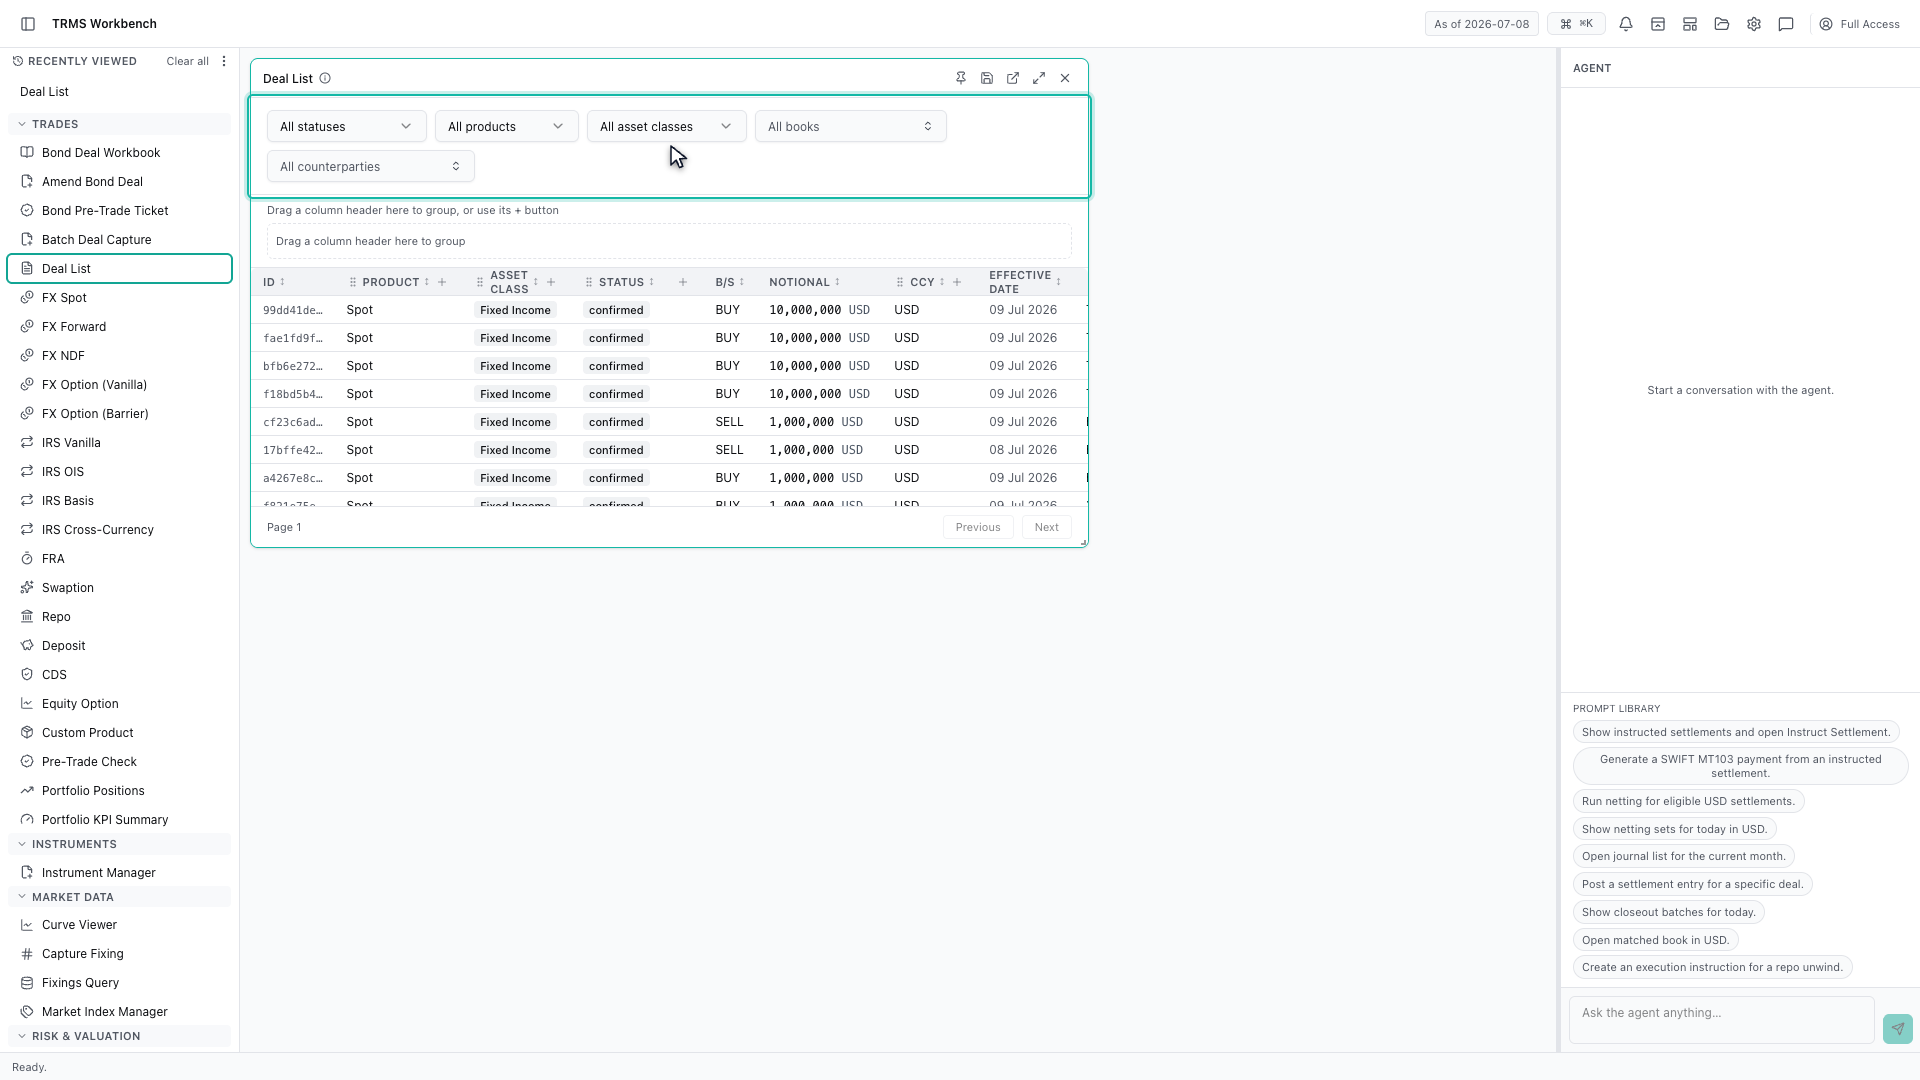
The filters across the top narrow the list down. They combine, so you can work from a broad view to a precise one without losing your place.
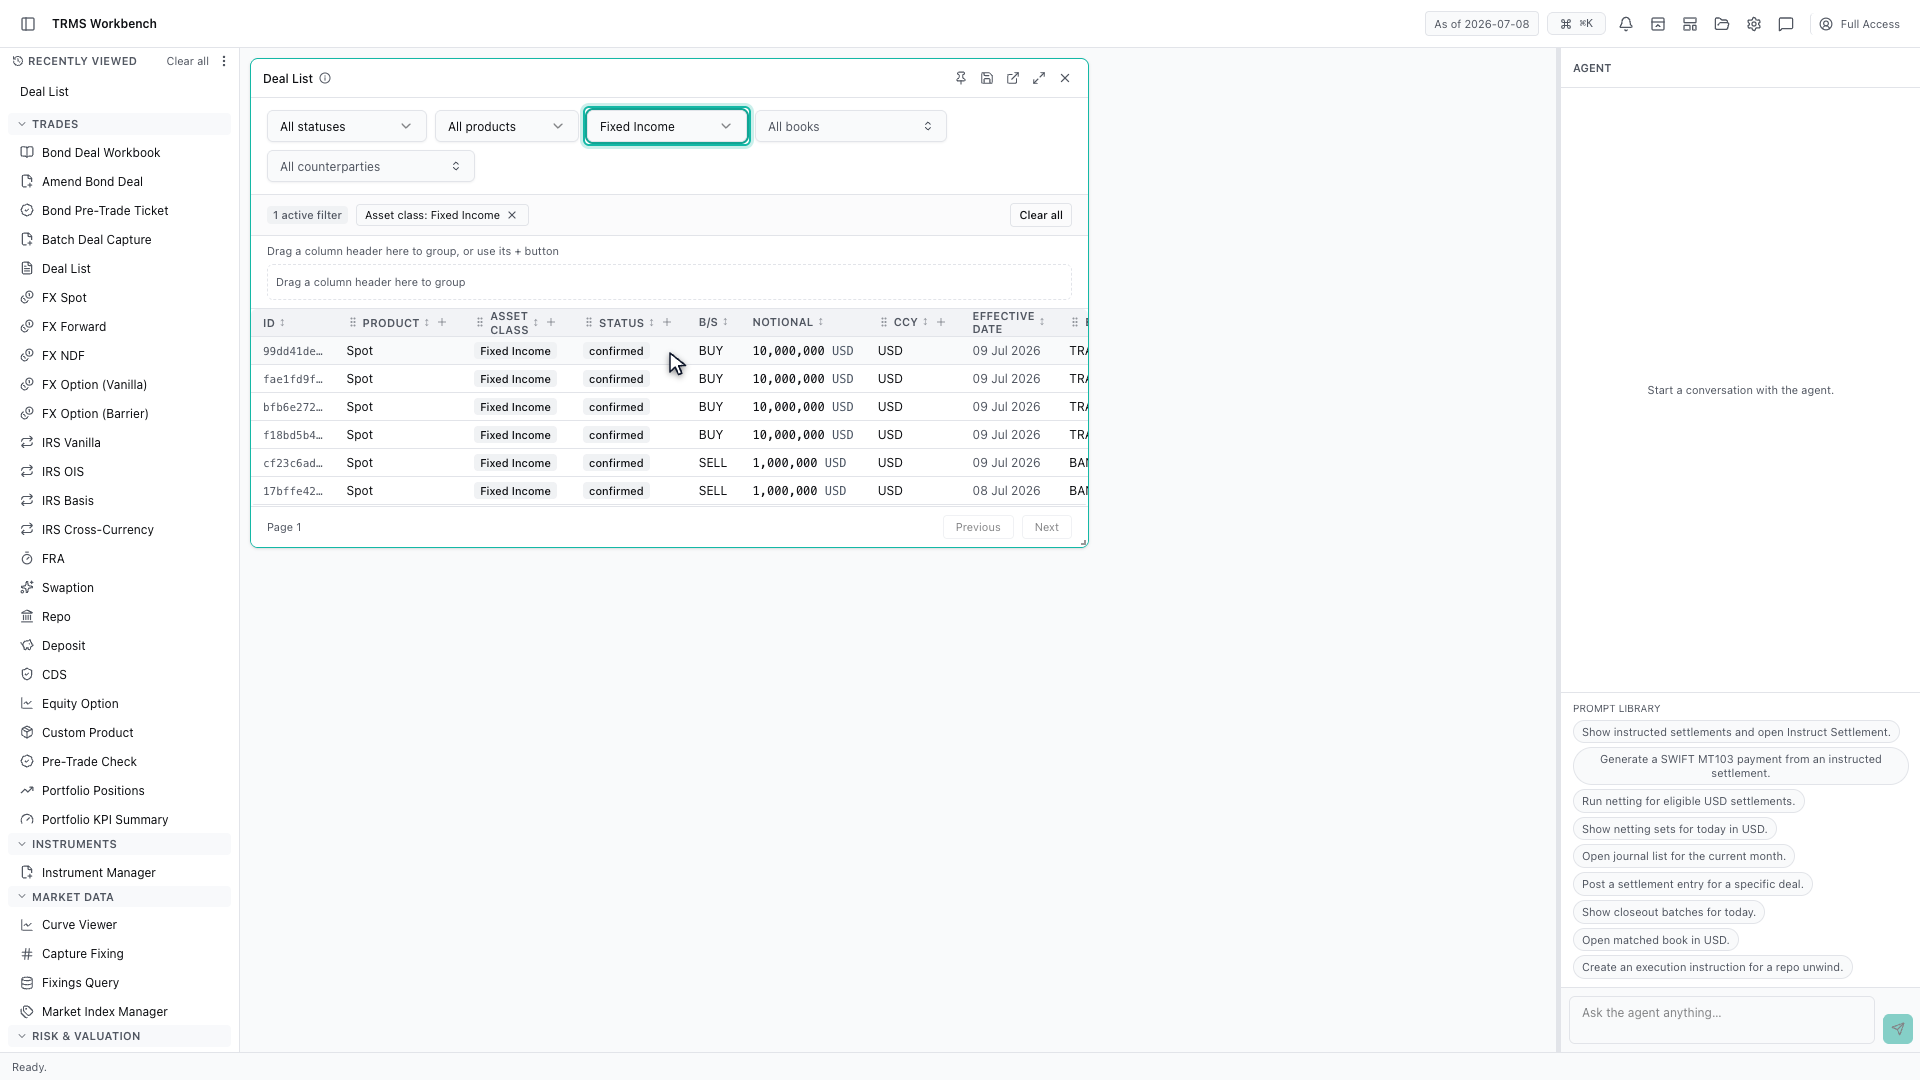
Filter by asset class to see only the fixed income trades. The list updates in place, and the filter stays visible so you always know what you are looking at.
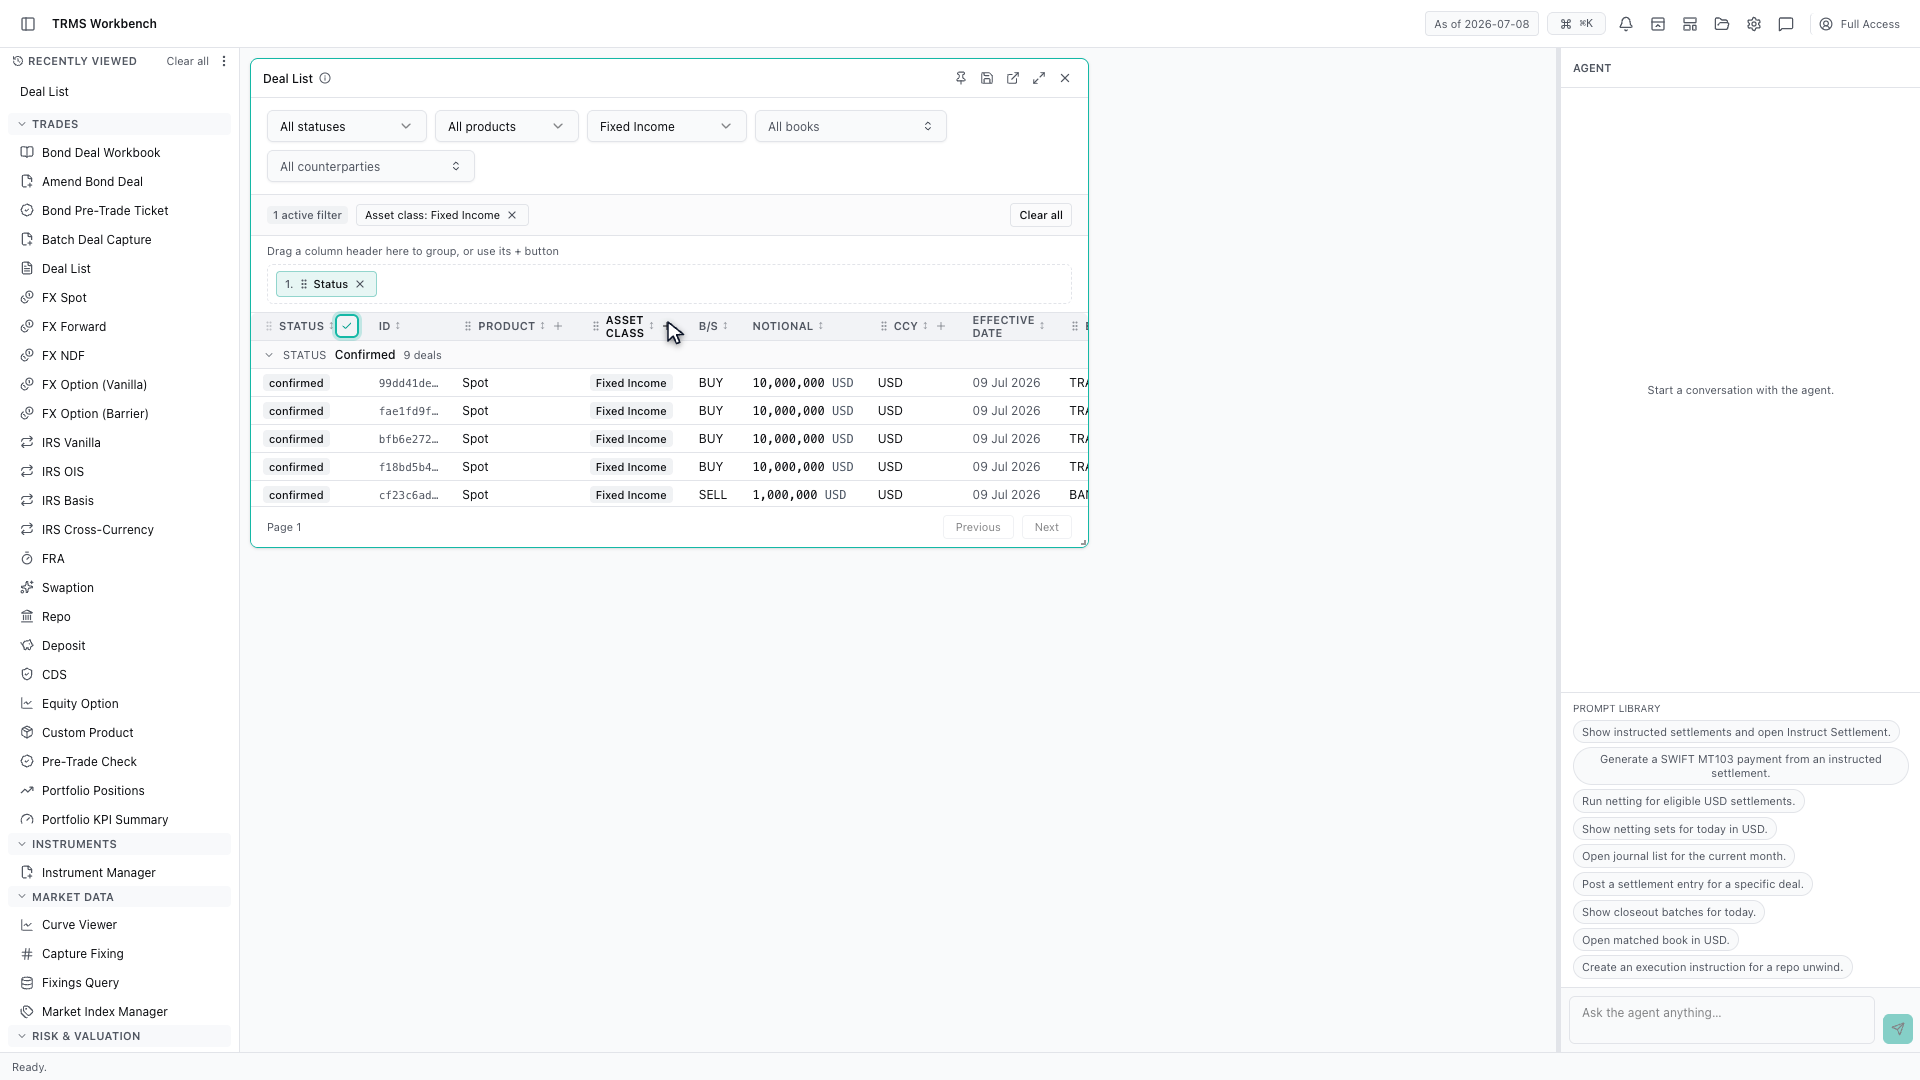
Any column can also group the rows. Grouping by status collects the deals into buckets, each showing how many it holds.
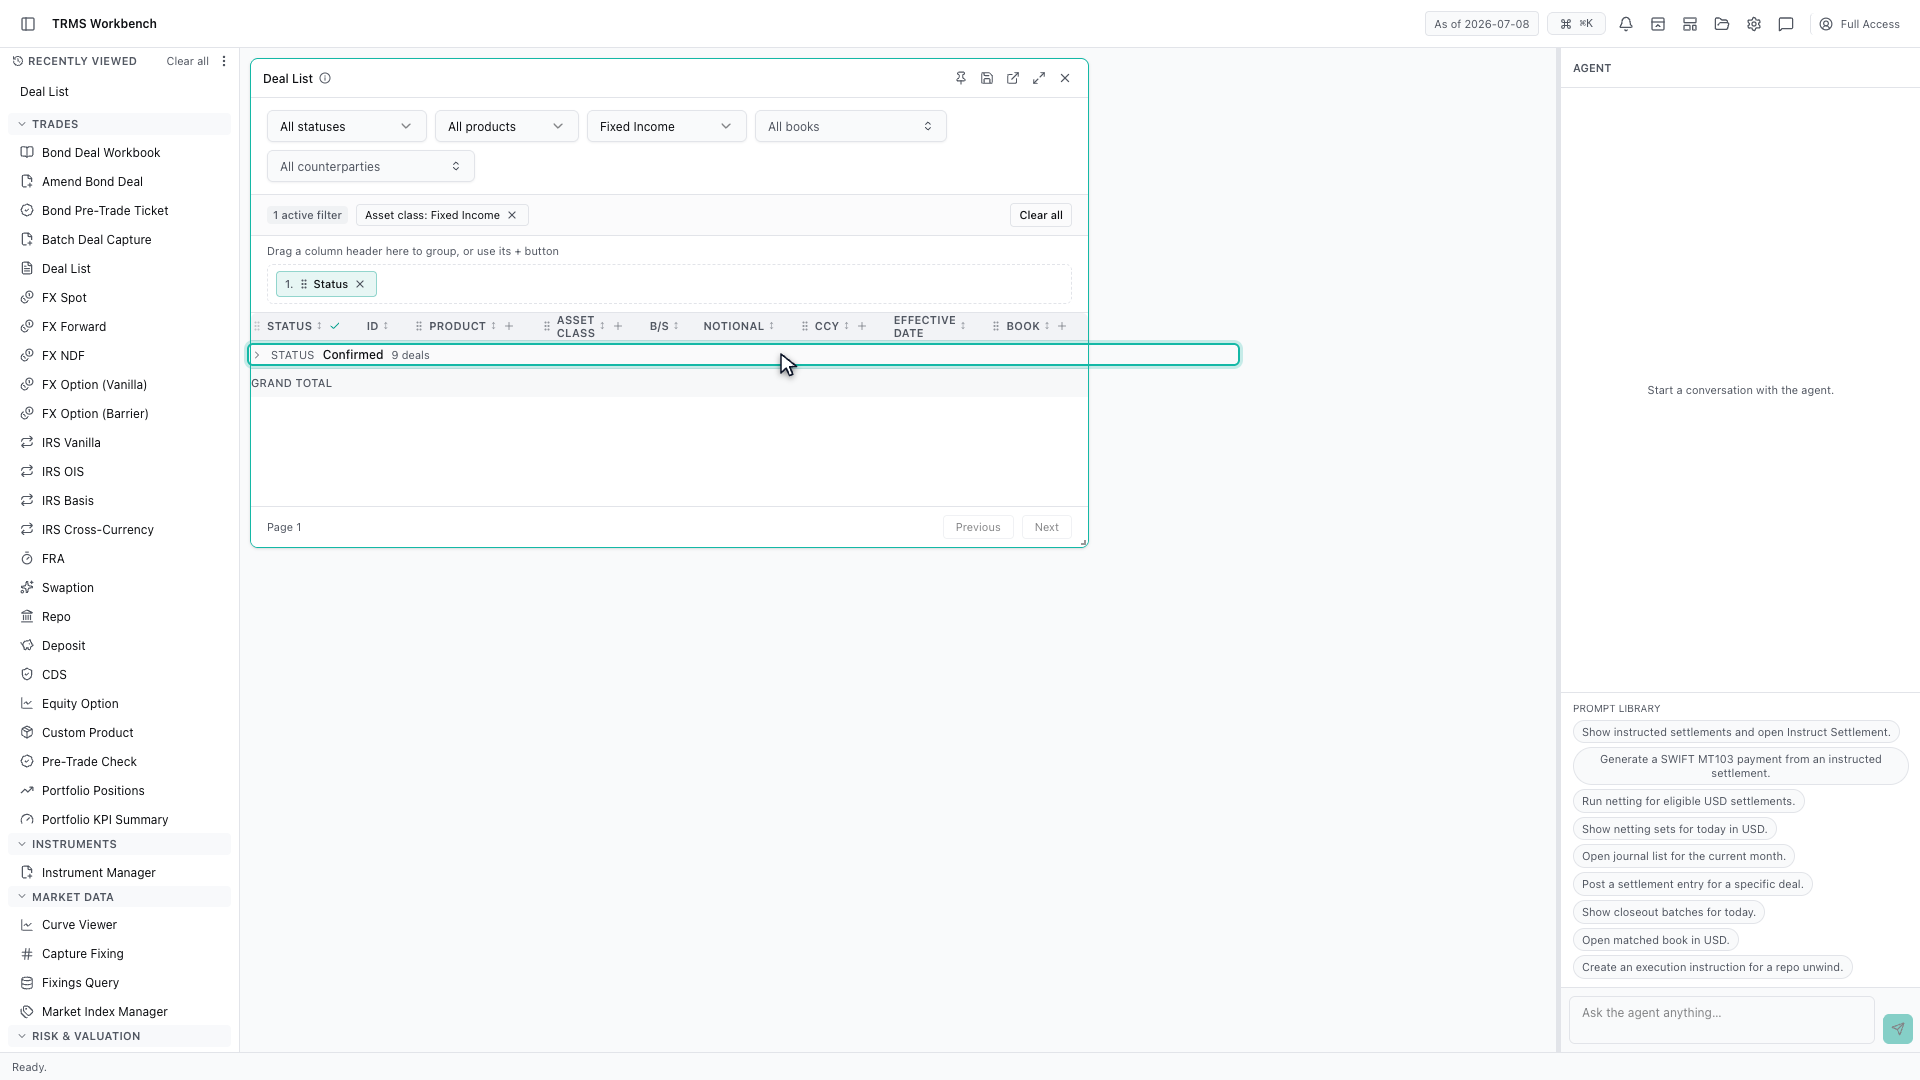
Groups open expanded. Collapse one to see just the summary line, which is the quickest way to read totals across a large blotter.
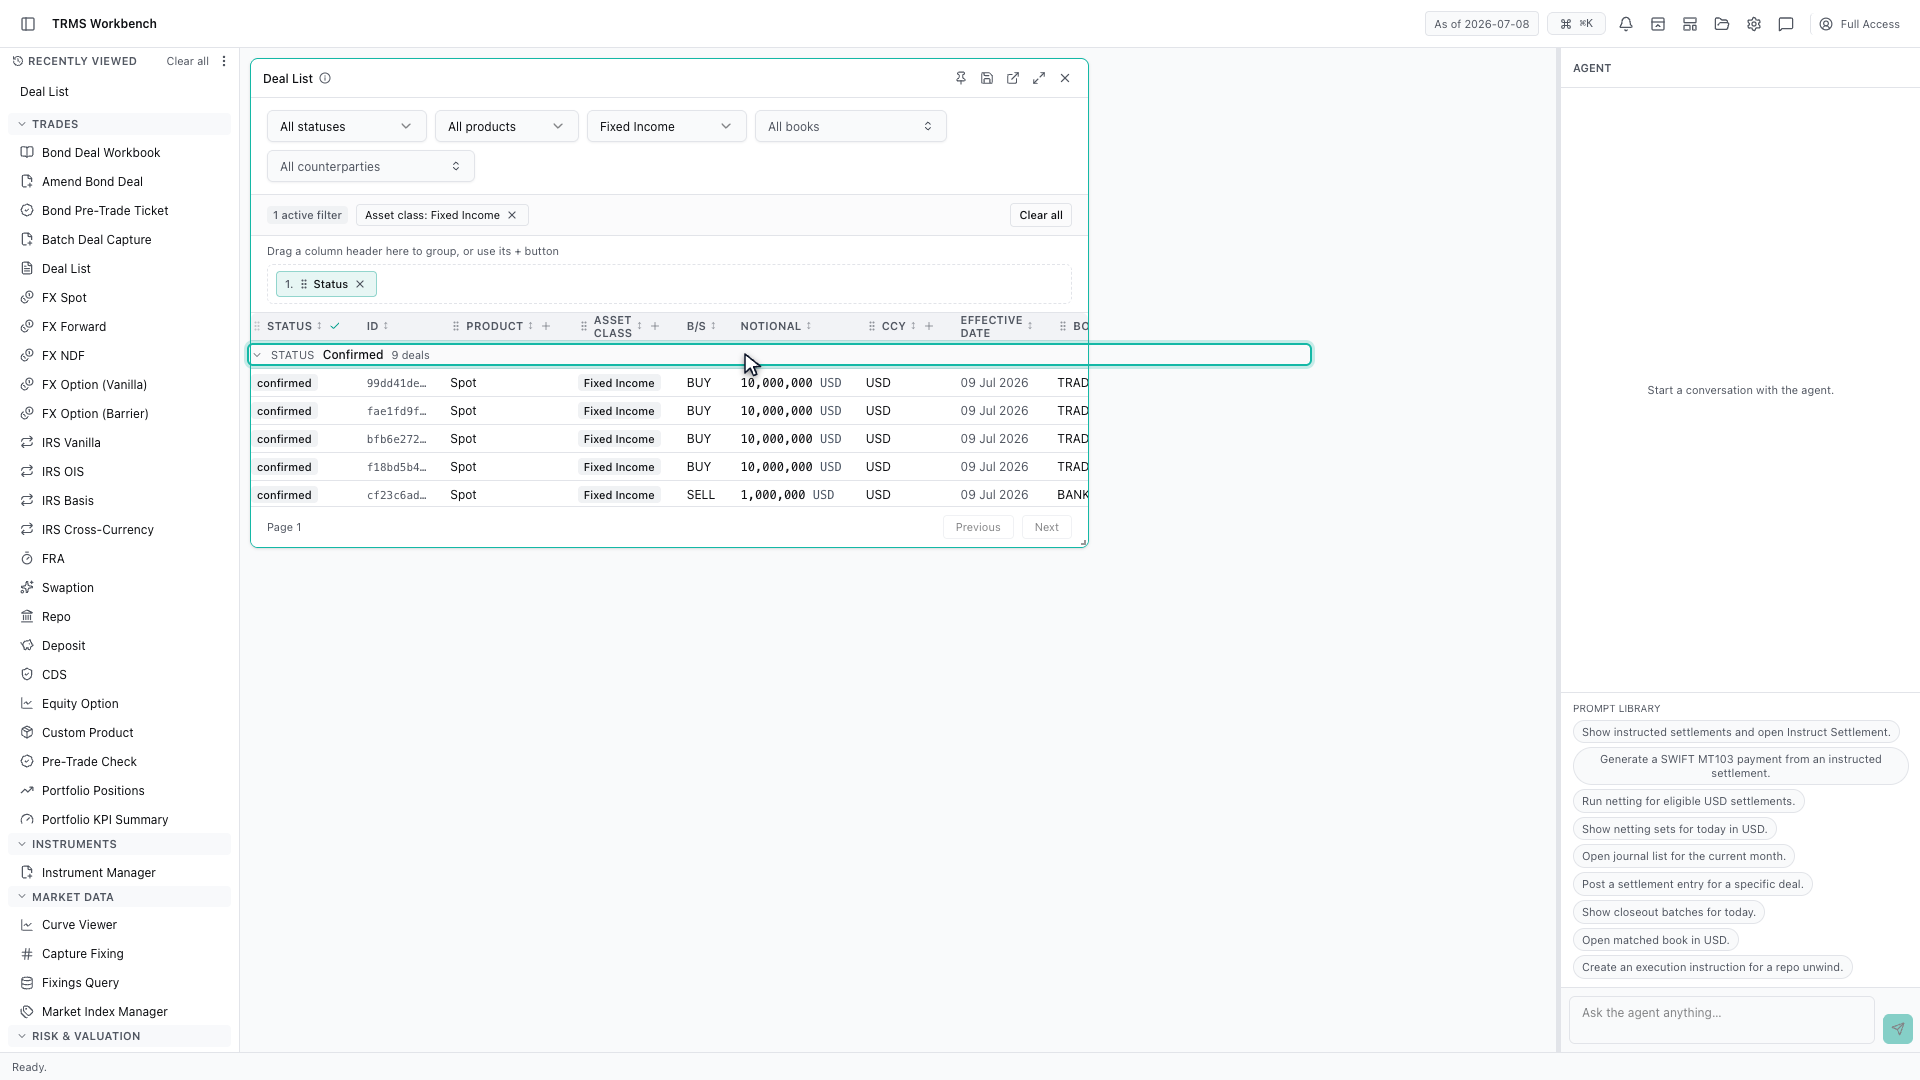
The same control opens it again, and the grouping can be changed or cleared whenever you like.
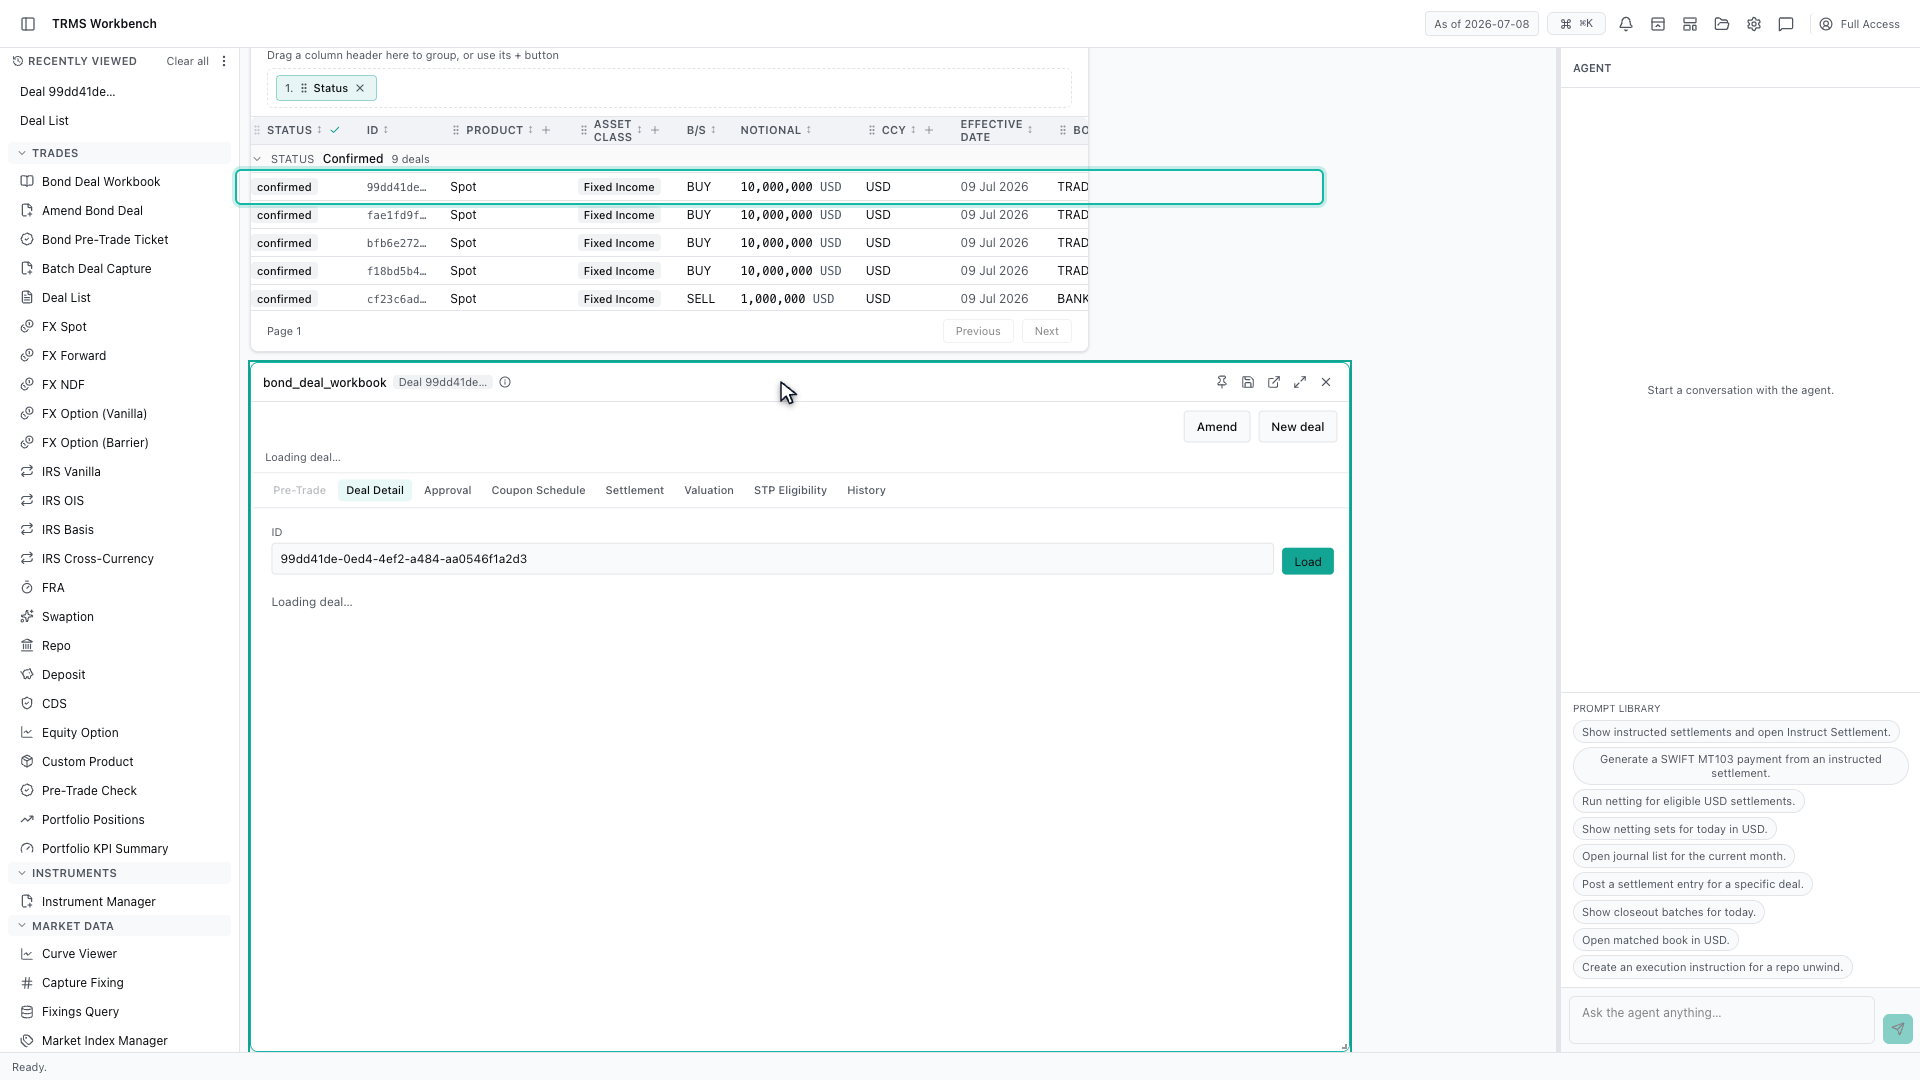
Opening a deal brings up its own panel beside the list, so you keep the blotter and the detail on screen together.
And when you already know what you are after, universal search reaches the same deal directly. A counterparty name is usually enough.
Picking a result opens that deal straight away, without going through the blotter at all.
That completes Finding Deals. Every surface shown here can also be opened from the agent panel on the right, by asking for it in plain English.
1. Open the Workbench
In this walkthrough we'll find a deal in the blotter, and open it for a closer look, in the OpenTRMS Workbench.
2. Open the Deal List
The Deal List is the blotter — every trade the system holds, whatever the product. It opens showing all of them.
3. The filters across the top
The filters across the top narrow the list down. They combine, so you can work from a broad view to a precise one without losing your place.
4. Filter by asset class
Filter by asset class to see only the fixed income trades. The list updates in place, and the filter stays visible so you always know what you are looking at.
5. Group by a column
Any column can also group the rows. Grouping by status collects the deals into buckets, each showing how many it holds.
6. Collapse a group to its summary
Groups open expanded. Collapse one to see just the summary line, which is the quickest way to read totals across a large blotter.
7. Expand the group again
The same control opens it again, and the grouping can be changed or cleared whenever you like.
8. Open a single deal
Opening a deal brings up its own panel beside the list, so you keep the blotter and the detail on screen together.
9. Find the same deal from search
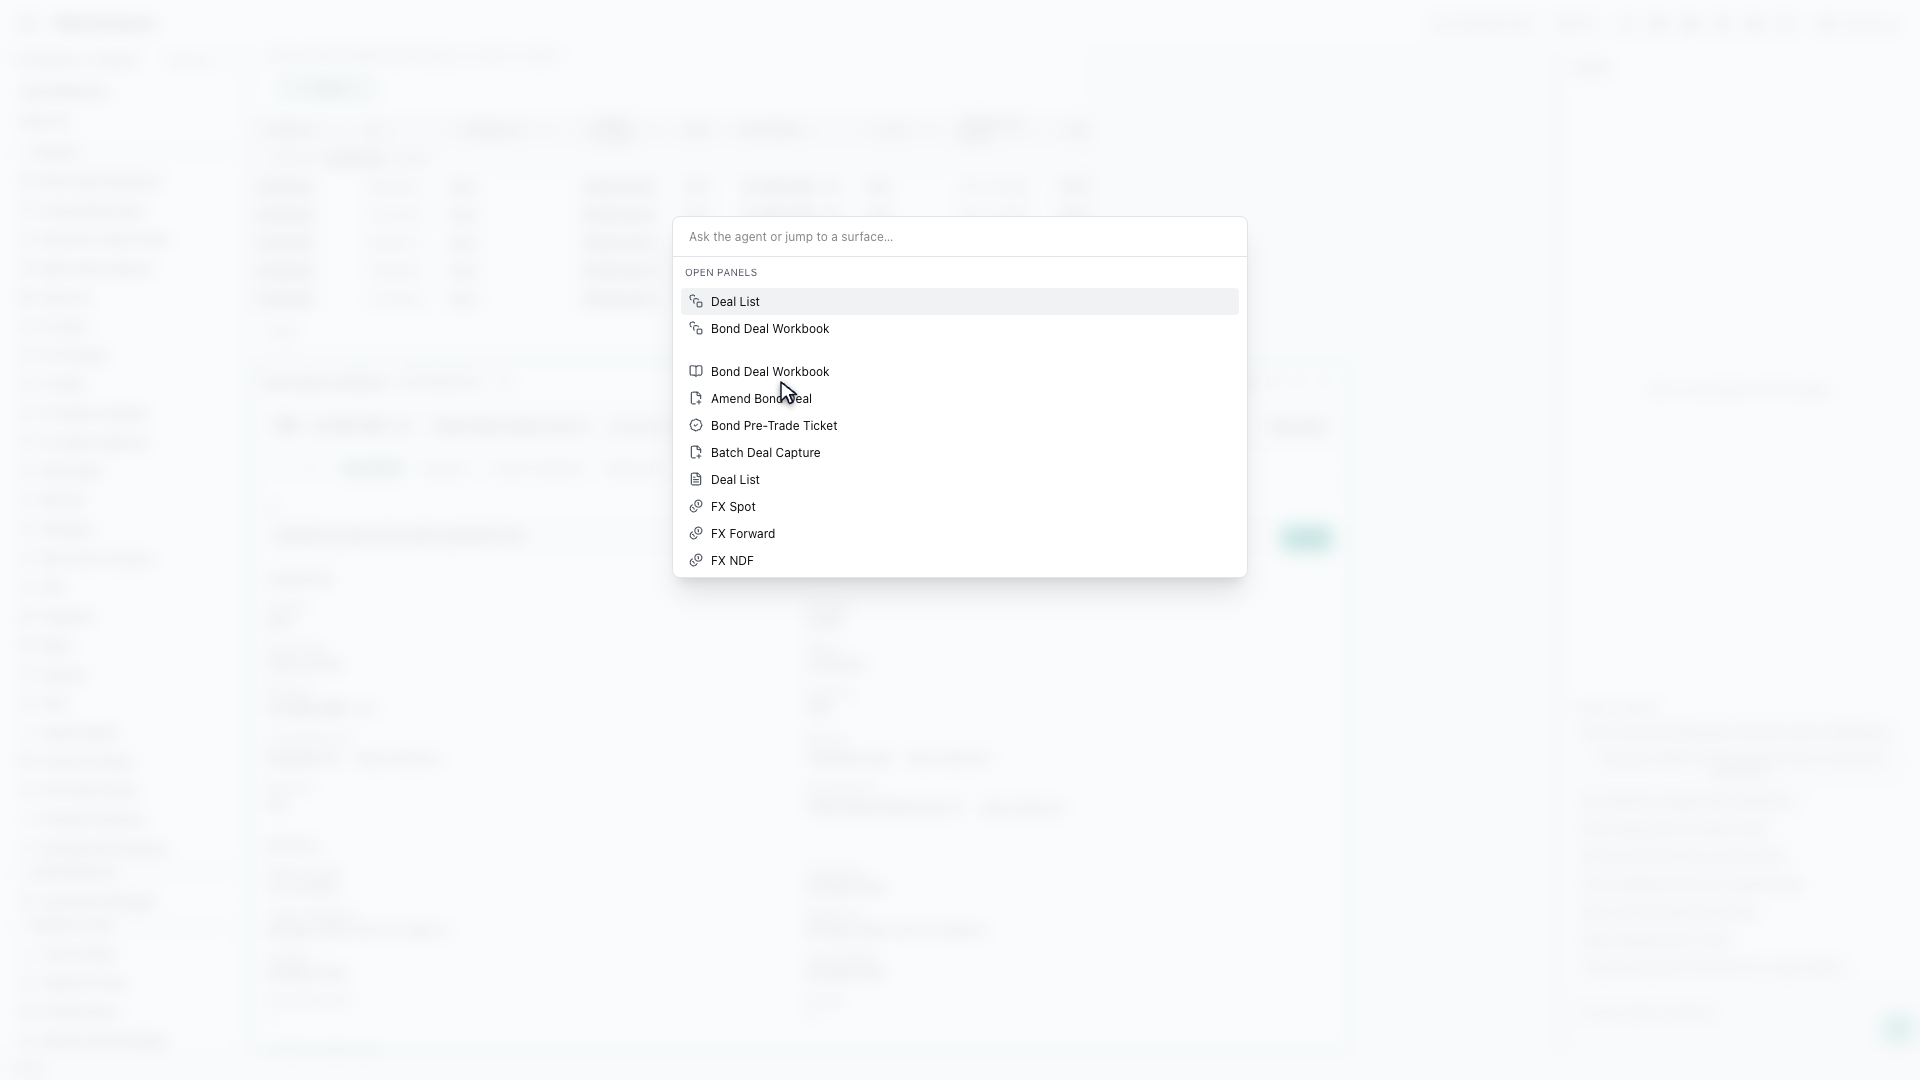
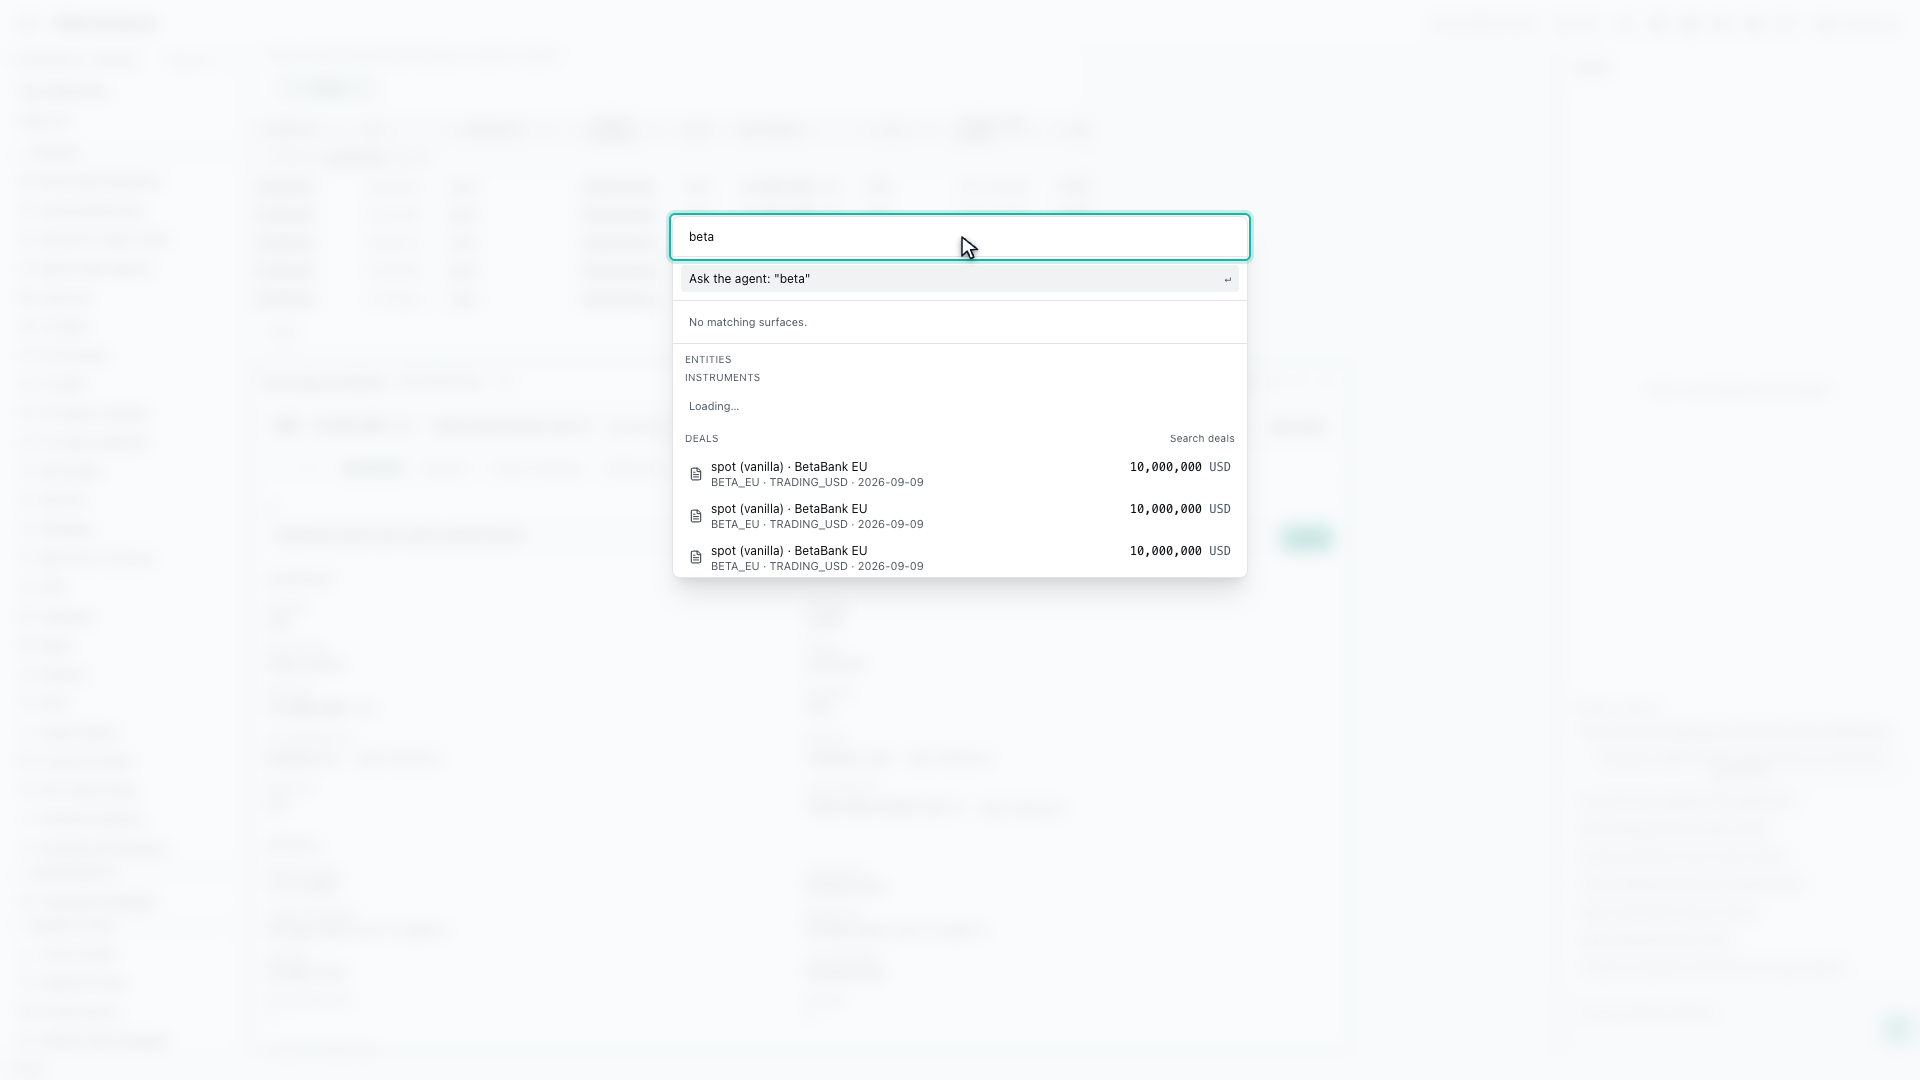
And when you already know what you are after, universal search reaches the same deal directly. A counterparty name is usually enough.
10. Search by counterparty
Picking a result opens that deal straight away, without going through the blotter at all.
11. Next steps
That completes Finding Deals. Every surface shown here can also be opened from the agent panel on the right, by asking for it in plain English.